Can You Plane Plywood Edges? (An Ultimate Easy Guide) 2023
So, here’s the deal with plywood, folks – it’s like the Swiss Army knife of woodworking. But hey, can you plane plywood edges?
Well, technically, yeah, you can, but it’s not the smoothest move. That glue in there can really mess up your blades, and getting a sleek finish? Tricky.
But don’t fret! We’re diving deep into the plywood edge planing world in this article. We’ll chat about the ups and downs, spill the tea on the best approach, and toss in some tips for that silky-smooth finish you crave.
Key Takeaways
- Plywood edges can be planed, but it is important to do so carefully to avoid damaging the veneer.
- The best way to plane plywood edges depends on the specific project.
- Hand planes and power planers are both effective tools for planing plywood edges, but they have different pros and cons.
- When planing plywood edges, it is important to take light passes and to plane in the direction of the grain.
- Sanding is a good option for finishing plywood edges that have been planed.
- Rounded edges are created by rounding over the edge of the plywood with a router or a file.
- Finger jointed edges can be difficult to work with and can also be a safety hazard.
- There are a few different ways to put a nice edge on plywood.
- Be sure to take your time and to be careful when putting a nice edge on plywood.
- A sharp edge can be dangerous, so it is important to use caution.
Can You Plane Plywood Edges?
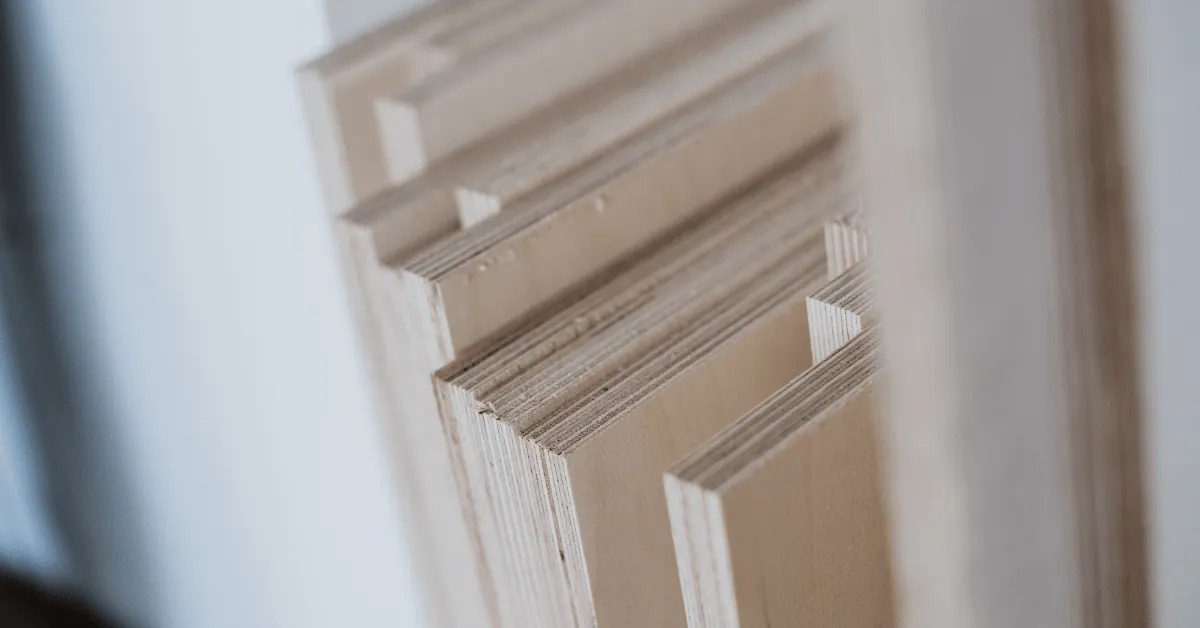
Sure thing, you can totally give those plywood edges a little makeover with a plane. But hey, tread lightly – we don’t want to upset the veneer party!
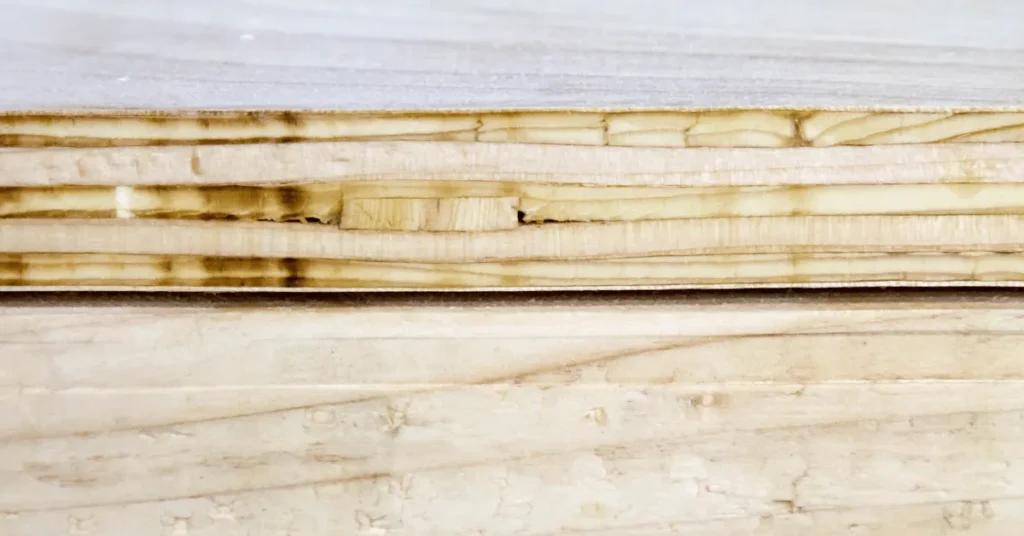
You see, that veneer, it’s the fancy skin of the plywood, and it’s what makes it all smooth and sleek. Get too gung-ho with the planer, and you might peel it off, and that’s not the vibe.
So, grab a sharp plane, take it easy with gentle passes, and go with the grain. That way, your plywood stays happy, and you get those edges just right.
Thinking about giving those plywood edges a little makeover? Here’s a pro tip: grab a spare piece of plywood and give it a test run first. It’s like a warm-up exercise for your planing skills. You’ll figure out just the right touch and how to go with the flow of the grain.
What tools are needed to plane the plywood edges?
So, when it comes to getting those plywood edges in shape, you’ve got a couple of tools in your toolbox. First up, there’s the trusty hand plane – easy on the wallet and not too tricky to handle, but it might eat up some of your time.
Now, if you’re all about speed, consider the power planer. It’s like the Formula 1 car of plywood planers, but hey, it comes with some safety flags.
Don those safety glasses and a dust mask if you’re going the power route – better safe than sorry!
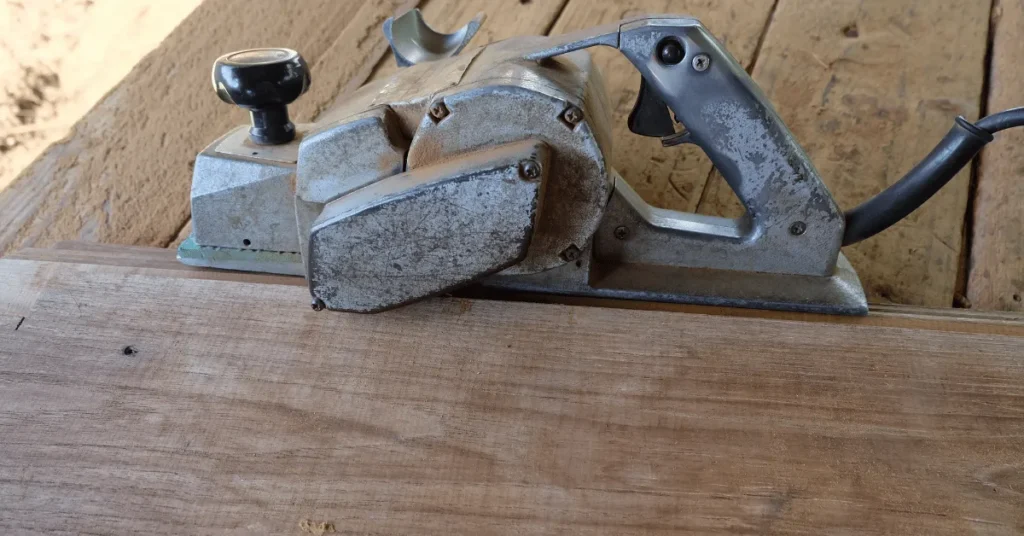
If you’re dealing with just a smidge of plywood and feeling a bit low-tech, a rasp or some good ol’ sandpaper might do the trick. But fair warning, it won’t get you that silky-smooth finish like a hand plane or power planer would.
Here is a table that summarizes the pros and cons of each tool:
| Tool | Pros | Cons |
|---|---|---|
| Hand plane | Inexpensive, easy to use | Time-consuming |
| Power planer | Fast, efficient | Dangerous |
| Rasp | Inexpensive, versatile | Can be difficult to get a smooth finish |
| Sandpaper | Inexpensive, easy to use | Can be time-consuming |
When it comes to picking your plywood planing sidekick, it’s all about what floats your boat. If you’ve got a teensy bit of plywood to deal with, a rasp or some sandpaper might just do the trick.
But if you’re in for a plywood planing marathon, you’ll want to buddy up with a hand plane or power planer. They’ve got your back when it’s a big plywood party.
What is the step by step guide to plane the plywood edges?
So, you’re thinking about giving those plywood edges a little TLC to make ’em all smooth and fancy, right? Well, here’s the deal – take it slow and gentle to keep that veneer happy.
Here is a step-by-step guide on how to plane plywood edges:
Time to get those plywood edges looking fresh! First off, give that plywood a quick once-over – clean and clear of any gunk, of course. Nobody wants a bumpy ride!
Now, tools of the trade – a hand plane is like the MVP here, but if you’re feeling adventurous, a power planer or a trusty rasp can do the job too.
Adjust that depth setting, keep it on the shallow side for those edges, and always go with the grain to keep things tear-free. Take it easy with those passes, no need to rush.
And when you’re done, show those edges some love with a little sandpaper action. Easy-peasy, right?
Why it is recommended and not as well planing the plywood?
Alright, let’s talk plywood, folks! It’s like the Swiss Army knife of woodworking, but here’s the scoop: should you bust out the plane?
Well, there are some pros and cons to this plywood planing gig. On the plus side, it can give you a sleek, polished surface – great if you’re thinking of slapping on some paint or stain. Plus, it’ll kiss those pesky imperfections like knots and cracks goodbye.
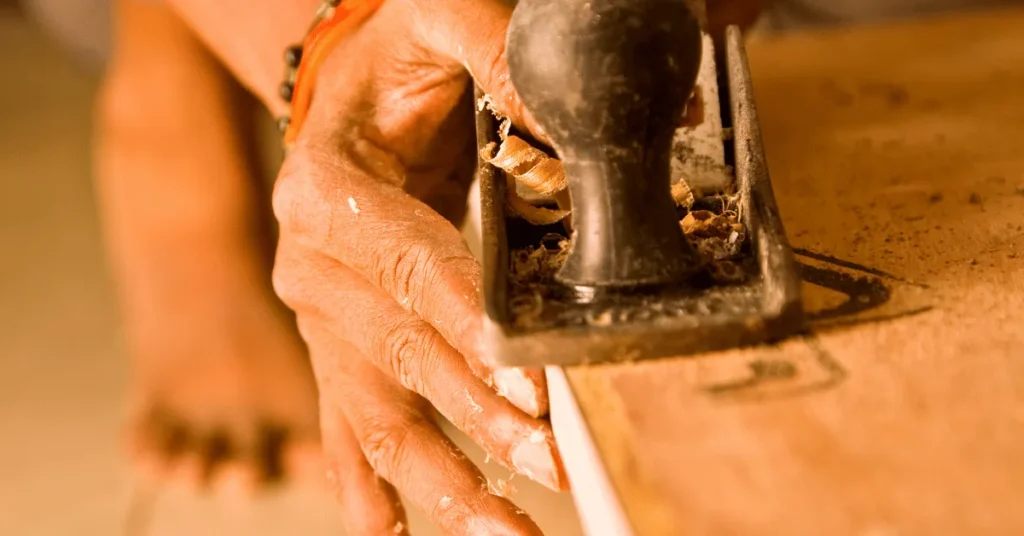
On the flip side, when you’re messing with plywood, keep in mind that going at it with a planer can be a bit dicey for the veneer.
That veneer is like the plywood’s sleek exterior – it’s a thin layer of wood that’s all glued up with the core, giving plywood its cool, smooth look.
Now, if you get too gung-ho with that planer, you might just end up with some veneer damage and a side order of delamination.
In the grand scheme of things, whether you should take the plane to plywood or not really boils down to what you’re up to. If you’re thinking of slapping on some paint or stain, then sure, go for it, planing can be a solid choice.
But, if you’re aiming to show off that natural wood vibe, you might want to rethink the planing route.
Here is a table that summarizes the pros and cons of planing plywood:
| Pros | Cons |
|---|---|
| Creates a smooth, finished surface | Can damage the veneer |
| Removes imperfections | Time-consuming |
If you’re not quite sure about giving that plywood a good plane, playing it safe is the name of the game. When you do go for it, make sure your plane’s sharp and go easy with those passes.
What are the different types of plywood edges?
Plywood, you see, is like the Swiss Army knife of woodworking materials, fitting into all sorts of projects. But, there’s this one pesky issue – those edges.
Plywood edges can be a real pain, all rough, jagged, and basically unfinished. Not to mention, they’re basically a safety hazard.
But hey, don’t sweat it! There are some cool tricks to jazz up those plywood edges and make your projects look sharp and safe.
Smooth Edges
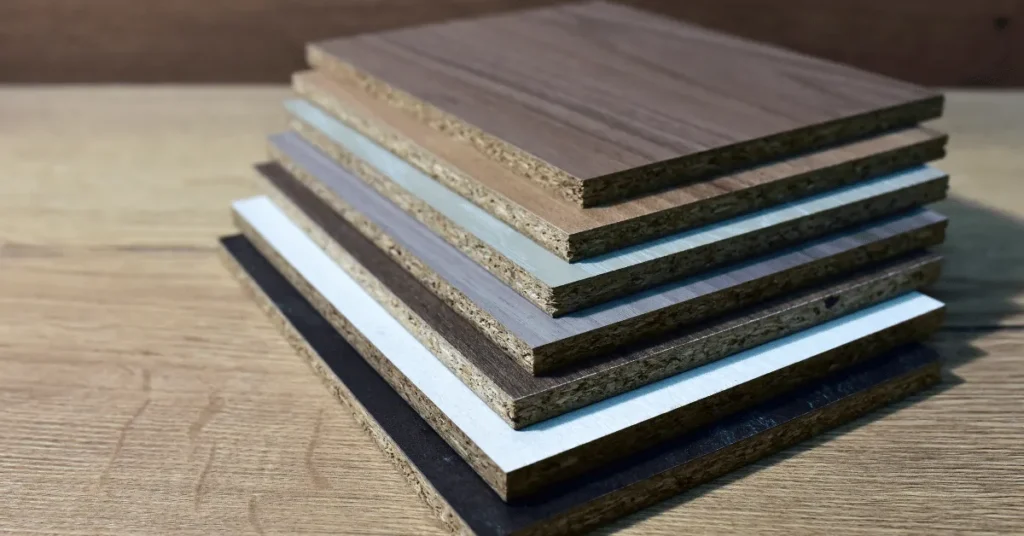
You’ll often come across smooth edges when we’re talking plywood. Basically, they’re the result of giving that plywood edge a good sanding or planing until it’s as smooth as butter.
Smooth edges are your go-to when you’re thinking of slapping some paint or stain on that plywood.
Rough Edges
Now, when it comes to rough edges, we’re talking about leaving things au naturel. These edges are the way to go when you’re using plywood as-is, like for outdoor furniture or shelves. Plus, they’re all about giving that project a cool rustic vibe, like you just whipped it up and left it raw.
Chamfered Edges
When we talk chamfered edges, we’re basically giving that plywood edge a snazzy 45-degree bevel. It’s a neat pick when you’re into mitered stuff or want to add a bit of smooth, rounded flair to your project.
Rounded Edges
Check it out, we’re talking rounded edges here – giving that plywood edge a curvy makeover with a router or a trusty file. Rounded edges are just the ticket when you’re aiming for a comfy, smooth finish, like for a chill table top or a laid-back shelf.
Finger Jointed Edges
Alright, listen up! Finger jointed edges, they’re like the plywood buddy system. You take two pieces, and they lock arms with a bunch of interlocking fingers. It’s the go-to move when you’re building something tough and sturdy, like a workbench or a trusty cabinet.
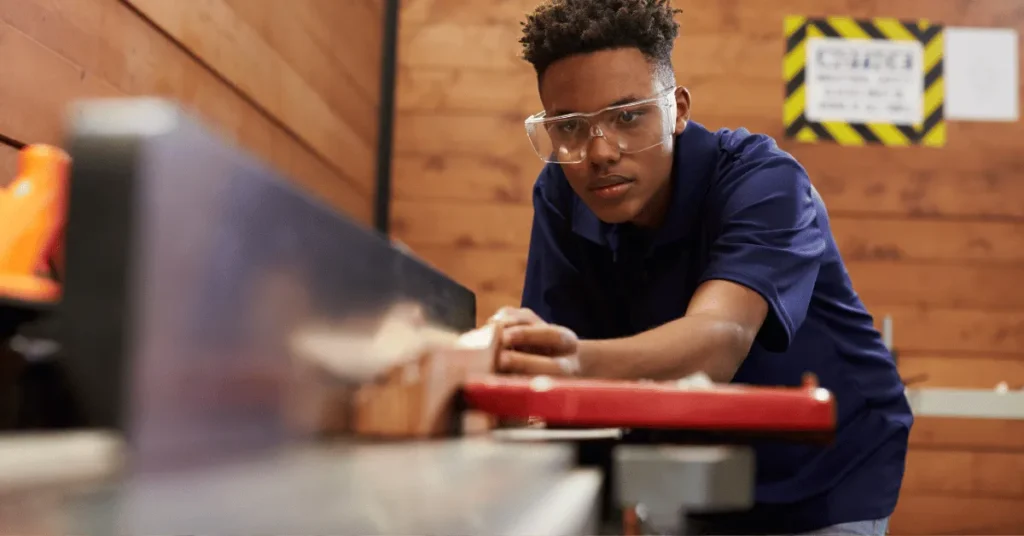
Now, when it comes to picking the plywood edge, it all comes down to what you’re cookin’ up in the workshop.
But here’s the deal: once you’ve got the lowdown on these plywood edge styles, you’ll be set to pick the one that’s just right for your project. That way, you’ll whip up something that’s not just good-looking but safe too.
How do you put a nice edge on plywood?
Plywood’s a real jack-of-all-trades in the woodworking world, but let’s talk about the rough edges it throws at us.
Now, those plywood edges? They can be a real handful – all rugged, unpolished, and even a bit pointy. Makes it a bit of a headache to deal with and can throw safety out the window.
But hey, no worries! We’ve got some tricks up our sleeves to smooth things over with plywood’s edges.
Planing
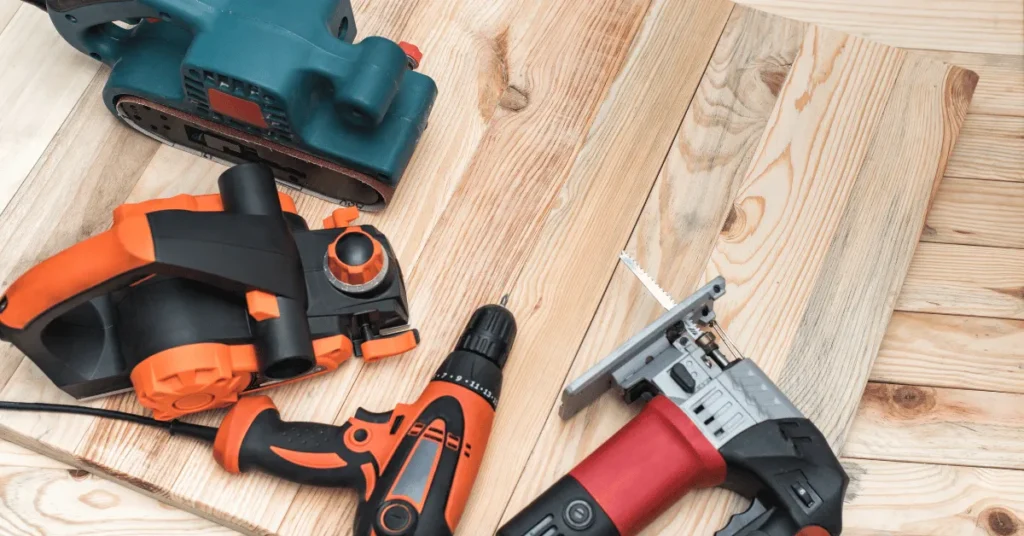
Alright, let’s dive into how we can get those plywood edges looking sharp. The go-to move here is planing – whether you’ve got a trusty hand plane or a power planer, they’ll do the job.
Start things off by hitting the edge with some rough-grit sandpaper. That’ll help clear out any loose bits and make the edge more planer-friendly. Then, take your plane for a spin, but remember, easy does it! Keep those passes light and follow the grain’s lead.
Routing
Alright, let’s talk about another trick in the plywood edge game – routing. For this one, you’ll need a router and the right router bit. And trust me, there’s a bunch of ’em to choose from, each giving you a different edge vibe.
Once you’ve got your bit sorted, it’s time to set the depth of cut. That depends on how thick your plywood is and the look you’re going for. Then, fire up that router and let it do its thing to create the edge you want.
Now, whether you’re going for planing or routing, here’s the deal: take your time and be careful. Those sharp edges mean business, so keep your wits about you.
How to plane plywood edges safely?
Those plywood edges? They’re all kinds of gnarly – rough, not-so-finished, and sometimes even a bit stabby. It’s like they’re out to make your plywood project a real challenge, not to mention a safety concern.
Here are some safety tips for planing plywood edges:
- Get a Sharp Plane: Having a sharp plane is like having a superhero sidekick. It makes the job smoother and less of a hassle. A dull one, on the other hand, will just slow you down and up the injury risk.
- Easy Does It: Don’t get too gung-ho. Take it slow and easy with your passes. Trying to strip off too much at once can lead to delamination and potential accidents.
- Go with the Grain: Follow the wood’s lead and plane in the direction of the grain. It keeps the plywood intact and makes your life simpler.
- Bring a Backer: A backer board is like the safety net at a trapeze show. It keeps your plywood from going all wonky and warping while you’re at it.
- Safety Specs: Always rock those safety glasses. They’re your shield against any flying plywood shrapnel.
- Watch Out for Edges: Once you’re done, keep in mind that plywood edge is gonna be sharp as a tack. Don’t go slicing yourself up!
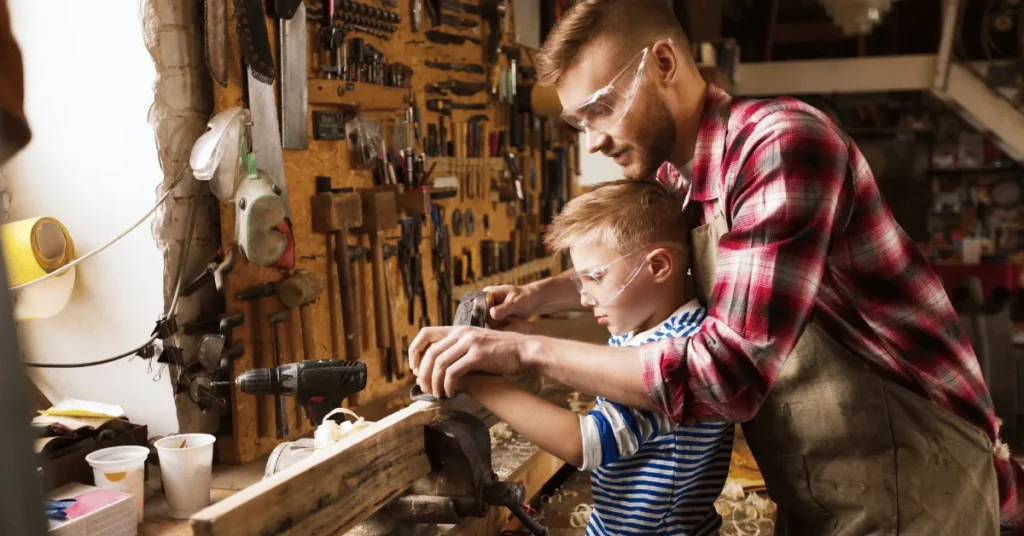
Just remember these safety tips, and you’ll be on the plywood edge-planing express without any bumps or bruises.
Here are some additional safety tips:
- Work in a well-lit area.
- Use a plane that is the correct size for the job.
- Don’t plane plywood that is wet or damp.
- If you are using a power planer, be sure to use the correct safety precautions.
Just take it easy and pay a smidge of attention, and you’ll be cruising through that plywood edge planing gig, ending up with something that’s not just cool but also safe as houses.
Important FAQs
Yes, you can plane plywood edges with a power planer. However, it is important to use caution and to take light passes. A power planer can remove a lot of material quickly, so it is easy to damage the plywood if you are not careful.
The best way to plane plywood edges depends on the specific project. For small projects, a hand plane may be the best option. For larger projects, a power planer may be a better choice.
To prevent the veneer from delaminating when planing plywood edges, it is important to use a sharp plane and to take light passes. You should also plane in the direction of the grain.
There are a few different types of plywood edges that can be created. Some of the most common types include smooth edges, chamfered edges, and rounded edges.
The pros of planing plywood edges include creating a smooth, finished surface and removing any imperfections. The cons of planing plywood edges include the risk of damaging the veneer and the time it takes to do.
Final Thoughts
So, in this article, we’ve chewed the fat about the ups and downs of planing plywood edges and how to do it right. We even dabbled in the various types of plywood edges and how to make ’em look slick.
With these tips, you’ll be all set to plane plywood edges without breaking a sweat and whip up something that’s not just easy on the eyes but also safe as houses.
All images in this article are taken from Canva.com
Can You Plane Plywood Subfloor? A Comprehensive Guide (2023)
“Unlock the secrets of planing plywood subfloors in our latest article. Discover the ins and outs of this essential woodworking skill for a flawless finish. Don’t miss out – dive in now and level up your DIY game!”
