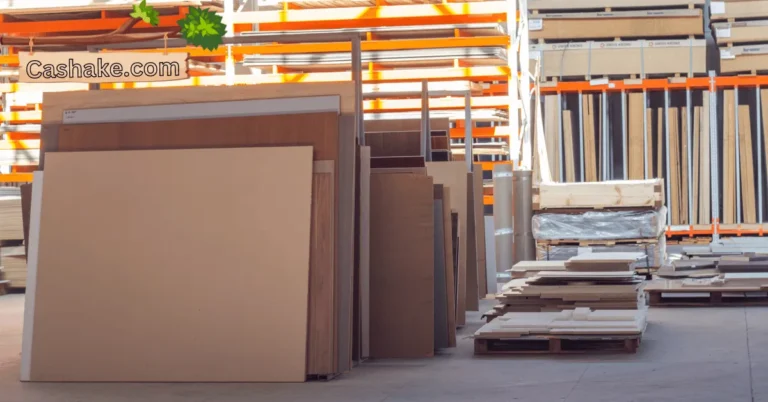

Veneer, it’s this ultra-thin layer of wood that jazzes up your regular plywood or MDF. You know, adds that extra oomph and polished vibe.
And guess what? A veneer can come from all sorts of wood types, unleashing a world of possibilities, from effortlessly chic to mind-blowingly intricate.
So, in this little chat, we’re gonna spill the beans on can veneer bend 90 degrees? This nifty trick? Super handy for those crafty woodworkers looking to whip up some curvy, twisty furniture or fancy moldings.
And hey, we’ll throw in some golden nuggets to help you bend veneer like a pro and sidestep the common slip-ups. Stay tuned!
Key Takeaways
- Choose flexible veneer types for better 90-degree bends.
- Use moisture wisely to enhance veneer pliability.
- Employ heat sources gradually for successful bending.
- Secure the veneer evenly on the bending form for precision.
- Avoid overheating to prevent scorching or cracking.
- Practice patience during the cooling process for best results.
- Relief cuts assist when bending against the grain.
- Thin veneers often require additional backing support.
- Remember to wear safety glasses when using heat sources.
- Carefully select the right veneer for your unique project.
Can veneer bend 90 degrees?
Veneer, it’s like the magic touch for wood – that ultra-thin layer that makes plywood or MDF feel and look like a million bucks.
But here’s the deal, it’s a bit of a bendy diva. You can give it some curves, no problem, but don’t expect it to do a 90-degree turn around a sharp corner. Its limit? About a 1-inch radius. So, we’re talking gentle bends, not sharp angles.
Now, how do you make veneer do its bendy thing? Well, there are a couple of tricks up our sleeves. One, the veneer press – it’s like a spa day for veneer. This machine gives it a warm hug with heat and pressure, molding it around a form.
Or, you can go the heat gun route. Imagine it’s a warm summer day, and your veneer’s the soft ice cream – a little heat makes it all pliable. You wrap it around a bending form, let it cool, and voila, it keeps that shape.
But hold on, what if you’re dealing with a stubborn sharp corner? Two options: miter joint – cut two veneer pieces at a 45-degree angle, glue ’em at the corner. Or, go for the butt joint – just butt those veneer pieces together at the corner and fill the seam with wood filler.
Which one’s the winner? Well, it depends on your project and the look you’re after. When in doubt, though, have a chat with a wood pro – they’ll steer you right!
How many degrees veneer can bend?

So, how much can you bend that veneer? Well, it’s a bit like asking, “How far can you bend a straw?” There are a few things in the mix:
Thickness Matters: Thinner veneers are the limber gymnasts of the bunch, bending into sharp angles with ease. The beefier ones, not so much.
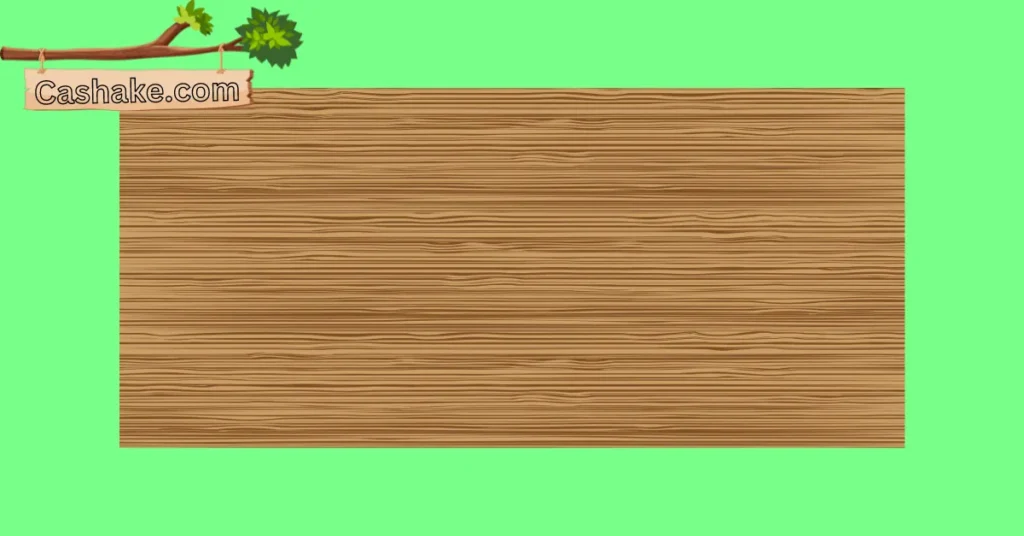
Wood Type Vibes: Different woods have their groove. Maple and mahogany? They’re the yoga instructors, super flexible. Oak and walnut? A bit more like your grumpy uncle – not too keen on bending.
Grain Direction: Veneer is chill when you bend it with the grain, but give it some resistance against the grain, and it’s not as flexible.
Bend It Like Beckham: There are tricks to the trade, like using a vacuum press, a bending form, or a heat gun. Each method has its own style, affecting how sharply that veneer can groove.
Now, if we’re talking general rules:
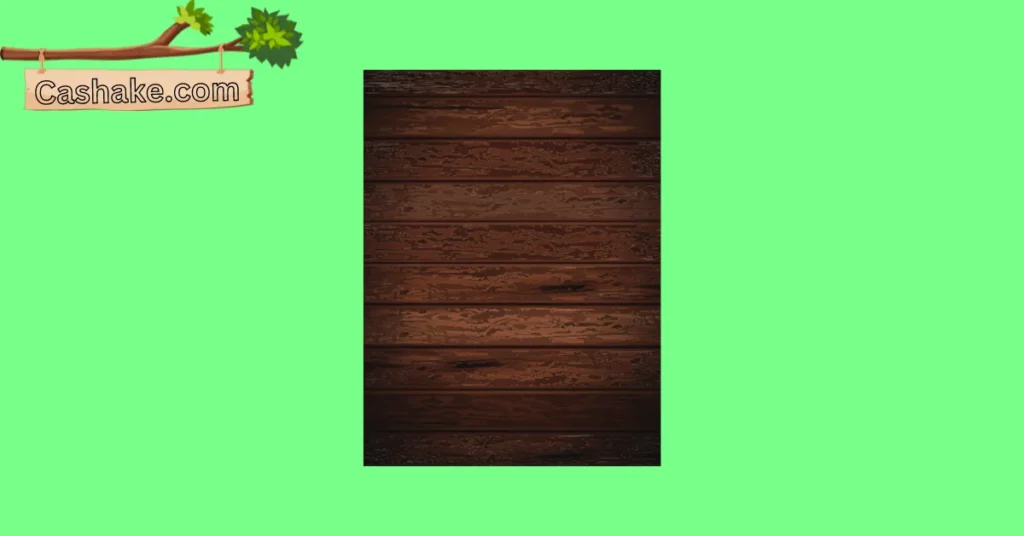
- Paper-backed veneer can pull off about a 1″ radius along the grain and a 5″ radius across it.
- A wood-on-wood veneer can handle around a 3/4″ radius.
But hey, these are just ballpark numbers. The real deal depends on all those factors I mentioned.
If you’re scratching your head about your specific veneer, do yourself a solid and chat up a woodworking pro. They’ve got the wisdom to keep your project from bending out of shape!
How to bend slim veneer at 90 degrees?
To bend slim veneer at a 90-degree angle, you’ll need a few tools and materials:
Materials:
- Slim veneer
- A bending form (a piece of wood or metal with a 90-degree bend)
- Clamps
- Damp cloth
- Heat source (e.g., hair dryer, heat gun)
Instructions:
Dampen the veneer: Begin by dampening the slim veneer on both sides using a damp cloth. This moisture will soften the veneer, making it more pliable.
Attach the veneer to the bending form: Secure the veneer to the bending form, ensuring it aligns flush against the form, and the bend is even. Use clamps to hold it in place.
Apply heat: Employ your chosen heat source to apply heat to the veneer. Start from the inside of the bend and work your way outward. Exercise caution not to overheat the veneer, as this can lead to scorching or cracking.
Bend the veneer: As the veneer heats up, it becomes more pliable. Gently bend the veneer around the bending form until it reaches the desired 90-degree angle.
Clamp the veneer in place: Once you’ve achieved the desired angle, clamp the veneer securely in place and let it cool completely.
Remove the veneer from the bending form: After the veneer has cooled down, carefully detach it from the bending form.
Tips:
If your veneer is exceptionally thin, consider using a backing material to support it, such as another piece of veneer or a thin plywood sheet.
If the veneer proves difficult to bend, you may need to further dampen it or apply additional heat to make it more pliable.
Be cautious not to overtighten the clamps, as excessive pressure can damage the veneer.
For sharp bends, you may need to make a relief cut on the inside of the bend. A relief cut is a shallow cut across the veneer, helping to prevent cracking.
Safety:
Always wear safety glasses when working with heat sources to protect your eyes.
Be mindful not to overheat the veneer to prevent scorching or cracking.
Ensure the veneer cools completely before removing it from the bending form, as this allows it to maintain its shape.
Tips for bending veneer 90 degrees

Let me tell you some of the very bets tips for bending veneer 90 degrees. Here are some tips for bending veneer 90 degrees:
Choose the Right Veneer: Not all veneers are created equal when it comes to bending. Some woods, such as maple and oak, are naturally more flexible than others, such as mahogany and walnut. If you are unsure which veneer to choose, consult with a woodworking expert.
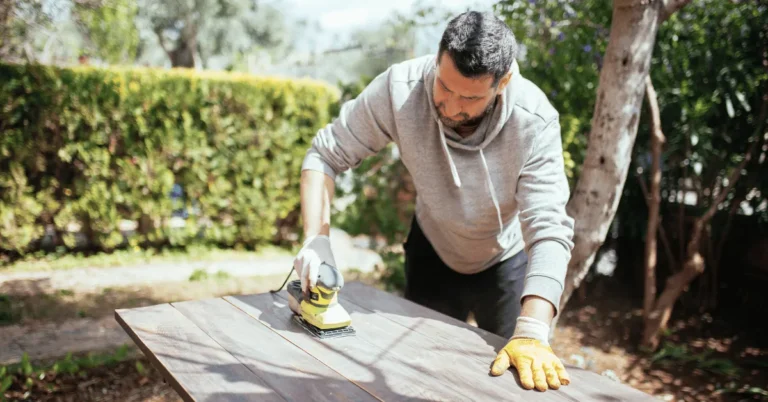
Prepare the Veneer: Before you start bending, it is important to prepare the veneer. This involves moistening it to make it more pliable. You can do this by soaking it in warm water for a few minutes, or by using a steam iron or veneer softener.
Bend the Veneer Slowly and Carefully: Once the veneer is soft, you can start bending it. Do this slowly and carefully, and avoid applying too much force. If you bend the veneer too quickly or too forcefully, it may crack or break.
Use a Bending Mold: A bending mold can help you bend the veneer to a specific shape. To use a bending mold, simply place the veneer in the mold and clamp it in place. Then, tighten the clamps until the veneer is bent to the desired shape.
Allow the Veneer to Dry Completely: Once the veneer is bent to the desired shape, you need to allow it to dry completely. This may take several hours or even days, depending on the thickness of the veneer and the humidity level in your workshop.
Here are some additional tips:
- Use a Sharp Knife to Cut the Veneer: This will help to prevent the veneer from cracking or tearing when you bend it.
- Apply Glue to the Back of the Veneer Before Bending: This will help to keep the veneer in place once it is bent.
- Consider Relief Cuts if Bending Against the Grain: If you are bending the veneer against the grain, you may need to make relief cuts. Relief cuts are small cuts that are made perpendicular to the grain of the wood. This helps to make the wood more pliable and easier to bend.
- Be Patient: Bending veneer takes time and practice. Don’t get discouraged if you don’t get it perfect the first time.
If you are following these tips, you should be able to bend veneer 90 degrees without any problems. However, it is important to remember that bending veneer is a skilled task.
If you are new to woodworking, it is a good idea to practice bending veneer on scrap pieces before you try to bend veneer for a real project.
Common mistakes to avoid when bending veneer 90 degrees

When it comes to bending veneer at a 90-degree angle, there are some common mistakes that you should steer clear of to ensure a successful outcome. These errors include:
Using the Wrong Type of Veneer: Veneer isn’t a one-size-fits-all material. Different types of wood veneer have varying levels of flexibility and durability.
To avoid complications, make sure to choose a veneer wood type known for its flexibility and resilience. Not all woods can withstand a 90-degree bend, so selecting the appropriate veneer is crucial.
Neglecting Moistening: Veneer becomes more pliable when adequately moistened. Before attempting the bend, it’s essential to ensure the veneer is sufficiently damp.
This can be achieved through methods like gently spraying it with water or soaking it in a wet towel. Proper moisture content is the key to avoiding cracks or splits during bending.
Bending Too Quickly: Rushing the bending process is a recipe for disaster. To prevent the veneer from cracking or splitting, take your time and bend it gradually and cautiously.
Hastily bending the veneer increases the risk of it breaking, so patience is indeed a virtue in this case.
Insufficient Support: Adequate support is paramount when bending veneer. To prevent any potential breakage, ensure that you have proper support in place.
This can be achieved by bending the veneer over a form or by utilizing a bending jig specifically designed for this purpose.
Avoid Overbending: Overbending the veneer can lead to undesirable consequences, such as cracks or splits.
While it’s essential to reach that 90-degree angle, avoid pushing the veneer beyond its limit. Once you achieve the desired angle, stop bending to maintain the integrity of the veneer.
By heeding these precautions and handling the veneer with care, you can successfully execute a 90-degree bend without encountering common pitfalls.
Remember that the right veneer selection, moisture control, patience, proper support, and avoiding excessive bending are key to a successful veneer bending project.
Projects that use veneer bent 90 degrees

Veneer bent at a 90-degree angle finds versatile applications across various woodworking projects. These applications encompass:
Furniture: Veneer serves as a valuable tool in crafting furniture with elegantly curved edges, encompassing tables, chairs, cabinets, and dressers. Achieving these curves can be accomplished through the use of a veneer bending form or by laminating multiple layers of veneer together.
Casework: Veneer’s flexibility extends to casework, enhancing the aesthetics of kitchen cabinets, bathroom vanities, and entertainment centers with gracefully curved edges, lending a polished and seamless appearance.
Architectural Details: In architectural design, veneer finds its place in creating curved embellishments like columns, pilasters, and crown molding, infusing rooms with an air of sophistication and elegance.
Other Projects: Beyond these conventional uses, veneers can be employed in diverse creative ventures, including the crafting of musical instruments, lampshades, and jewelry boxes, adding unique curved elements to each.
Specific examples of projects showcasing veneer bent at a 90-degree angle include:
Bentwood Rocking Chair: The seat and backrest of a bentwood rocking chair typically feature a veneer that has undergone the 90-degree bending process, offering both comfort and aesthetics.
Curved Kitchen Island: Crafted by laminating multiple veneer layers and bending them to the desired shape, a curved kitchen island becomes a striking centerpiece in modern kitchen designs.
Round Dining Table: Employing a veneer bending form, craftsmen can artfully curve the veneer into a circle to create an inviting and unique round dining table.
Curved Bathroom Vanity: Using veneer, a curved front panel adds a touch of style and innovation to bathroom vanities, harmonizing functionality with aesthetics.
Architectural Column: The creation of a veneer column involves wrapping veneer around a central core, followed by bending the veneer to attain the desired shape, making it a sophisticated architectural element that elevates interior design.
Important FAQs
Veneer is an ultra-thin layer of wood commonly used to enhance the appearance of plywood or MDF. It’s applied to surfaces to achieve a polished and stylish look in woodworking projects.
While the veneer is flexible, achieving a sharp 90-degree bend is challenging. Its limit is typically around a 1-inch radius. However, various techniques, like using a bending form or heat, can help bend veneer to some extent.
Several factors influence the bendability of veneer, including its thickness, wood type, grain direction, and the bending method used. Thinner veneers and certain wood types tend to bend more easily.
To bend slim veneer at a 90-degree angle, dampen it, secure it to a bending form, apply heat gradually, bend it to the desired angle, clamp it in place, and let it cool before removing it from the form.
Yes, always wear safety glasses when working with heat sources to protect your eyes. Be cautious not to overheat the veneer to prevent scorching or cracking. Ensure the veneer cools completely before removing it from the bending form to maintain its shape.
Veneer bending can enhance various woodworking projects, including furniture like chairs and tables, architectural details such as columns and crown moldings, and creative endeavors like crafting musical instruments or jewelry boxes.
Final Thoughts
So, wrapping up our chat on bending veneer at a cool 90 degrees – it’s a bit of a woodworking adventure, isn’t it? We’ve dived into the nitty-gritty, considering the wood type, moisture levels, and all those bending tricks.
Whether you’re getting fancy with furniture, jazzing up architectural details, or just letting your creativity run wild, becoming a veneer-bending pro opens doors to endless design possibilities.
Hopefully, this article has given you some insider tips and tricks to nail that perfect veneer bend. Remember, take it slow, keep it precise, and you’ll be on your way to some seriously impressive woodworking.
Have you had a go at veneer bending? Do you have any burning questions or cool project stories to share? Don’t hold back! Drop your thoughts in the comments below. Your experiences are not only valuable to us but also to your fellow wood crafters out there.
And if this article has been your guiding light in the world of veneer bending, why not spread the knowledge? Share it with your woodworking buddies and let’s keep the veneer-bending journey alive – together!
What is The Best Thickness For Edge Banding? Tips for Edge Banding Thickness 2023
“Having mastered veneer bending, discover the perfect edge banding thickness in our next article: ‘What is The Best Thickness For Edge Banding? Tips for Edge Banding Thickness 2023.’ Expand your woodworking expertise.”