Will Edge Banding Stick to Metal? A Comprehensive Guide 2024
Edge banding, it’s like a protective fashion statement for your surfaces! Imagine a super-slim strip of material that adds both style and armor to the exposed edges of stuff like wood, plywood, or even metal.
Its job? Shield those edges from all sorts of trouble – think damage, moisture, and the elements – while making your final product look top-notch.
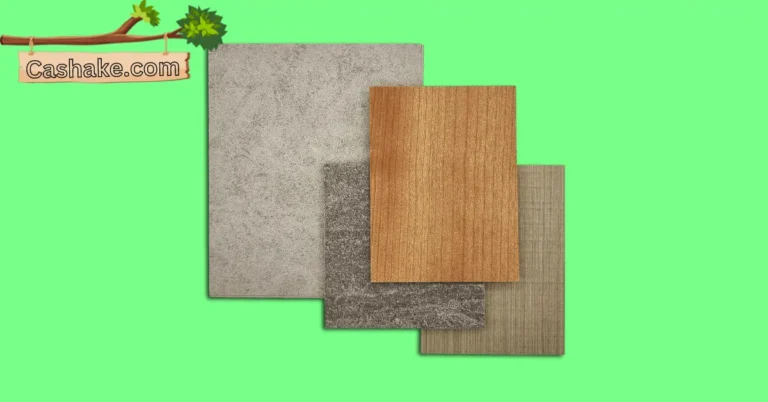
Now, here’s the cool part: edge banding isn’t just a one-size-fits-all deal. Nope, you’ve got options galore! Picture this: wood veneer, plastic, metal – you name it!
The key? Picking the right edge banding for your specific mission. For instance, if you’re jazzing up a metal surface, you’ll want the special metal-friendly kind.
In this nifty article, we’re diving into will edge banding stick to metal, checking out the different flavors of edge banding out there, and tossing in some pro tips on how to slap that banding onto metal like a boss.
Plus, I’ll tackle some common hiccups people run into and show you how to dodge them.
Key Takeaways
- Edge banding enhances metal surfaces, offering protection and style.
- Choose an edge banding material that matches your metal type.
- Clean and prep metal surfaces thoroughly for strong adhesion.
- Select the right adhesive, like contact cement for metal.
- Apply even pressure and trim with precision for best results.
- Avoid mixing different edge banding materials on one surface.
- Consider specialized edge banding for outdoor metal projects.
- Prioritize UV-resistant and weatherproof options for outdoor use.
- Edge banding elevates aesthetics and durability in DIY projects.
- Share knowledge and connect with fellow DIY enthusiasts for success.
What are the benefits of using edge banding?

Edge banding, folks, is a must-have step in the woodworking game. What’s it all about? Well, it’s the process of slapping a thin strip of material onto the exposed edges of your wooden panels. And let me tell you, it’s got some pretty sweet perks:
Protection: First off, it’s like putting armor on your wood. Edge banding shields those edges from all sorts of troublemakers – think moisture, chipping, and everyday wear and tear. This is especially key for stuff like furniture that takes a beating from daily use and the elements.
Durability: Ever heard of the saying “tough as nails”? That’s what edge banding does for your wood. It seals those edges up tight, keeping warping and splitting at bay. That means your wood’s lifespan just got a major boost.
Looks Matter: But it’s not just about playing defense; it’s also about style points. By hiding those bare edges, edge banding gives your wood panels a sleek, polished finish. It’s like putting on a nice suit – it instantly elevates the look.
Now, let’s dive into the nitty-gritty benefits:
Moisture Be Gone: Edge banding isn’t just a pretty face; it’s a moisture-blocking superhero. No more worries about your wood getting all swollen or rotten. It’s got your back.
Armor Up: Those edges are like the bodyguards of your wood. They fend off chips, scratches, and all sorts of roughhousing. Your wood stays looking pristine for longer.
Built to Last: Say goodbye to splits and cracks. Edge banding is your wood’s best friend when it comes to durability. Perfect for projects that need some muscle.
Upgrade Your Look: It’s not vanity but good taste. Edge banding takes your wood from ordinary to extraordinary. Your finished product is a real head-turner.
Options Galore: With edge banding, you’re the boss of your wood’s look. It comes in a bunch of materials and colors, so you can customize it for your project. Woodworking? More like wood wizardry.
In a nutshell, edge banding is your ticket to woodworking success, whether you’re a pro or just love a good DIY project.
It’s like a Swiss Army knife for wood, offering protection, durability, and a touch of class. So, why wait? Get edgy with your woodworking!
Will edge banding stick to metal?

Edge banding can stick to metal surfaces, and there are many options, each with its superpowers.
Two of the usual suspects are PVC and ABS. They come with some seriously sticky backings that love bonding with metal.
But here’s the deal, you gotta make sure that the metal surface is squeaky clean, with no dirt, grease, or oil hanging around. Use a metal cleaner or degreaser to get it in primo shape.
Or you could roll with metal edge banding. It’s like a metal sheet that’s best buddies with a backing material. And it’s got style too, offering up finishes like brushed aluminum, stainless steel, and brass.
Then there’s Mylar edge banding, a bit of a fancy choice. It’s got a thin Mylar film teamed up with a plastic backer. Mylar’s tough and doesn’t mind a few scratches or some fading, plus it rocks different metallic looks.
Now, when it comes to the glue game, choose wisely. Contact cement is the go-to for metal surfaces, but it can be a bit tricky to apply, so follow the rules.
If you’re after some superhero-level strength, go for a two-part epoxy adhesive. It’s tough, durable, and can handle moisture and chemicals. Just remember, it takes a bit longer to cure compared to the speedy contact cement.
If so, what type of specific edge banding should I use?

When it comes to picking the right edge banding for metal surfaces, there are a few important things to consider.
These factors include the type of metal you’re working with, the look you want to achieve, and what you plan to use it for. These considerations are super important in helping you make the best choice for your project.
In the world of edge banding for metal surfaces, you’ve got some great options that get the job done:
Aluminum Edge Banding: Aluminum edge banding is a strong and good-looking choice for metal surfaces. It comes in various finishes like brushed, anodized, and painted, giving you a lot of flexibility.
People love using aluminum edge banding for stuff like countertops, cabinets, and all kinds of furniture.
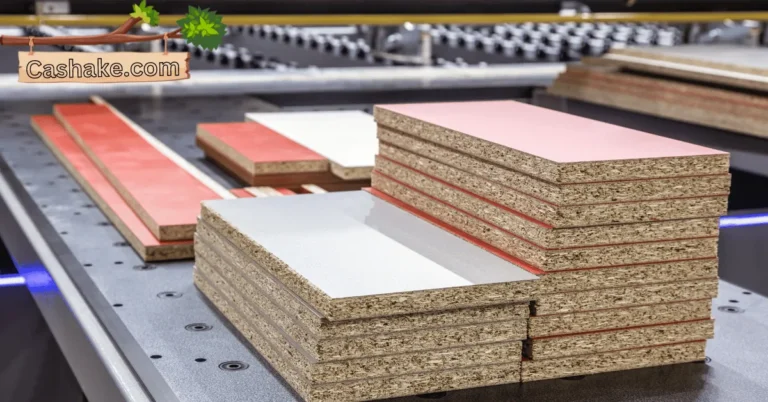
PVC Edge Banding: Another sturdy and versatile option for metal surfaces is PVC edge banding. It comes in loads of colors and finishes and is known for being easy to work with. You’ll find it in office furniture, medical equipment, and lots of industrial setups.
Acrylic Edge Banding: If you want a shiny, modern look for your metal surfaces, acrylic edge banding is the way to go. It offers tons of colors and finishes and isn’t too tough to keep clean.
People often use acrylic edge banding for things like kitchen countertops, bathroom vanities, and other decorative projects.
Now, when you’re deciding on the right edge banding for your metal surfaces, here’s what you need to think about:
a. Type of Metal: Different metals have different qualities, so it’s crucial to pick an edge banding material that matches your metal base. Like, if you’ve got aluminum surfaces, go with aluminum edge banding. If it’s steel, PVC edge banding is a good match.
b. Desired Look: Edge banding comes in all sorts of finishes, so go for one that goes with the overall style you want. For example, a brushed aluminum edge banding goes great with a brushed aluminum countertop.
c. Purpose: Edge banding serves different purposes, so make sure your material can handle what you’ve got planned. If it’s going on a countertop, pick something that can handle heat, moisture, and scratches.
Once you’ve thought about all these things, you’ll be all set to pick the perfect edge banding that fits your project’s needs and guarantees a successful result.
How do I apply edge banding to metal?

When you’re jazzing up your metal pieces with some cool edge banding, there are a couple of ways you can go about it:
Double-Sided Adhesive Tape: This one’s a crowd-pleaser because it’s super easy and works with all sorts of edge banding materials like PVC, metal, and wood. Here’s the lowdown on using double-sided adhesive tape:
- First, cut that edge banding to the right size, leaving a bit hanging over on each end.
- Now, peel off the backing from the tape and stick it to the backside of your edge banding.
- Carefully line up the edge banding with your metal’s edge and give it a good press to stick it on snugly.
- Finally, grab a sharp utility knife and trim off any extra edge banding so it’s nice and flush with the metal surface.
Contact Adhesive: This one’s got some serious grip, but it’s a bit more demanding in terms of precision. Make sure to follow the adhesive instructions carefully. Here’s the scoop on using contact adhesive:
- Start by slathering a thin layer of adhesive on both your edge banding and the metal’s edge.
- Let that adhesive sit for a few minutes until it gets a little tacky.
- Carefully match up your edge banding with the metal’s edge and press it down firmly.
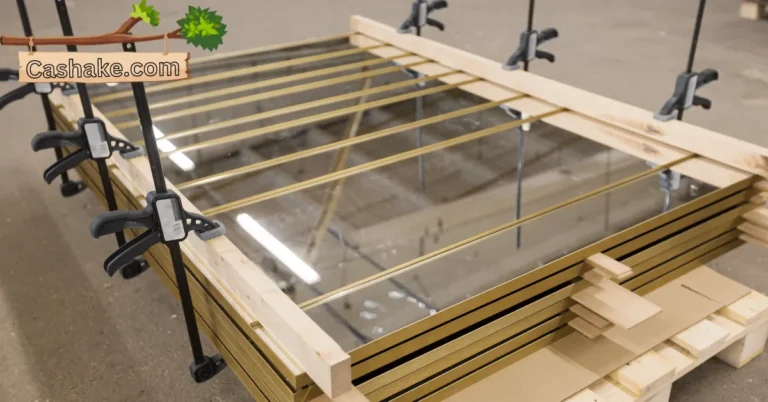
- To keep things in place while the adhesive fully dries, you can use a clamp or something heavy.
- Once the adhesive is dry, grab that trusty utility knife again and trim away any extra edge banding to make it all smooth with the metal.
Here are some hot tips to keep in mind while you’re working your edge-banding magic:
- Make sure your metal surface is squeaky clean and dry before you get started.
- A sharp utility knife is your best buddy for getting that trimming just right.
- Don’t go overboard with the heat if you’re using an iron, or you might end up with some sticky situations (and not the good kind!).
- If you’re rolling with contact adhesive, don’t skip a beat – follow those label instructions to the letter.
And if you’re looking to amp up the durability and stickiness of your edge banding on metal, there are special products made just for that. They usually come packing some seriously strong adhesive for long-lasting results.
Now, if you’ve got a big, fancy metal project that needs some edge banding TLC, it might be wise to bring in the professionals. They’ve got the skills to tackle even the trickiest jobs with finesse.
What are some common problems that people have with edge banding on metal, and how can I avoid them?

Let’s talk about the usual hiccups you might run into when you’re jazzing up metal with some edge banding:
Weak Stickiness: One of the main headaches is when your edge banding just won’t stick right. It’s like it’s playing hard to get.
This can happen for all sorts of reasons, like not prepping the metal surface properly, using the wrong glue, or not giving it a good squeeze during application.
Peeling or Chipping: Another bummer is when your edge banding starts to peel or chip. It’s like it’s trying to escape!
This can happen if it didn’t stick well, got too much roughhousing, or had to endure some rough weather conditions.
Color Mishaps: Sometimes, your edge banding can change colors or get stained. It’s like it had a bad hair day.
This can happen if it hangs out in the sun too long, makes friends with some chemicals, or gets too cozy with high temps.
Looks Not Matching: Ever put on some edge banding and it just doesn’t look right? Like, it’s all uneven, or doesn’t match up?
That’s because of a wonky application or mixing different types of edge banding on the same piece.
To dodge these problems, follow these easy tips when you’re putting edge banding on metal:
Prep the Metal Right: Start by giving that metal a good cleaning, let it dry off completely, and make sure there’s no junk on it. Sometimes, sanding might be needed before you slap on that edge banding.
Pick the Right Glue: Use glue that’s made of metal – don’t use the wrong stuff. And make sure it’s a good match for the type of edge banding you’ve got. The right glue is like a good wingman for a strong bond.
Squeeze It Good: When you’re putting on the edge banding, don’t be shy with the pressure. Use tools like rollers or clamps to make sure it’s hugging that metal tight.
Trim with Precision: After slapping on the edge banding, trim the extra bits with a sharp knife or router. Just be careful not to go overboard and weaken the bond.
Oh, and remember to pick the right type of edge banding for what you’re doing. Some are tougher and built for hardcore situations. If your metal project is facing the great outdoors, go for edge banding that’s UV-resistant and weatherproof.
Follow these easy-peasy tips, and you’ll steer clear of the usual edge banding drama on your metal projects. Your final product will be rock-solid and look slick.
Important FAQs
Yes, edge banding can be applied to various metal surfaces, including aluminum, steel, and more. The choice of edge banding material and adhesive should be based on the specific type of metal you’re working with.
Edge banding protects against moisture, damage, and everyday wear and tear on metal surfaces. It also enhances the aesthetics of the metal, offering a polished and finished look.
Consider factors such as the type of metal, desired appearance, and intended use. For example, aluminum edge banding works well for aluminum surfaces, while acrylic edge banding offers a shiny, modern look.
Contact cement is a commonly used adhesive for metal surfaces. It provides a strong bond but requires precision during application. Two-part epoxy adhesive is another option known for its durability and resistance to moisture and chemicals.
Yes, it’s essential to ensure the metal surface is clean, dry, and free from dirt, grease, or oil. In some cases, light sanding may be necessary to create an optimal surface for adhesion.
To prevent such problems, choose the appropriate adhesive, apply adequate pressure during installation, and ensure a precise trimming of the edge banding. Following manufacturer instructions for adhesives is crucial.
Final Thoughts
So, in a nutshell, edge banding isn’t just a practical hack to protect your metal surfaces – it’s also a cool way to jazz them up. Whether you’re looking to shield your furniture from everyday wear and tear or give it a sleek, polished makeover, edge banding is your secret weapon.
Now that we’ve dived into the world of edge banding materials like aluminum, PVC, and acrylic, you’ve got the lowdown to pick the perfect one for your metal project.
Remember to think about the type of metal, the look you’re going for, and what you’re planning to use it for when making your choice.
When it’s time to get down to business and apply that edge banding to your metal, you’ve got two trusty options: easy-peasy double-sided adhesive tape or the tough grip of contact adhesive.
Just make sure to prep your metal surface properly and choose the right adhesive – it’s the secret sauce for success.
But hey, we all know DIY projects can throw us some curveballs. To dodge the common issues like not-so-sticky situations, peeling, or color mishaps, follow these simple rules: prep that metal like a pro, use the right glue, give it some love with pressure, and trim it with precision.
Can Veneer Bend 90 Degrees? A Comprehensive Guide
Having explored edge banding, your next read should be “Can Veneer Bend 90 Degrees? A Comprehensive Guide.” Discover more woodworking insights!