What Type of Clamp is Best For Gluing up Large Panels? (Solved!)
When it comes to crafting gorgeous and rock-solid wooden panels, there’s a key element that often flies under the radar: choosing the right clamps.
Whether you’re a seasoned pro or just dipping your toes into the world of woodworking, nailing down those essential clamping techniques is a must.
So, here’s the deal – in this guide, I am going to dive headfirst into the realm of panel gluing. I’ll check out all the different clamp options you’ve got in your toolkit, from trusty bar clamps to sturdy pipe clamps.
I’ll break down what makes each one tick, so you can make smart choices for your woodworking projects. Plus, I’ll dish out some insider tips and highlight the key factors to consider when picking out your clamps.
Get set to up your panel gluing game with the know-how and wisdom you’re about to soak up right here. And ultimately, your this question will be solved: What Type of Clamp is Best For Gluing up Large Panels?
Key Takeaways
- Choose panel clamps for even pressure and easy panel gluing.
- Match clamp size to panel width for proper coverage.
- Consider glue type when selecting the right clamp.
- Use padded jaws to protect your wood during clamping.
- Align panels precisely for a strong and flush bond.
- Space clamps evenly along the joint for consistent pressure.
- Gradually increase clamp pressure to avoid wood damage.
- Allow sufficient drying time for a rock-solid bond.
- Panel clamps excel for frequent large panel projects.
- Budget-friendly pipe and F-style clamps suit occasional use.
What are the different types of clamps that can be used for gluing up large panels?
When it comes to gluing big panels in woodworking, you’ve got a couple of go-to clamp options:
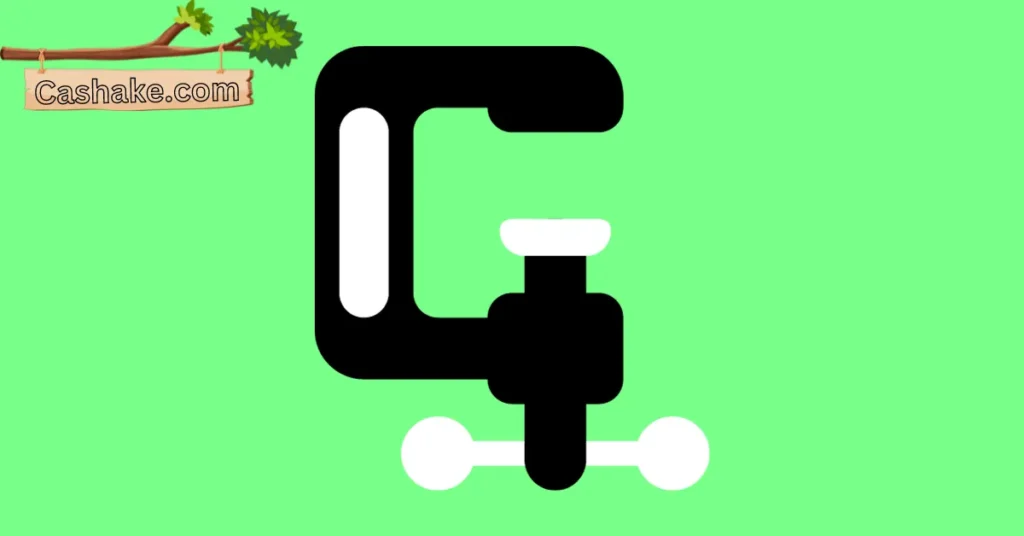
Pipe Clamps: These bad boys are super versatile and can handle all sorts of woodworking projects, including panel gluing.
They’ve got two jaws connected by a pipe, and the cool thing is, that you can adjust that pipe’s length to fit your needs perfectly. So, if you’re dealing with those oversized panels, pipe clamps are your flexible friends.
Panel Clamps: Now, these are the specialists in panel gluing. They come equipped with four jaws that put the squeeze on all four sides of your panel, keeping it flat and level while the glue does its thing.
Sure, they might cost a bit more than pipe clamps, but they’re user-friendly and always deliver top-notch results.
But wait, there’s more! Check out these other clamp options for those hefty panels:
Parallel Clamps: These are like cousins to pipe clamps, but they use a metal bar instead of a pipe. They’re pricier, but they’re tough cookies and dish out consistent clamping power.
F-style Clamps: These versatile tools can tackle various woodworking tasks, including panel gluing. While they might not have the Hulk-like grip of pipe or panel clamps, they’re budget-friendly and a breeze to use.
When you’re on the hunt for clamps for panel gluing, don’t forget to think about these things:
- Panel Size: Make sure the clamps you pick can stretch across your panel’s width.
- Type of Glue: Different glues need different levels of squeeze. Match your clamps to your glue, especially if you’re into those high-pressure options like epoxy.
- Budget: Panel clamps are champs, but they can be pricey. Pipe clamps are budget-friendly but require some skills and might not deliver super consistent pressure. F-style clamps are easy on the wallet but come with a clamping power cap.
To sum it up, if you’re often in the big panel game, splurge on some panel clamps for top-tier performance. But if it’s a once-in-a-while gig, pipe clamps or F-style clamps will get the job done without breaking the bank.
What Type of Clamp is Best For Gluing up Large Panels?

When you’re tackling those big panel glue-ups, the type of clamp you pick can make a difference in how smooth and easy your woodworking project goes.
If you’re wondering what the go-to choice is, let me introduce you to the panel clamp. These bad boys are purpose-built for panel gluing and come with some sweet benefits that set them apart from other clamps:
- Even Pressure, Every Time: Panel clamps are like the Zen masters of pressure distribution. They make sure that your panel gets love from all sides, resulting in a perfectly flat and uniform bond.
- User-Friendly Vibes: Working with panel clamps is a breeze, even when you’re dealing with those massive panels. They’re designed to be super easy to set up and use, with no headaches involved.
- Built to Last: These clamps are no pushovers. They’re made with top-notch materials, so they can take a beating and keep on clamping, project after project.
Let’s take a closer look at the various types of clamps available for gluing large panels, highlighting their respective advantages and disadvantages:
| Type of clamp | Advantages | Disadvantages |
|---|---|---|
| Panel clamp | Can be difficult to use, and may not provide consistent clamping pressure | Expensive |
| Pipe clamp | Versatile, affordable | Can be difficult to use, may not provide consistent clamping pressure |
| Parallel clamp | Durable, provides consistent clamping pressure | Expensive |
| F-style clamp | Versatile, affordable | Not as powerful as pipe clamps or panel clamps |
So, wrapping it up, the clamp you go for when gluing those big panels boils down to what you need and how deep your pockets are. If you’re all about top-tier results and money’s no object, panel clamps are your A-game.
But hey, if you’re watching those purse strings or you don’t glue panels all that often, pipe clamps or good ol’ F-style clamps can do the job just fine. Bottom line: picking the right clamp is a key player in making your woodworking projects a breeze.
What are the factors to consider when choosing clamps for gluing up large panels?

When you’re on the hunt for the right clamps to stick those big panels together, there are a few things to keep in mind, no need for a formal checklist:
- Size Matters: First up, make sure your clamps are long enough to stretch across your panel without breaking a sweat.
- Glue Game: Consider the glue you’re using. Different glues, different pressures. Match your clamp to your glue for the best results.
- Budget Watch: Panel clamps? Fancy but pricey. Pipe clamps? More budget-friendly, but might require some extra elbow grease.
- Easy Peasy: Some clamps, like panel clamps, are super user-friendly, especially when you’re dealing with monster-sized panels.
- Built to Last: Go for quality. Pick clamps made from tough materials that can handle the long haul.
Now, let’s dig into some extra tips for choosing the right clamps:
- Padding Matters: Look for clamps with padded jaws to keep your wood scratch-free.
- Wide Grasp: Get clamps with a wide clamping capacity to handle panels of all sizes.
- Panel Power: If you’re the big panel pro, investing in panel clamps is like leveling up. They’re made for this job and do it like champs.
- Budget Play: Tight budget or not gluing panels often? Pipe clamps or F-style clamps can do the trick. They might take a bit more effort, but they get the job done.
Once you’ve got your clamps sorted, here’s how to use them like a boss:
- Flat Ground: Work on a flat surface to keep that panel nice and flat.
- Cauls Are Cool: Slide some wooden cauls in between your clamps and the panel for even pressure.
- Clamp Crew: Use enough clamps to hold that panel tight – rule of thumb, one clamp every 6 inches of the joint.
- Patience Pays Off: Don’t rush. Let the glue dry completely before unleashing your panels. Strong bonds take time.
So, there you have it – clamp wisdom for a lifetime of panel-gluing adventures.
How to use clamps to glue up large panels effectively?

Okay, here’s the lowdown on making those clamps work like a charm when you’re gluing up some big panels:
Step 1: Prep the Panels
Before you dive into the gluing frenzy, make sure your panels are in tip-top shape. Get ’em nice and flat and give ’em a good cleaning. If there are any bumps or lumps, be a hero and sand them down to silky smoothness.
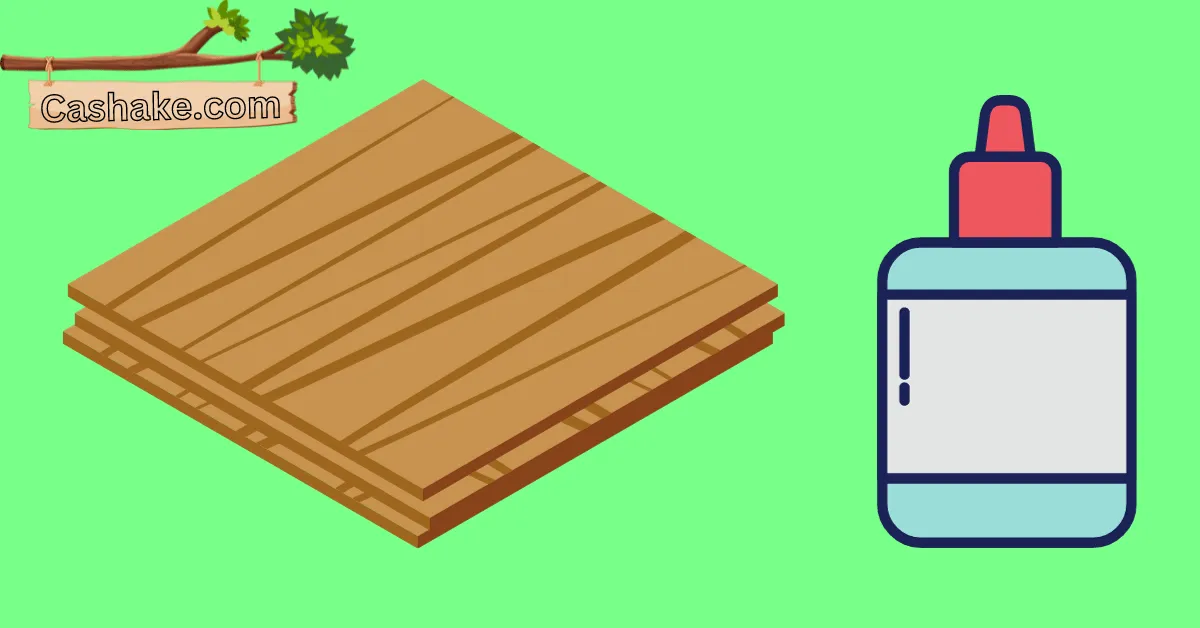
Step 2: Get Sticky with Glue
Now, it’s time to get sticky. Apply a nice, even layer of glue to the edges of your panels. Easy does it – don’t go overboard. Too much glue means a gooey mess later.
Step 3: Matchmaker Time
Gently bring those panels together in perfect harmony. Check twice, align them nicely and flush, and make sure no sneaky gaps are trying to ruin your day. Proper alignment is your ticket to a strong bond.
Step 4: Clamp It Down
Time to bring in the muscle – your clamps. Space ’em out evenly along the joint and start tightening. But hold your horses – don’t go full Hulk mode just yet. Start light and then slowly crank up the pressure until that joint’s locked and loaded.
Step 5: Patience, Young Padawan
Listen to what the glue tells you. Follow the instructions on the glue bottle for drying time. This part’s important – it’s the glue’s way of saying, “I’m getting strong!” Once it’s rock solid, gently release your clamps.
By sticking to this laid-back plan, you’ll have those panels glued up like a pro, with joints so clean and secure, that they’ll be the envy of your woodworking world.
Tips for avoiding common mistakes when gluing up large panels

Here’s the down-to-earth scoop on keeping it real when you’re gluing up those big panels:
Flat Is Where It’s At: Start on a flat surface – it’s like the solid ground for your masterpiece. No wobbles, no wonky panels.
Cauls: Your BFFs: Cauls, those trusty pieces of wood, are like the peacemakers in the clamp world. They spread the love evenly, so your panel stays cool, calm, and collected.
Clamps, Clamps, Clamps: Don’t skimp on clamps, folks. One clamp for every 6 inches of the joint is the golden rule. The more, the merrier – they’re your glue-up buddies.
Easy on the Squeeze: Be gentle when tightening those clamps. Too much pressure can be a buzzkill, damaging the wood and your joint mojo. Keep it firm, not furious.
Chill for a Bit: Once you’ve glued things together, let it chill. Follow the glue bottle’s wisdom for drying time. It’s like letting a cake cool before you dig in – patience pays off.
Here are some bonus tips to keep your game strong:

Clean and Dry Panels: Prep those panels like a pro. They should be squeaky clean and bone-dry before you even think about glue.
Goo Goes Evenly: Spread the glue love evenly on both edges of the joint. Don’t drown it in glue – we’re going for “just right.”
Matchmaker Magic: Align those panels like they’re meant to be together. Flush, gap-free, and a match made in woodworking heaven.
Swift but Smooth: Work at a pace – glue dries faster than you’d think. Be swift but don’t rush. Get those panels aligned and clamped upright.
Stick to these tips, and your panel game will be so strong, you’ll be the woodworking whisperer of the town.
Important FAQs
Choosing the right clamps is crucial because it determines the quality and durability of your woodworking project. The right clamps ensure even pressure, proper alignment, and a strong bond, resulting in a professional finish.
To select the right clamp size, measure the width of your panel and choose clamps that can comfortably span its width. It’s essential to have adequate coverage to apply even pressure across the entire panel.
Different glues have varying drying times and bonding strengths. Match your glue to your clamp by considering the manufacturer’s recommendations for clamping pressure and drying time. High-pressure glues like epoxy may require specific clamp types.
Yes, if you’re on a budget or don’t glue panels frequently, you can opt for pipe clamps or F-style clamps. They are more budget-friendly compared to panel clamps and can still deliver satisfactory results with some effort.
Start with flat panels on a level surface.
Use wooden cauls between clamps and panels to distribute pressure evenly.
Space clamps evenly along the joint (one clamp per 6 inches is a good rule of thumb).
Gradually increase clamp pressure to avoid damaging the wood.
Allow sufficient drying time before removing clamps for strong bonds.
Final Thoughts
So, in wrapping things up, let’s talk about the real heroes in the world of gluing together those massive wooden panels for your awesome woodworking projects: the clamps!
When you’re diving into this craft, you’ve got some options on your plate, but let me tell you, panel clamps are the MVPs here. They’re all about that smooth, even pressure, ease of use, and they can take a beating without breaking a sweat.
However, don’t stress too much; your choice depends on what you’re building and your wallet size.
Think about your panel’s size, the glue you’re using, and your budget. Also, look for clamps with padded jaws, make sure those panels are aligned just right and have some patience during that drying time – that’s the secret sauce for rock-solid bonds.
Hopefully, this guide has given you some cool insights into the art of panel gluing. But now, it’s your turn! Have you tried out any of these clamp types before? Do you have some secret tips up your sleeve? We’d love to hear all about it!
Drop your thoughts in the comments below, and don’t forget to share this article with your fellow woodworking pals. Let’s level up our woodworking game and create some amazing panels together!
How Do You Clamp a Large Piece of Wood Without Clamps? (SOLVED 2023)
You’ve got the clamping knowledge, now discover an ingenious way to clamp wood without clamps in “How Do You Clamp a Large Piece of Wood Without Clamps? (SOLVED 2023).” It’s a must-read for woodworking enthusiasts!