
Ever wondered if you can team up screws with wood putty and how to do it like a pro? Well, you’re in luck because that’s exactly what I am here to chat about.
Wood putty – it’s like the Swiss Army knife of fixing up wood, great for smoothing things out. But, what about screws? In this article, I’m gonna spill the beans on whether they make a good pair or not.
We’ll talk about the ups and downs of putting screws in wood putty and give you some hot tips on how to do it right.
By the end, you’ll be armed with the knowledge to nail those woodworking projects. So, let’s dive in and find out can you put screws in wood putty?
Key Takeaways
- Combine screws and wood putty for enhanced woodworking stability.
- Achieve a seamless finish by skillfully using wood putty with screws.
- Opt for high-quality wood putty to ensure a strong bond.
- Prepare surfaces thoroughly for better wood putty adhesion.
- Patience is key—let wood putty dry completely before screwing.
- Create pilot holes to prevent wood from splitting during screwing.
- Avoid excessive screws to maintain wood structural integrity.
- Inspect for sturdiness and make minor adjustments if needed.
- Use weather-resistant putty for outdoor woodworking projects.
- Stain or paint over dried wood putty for a seamless appearance.
Can you put screws in wood putty?
Absolutely, you can definitely use screws with wood putty for your woodworking projects! This technique has gained popularity across various woodworking scenarios.
When you need a sturdy and super-smooth surface, combining screws with wood putty is an excellent choice.
This fusion of screws and wood putty offers a range of benefits that will take your woodworking efforts to the next level.
By skillfully applying this combo, you can reinforce areas needing extra stability, ensuring a long-lasting and durable outcome.
However, keep in mind that like any method, there are some things to consider. Over time, wood putty may shrink or crack slightly, potentially affecting the grip of the screws.
Also, it’s a good idea to find the right balance and be cautious about how many screws you use in one area. Using too many screws can potentially weaken the wood’s structural integrity.
To ensure a successful project when working with wood putty and screws, follow some key best practices.
Start by selecting a top-notch wood putty that suits your project’s specific needs; this is the first step for a solid result.
Additionally, be meticulous when applying the wood putty, ensuring thorough and gap-free hole filling for a polished finish.
Read More: Can you screw into plastic wood filler?
How do you screw holes in wood putty?
When it comes to screwing holes in wood putty, it’s actually quite straightforward. I’m here to walk you through it!
To start, make sure you have your high-quality wood putty at the ready. It’s crucial to pick one that suits your specific woodworking project for the best results.
Now, here’s a simple step-by-step guide to effectively screwing holes in wood putty:
Prepare the Surface: Before applying the wood putty, ensure that the wood surface is clean, dry, and free from any dust or debris. This proper surface prep will help the wood putty adhere better and create a seamless finish.
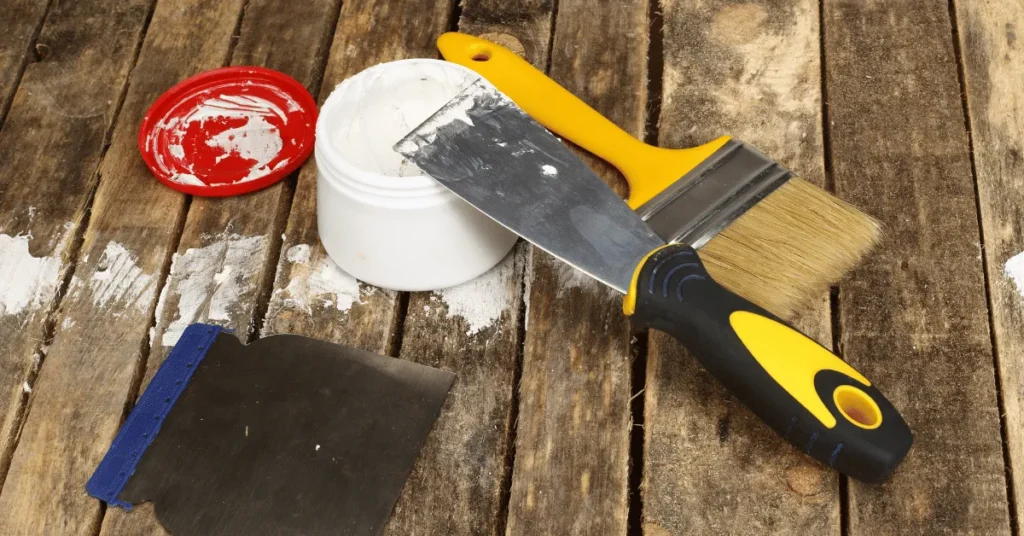
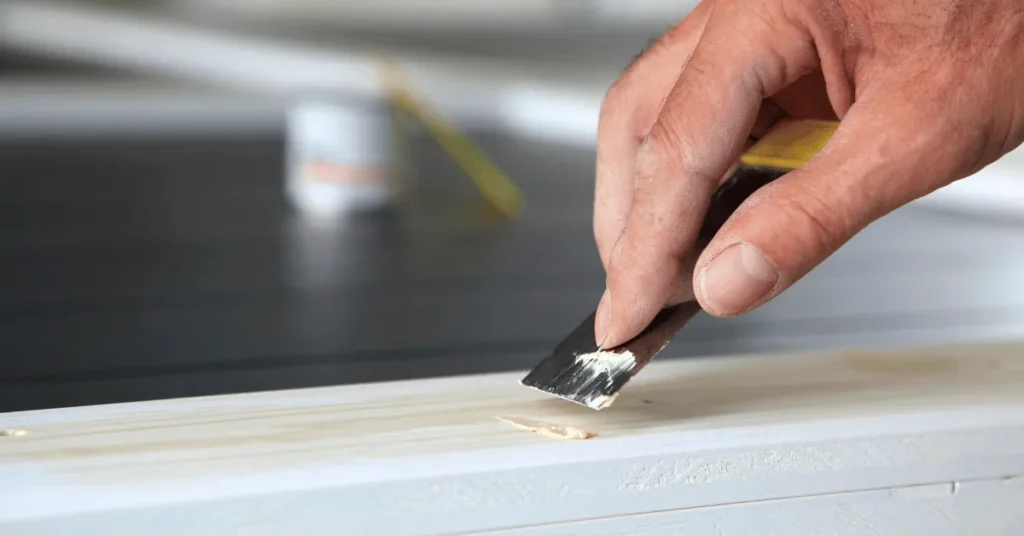
Apply the Wood Putty: Using a putty knife or a spatula, carefully apply the wood putty to the holes or imperfections you want to fill. Make sure to press the putty firmly into the holes for a strong grip.
Smooth Out the Putty: After filling the holes with putty, use the putty knife or spatula to even out the surface. This step ensures a tidy and uniform appearance once the putty dries.
Now, here’s what you need to do next:
Let it Dry: Give that wood putty some time to dry out. The drying times can vary depending on the product, so just follow the instructions from the manufacturer. Be patient during this stage and resist the urge to tinker with the filled area.
Pilot Holes: Once your wood putty is all dried up, it’s time to make some pilot holes for your screws. Grab a drill with the right bit and carefully create small guide holes where you plan to insert the screws.
These pilot holes work wonders in preventing the wood from splitting when you start screwing things in.
Screw Insertion: With those pilot holes ready to go, it’s time to get those screws in place. You can use a trusty screwdriver or a drill with a screwdriver bit to firmly drive those screws into the holes filled with wood putty.
Final Touches: After all the screwing is done, take a quick once-over to ensure everything looks neat and sturdy. If needed, you can make some minor tweaks or add a tad more wood putty to get the finish you’re aiming for.
Just keep these steps in mind, and you’ll be well on your way to crafting a solid and dependable woodworking project.
Big Tip For You
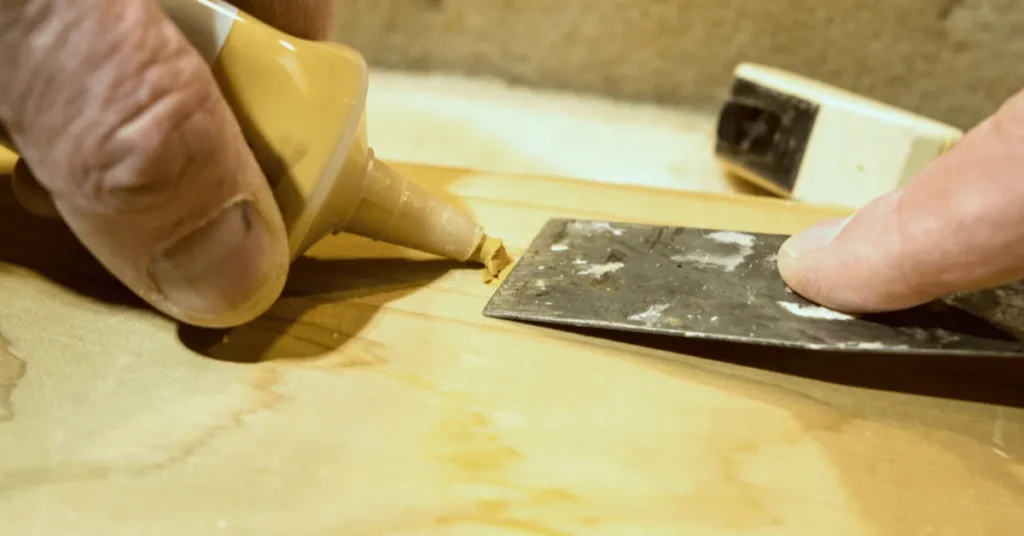
Boosting the Bond: To make sure those screws and wood putty stick together for the long haul, think about adding a thin layer of wood glue to the holes before you pop in the screws. This little extra step strengthens the connection and keeps the wood putty from shrinking or cracking over time.
Supercharge with Wood Glue: When you mix the adhesive power of wood glue with the versatility of wood putty, you’re in for a seriously solid solution in your woodworking projects. Just don’t forget to give that wood glue a chance to dry before you start screwing things in – the results will blow you away!
What are the disadvantages and advantages of putting screws in wood putty?
Let’s talk about using screws with wood putty—it’s got its pros and cons.
Advantages:
Here’s why using screws with wood putty is a handy trick:
Solid as a Rock: When you team up screws with wood putty, you’re creating a super sturdy connection. It’s like a secret weapon for reinforcing joints and filling gaps in the wood.
Smooth Operator: With screws and wood putty in action, you’ll get that sleek, smooth finish you’re after. No one will even know there are screws there, making your woodworking project look top-notch.
Endless Possibilities: This combo is pretty versatile. Whether you’re tackling a small DIY job or a big woodworking project, it’s a technique that’s got your back.
Here’s the deal: When you do it right, using screws with wood putty means your project is in it for the long haul. Those screws bring the muscle, making sure your work stands strong over time.
Read More: Can you screw into Minwax wood filler?
Considerations:
Here are a few things to keep in mind:
Shrinkage and Cracking: So, over time, wood putty might do a little shrinking or cracking. No biggie, though. Just make sure you go for a top-notch wood putty that keeps these effects to a minimum.
Stay Balanced: When it comes to screwing, don’t go overboard. Too many screws in one spot can mess with the wood’s strength.
Be Patient: Let that wood putty have its moment to dry completely before you bring in the screws. Follow what the manufacturer says about drying times to make sure everything sticks together like it should.
How much time wood putty can hold the screw in it?
When it comes to wood putty holding screws, you’re looking at a trusty, long-lasting grip. Wood putty’s all about making sure those screws stay firmly where they belong.
But hey, how long it holds can depend on a few things.
First off, it’s all about that wood putty quality. Go for the good stuff designed for woodworking, and you’re in for better results.
Let It Set: The time it takes for that wood putty to dry and cure matters. You’ve gotta let it fully dry before you start with the screws to make sure everything sticks together like it should. Just follow what the manufacturer says about drying time, and you’ll be in the clear.
Read More: Can you screw into epoxy wood filler?
Also, just so you know, the environment and the type of woodworking project you’re working on can have a say in how long everything stays together. If a spot’s getting a lot of action or movement, you might need some tougher putty or extra support to keep those screws in place.
But hey, as a rule of thumb, if you’ve been doing things right and following those wood putty and screw best practices, those screws should be holding strong for years to come, giving your woodworking project the stability it needs.
What are the best practices for using wood putty with screws?
Now, when it comes to using wood putty with screws, let’s talk about some smart moves to make sure your woodworking projects turn out great.
Choose High-Quality Wood Putty:
Here’s a pro tip: Begin with some top-notch wood putty that fits the bill for your project. Going for the good stuff means better sticking power and a bond that lasts.
Thorough Surface Preparation:
Before you dive into using that wood putty, here’s a simple step: Make sure the wood surface is all clean, dry, and clear of any junk. Doing this prep work helps the putty stick better and gives you that smooth finish you’re aiming for.
Skillful Application:
Now, here’s the trick: When you’re putting on that wood putty, grab a putty knife or spatula and fill those holes or dents nice and even. Push down hard to get a strong grip and make sure there’s no funny business like shrinking or cracking.
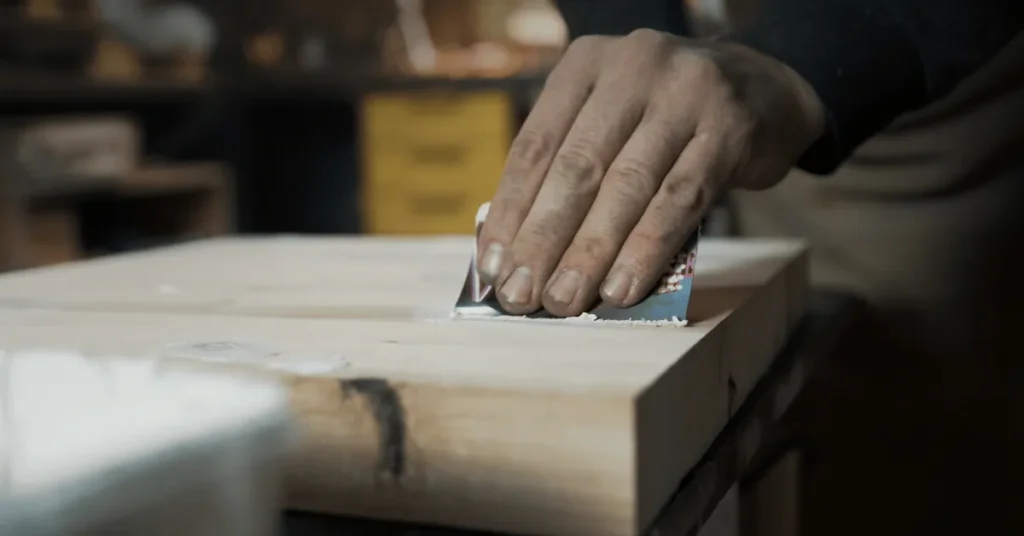
Smooth Out the Putty:
After you’ve filled those holes, take your trusty putty knife and smooth things out. This little move is what’s gonna give you that tidy, polished look once the putty does its drying thing.
Allow Sufficient Drying Time:
Here’s the deal: Stick to what the manufacturer says about how long that wood putty needs to dry. Patience is your friend here because letting it dry right is what makes sure everything stays together when you bring in the screws.
Create Pilot Holes:
Now, here’s a handy tip: Before you start twisting in those screws, take a drill with the right bit and make some pilot holes where you want those screws to go. It’s like a warm-up for the wood, and it keeps things from splitting and makes screwing in a breeze.
Use the Right Number of Screws:
Here’s a simple rule: Don’t go overboard with the screws. Using too many can mess with how sturdy the wood is, so keep it balanced.
Regular Inspections:
Once you’ve screwed in those holes, take a good look to make sure everything’s nice and solid. If things aren’t quite perfect, don’t sweat it – just tweak things a bit or slap on some more wood putty until you’re happy with how it looks.
By sticking to these handy tricks, you’ll be nailing that wood putty and screw combo like a pro. It’s the secret sauce to amp up stability, achieve a flawless finish, and open up a whole new realm of possibilities for your woodworking projects.
Important FAQs
Yes, you can use wood putty with screws for outdoor projects. However, ensure you choose a weather-resistant and durable wood putty suitable for outdoor use.
The screws used with wood putty are typically made of materials that resist rust, such as stainless steel. Using quality screws will help prevent rusting over time.
Yes, you can stain or paint over wood putty. After the wood putty has dried and sanded smooth, you can apply the desired finish for a seamless appearance.
Wood putty is best used for small to medium-sized imperfections. For large gaps and holes, consider using wood filler or epoxy putty for better results.
The drying time of wood putty can vary based on the product and environmental conditions. Follow the manufacturer’s instructions for the specific drying time.
Yes, wood putty can be used with various types of wood. Just ensure that the putty you choose is compatible with the specific wood species you are working with.
Yes, wood putty can be sanded after it has dried. Sanding helps achieve a smooth and seamless finish before applying any finishes.
Wood putty is primarily used for cosmetic touch-ups and minor repairs. For load-bearing or structural applications, it’s best to use other suitable methods and materials.
Final Thoughts
When it comes to woodworking, teaming up screws and wood putty is like having a secret weapon in your toolkit.
Just follow some simple tips and get your hands on some top-notch wood putty, and you’ll be cranking out smooth finishes and rock-solid creations in no time.
Whether you’re a pro or just love to tinker, using screws and wood putty will level up your woodworking game and make your projects last. So, give it a shot and dive into your woodworking adventures with a grin!
Images are taken by Canva.com
Can You Screw Into Plastic Wood Filler?
In this article I have clearly told you if you can screw into plastic wood filler or not?