Can You Screw Into Minwax Wood Filler? (A Comprehensive Guide 2023)
Hey woodworkers! Ever wondered if you can screw into Minwax wood filler? This popular and versatile material is used in all sorts of projects, but can it hold up to the weight of a screw?
In this article, I’ll dive into the pros and cons of screwing into Minwax wood filler, and share some tips for working with it effectively. Whether you’re a seasoned pro or just starting out, read on to learn more!
Key Takeaways
- Minwax wood filler is a reliable and versatile material for woodworking projects.
- When screwing into Minwax wood filler, ensure it’s fully cured and use pilot holes for a secure bond.
- Benefits include versatility, easy application, paintability, and quick drying.
- Drawbacks include shrinkage, limited repairability, and potential visibility after application.
- For outdoor use, protect Minwax wood filler from harsh weather and consider using an exterior-grade filler.
- Apply Minwax wood filler effectively by preparing the surface, mixing thoroughly, and using the right tools.
- Sand carefully and match the color for a professional finish.
- Consider additional support for heavy load-bearing projects.
- Minwax wood filler is suitable for both indoor and outdoor use with proper precautions.
- It’s a valuable asset for achieving polished and flawless woodworking projects.
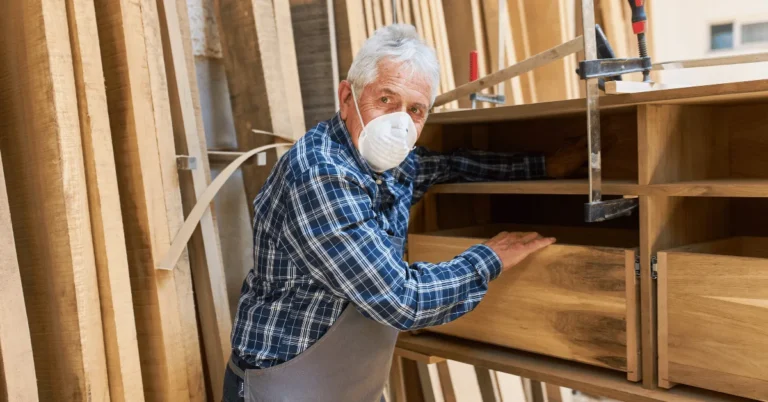
Can you screw into Minwax wood filler?
Screwing into Minwax wood filler? No problem at all! As a fellow woodworking enthusiast, I’ve had my fair share of Minwax wood filler adventures, and let me tell you, it’s a rock-solid and super versatile material.
Now, when it comes to screwing into Minwax wood filler like a pro, here’s the lowdown. First off, give that filler some time to fully cure and toughen up before you go poking screws into it. This step is all about making sure your connection is rock-solid and won’t budge.
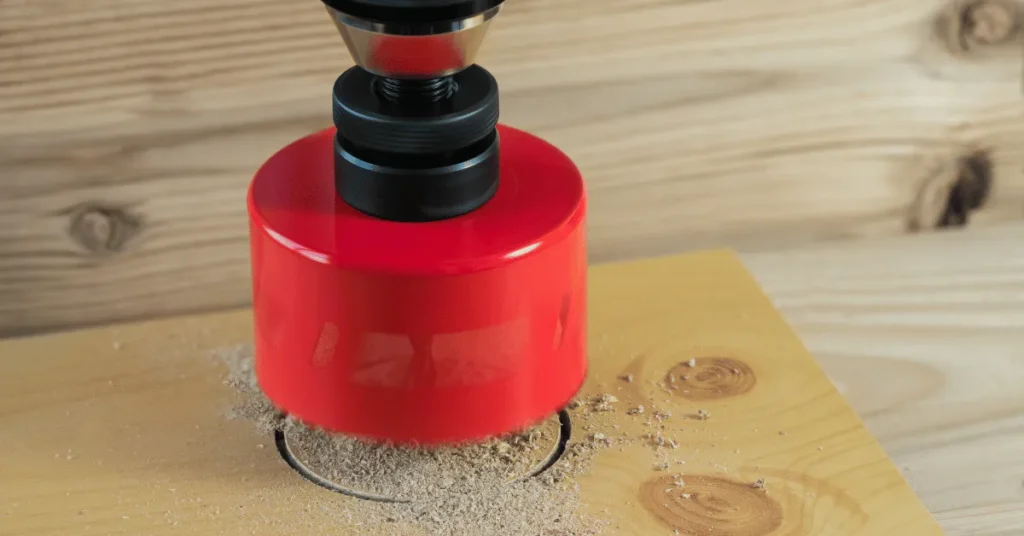
And here’s the drill (pun intended): Pilot holes are your best buddies when working with Minwax wood filler. They’re like the GPS for your screws, guiding them safely without risking any filler mishaps.
Just remember to pick the right drill bit size for those pilot holes, and you’ll be on your way to nailing your project!
Minwax wood filler? It’s like the superhero of the woodworking world! This stuff packs a serious punch when it comes to durability and strength, making it the go-to for all sorts of woodworking gigs.
Whether you’re a pro in the game or just dipping your toes into the woodworking pond, Minwax wood filler is your secret weapon for getting that picture-perfect, flawless finish on your projects.
What are the benefits of Minwax wood filler?
When you’re talking Minwax wood filler, we’re diving into a world of awesomeness. I mean, I’m a woodworking buff myself, so I can vouch for the perks:
Jack-of-All-Trades: Minwax wood filler? It’s like the Swiss Army knife of fillers. Got gaps, holes, or pesky imperfections in your woodwork? Boom! Minwax wood filler’s got your back.
Rock-Solid: This stuff doesn’t play around when it comes to toughness. Once it’s done curing, it’s like a wood-weld, adding muscle and backbone to your creations.
Easy-Peasy: Applying Minwax wood filler is like a walk in the park. It smoothes out like a dream, and you can mold and sand it to perfection. No sweat!

Jazz it Up: Minwax wood filler doesn’t shy away from a makeover. Paint it, stain it, and watch it blend into your woodwork like it was born there.
Speed Demon: No more twiddling your thumbs. This stuff dries in a jiffy, so you can keep the project train chugging along.
Pro Vibes: Get that “pro touch” without breaking a sweat. When you handle Minwax wood filler like a champ, your projects will scream “professional” from across the room.
All-Weather Buddy: Whether you’re jazzing up your living room or beefing up your outdoor oasis, Minwax wood filler plays nice in both arenas. It’s like your trusty sidekick for any woodworking adventure.
Bottom line? Minwax wood filler is a game-changer for making your woodworking projects look and feel top-notch. Give it a whirl, you won’t be disappointed!
Read More: How to Plane Plywood?
Big Tip For You
Here’s the deal for a rock-solid connection when you’re screwing into Minwax wood filler: let that filler toughen up completely before you start twisting screws, and don’t forget to give ’em a pilot hole to follow. That’s the secret sauce for making sure your woodworking projects go the distance.
What are the drawbacks of Minwax wood filler?
I get it, you’re pretty stoked about Minwax wood filler, but let’s keep it real – there’s a flip side to every coin, even in woodworking.
So, here’s the scoop: Minwax wood filler has its perks, no doubt. But, there are a few quirks to watch out for:
The Shrinkage Show: Brace yourself for a little shrinkage action as this filler dries. It might leave some tiny dips or gaps in your wood, especially with big jobs.
Heavy Loads? Maybe Not: Minwax wood filler is tough, but it’s not Mr. Universe. If your project’s got to carry a ton of weight or handle some serious pressure, you might want to think about reinforcements or other materials.
No Going Back: Once Minwax wood filler sets, it’s not going anywhere. Unlike some other fillers that are all “sure, sand me down and change me up,” this one’s more like, “I’m here to stay, buddy.”
Just remember, every tool’s got its time and place. Minwax wood filler’s no exception.
The “I’m Still Here” Effect: Depending on your wood’s color and finish, Minwax wood filler might not be the Houdini of fillers. Even after you paint or stain, it can still show its face, messing with your project’s style.
Weather Woes: So, it can handle the great outdoors, but not the wildest weather. If you’re planning to use it in a place that’s basically a waterpark or faces extreme weather tantrums, you might want to think about something tougher.
But hey, don’t get me wrong, it’s still a crowd-pleaser in the woodworking world. Easy to use and all-around handy – just be mindful of where you put it and you’re golden!
Read More: Can You Use Surface Plane on Plywood?
How to screw into Minwax wood filler?
Alright, here’s the lowdown when it comes to screwing into Minwax wood filler – easy-peasy tips coming your way:
Get Ready: Before you dive in with those screws, make sure that Minwax wood filler is fully set and sturdy. It’s like building a house on a solid foundation, but for your screws.
Pilot Hole Power: Don’t forget those pilot holes! They’re like GPS for your screws, guiding them safely. Just pick the right-sized drill bit, and you’re golden.
Size Matters: Match your screw size to the holes in the Minwax wood filler. It’s like finding the perfect puzzle piece – snug and secure.
Easy Does It: No need to Hulk-smash those screws in. Use a gentle touch to avoid any oopsies with the surrounding material.
Don’t skimp on quality, my friend! Grab some top-notch screws, and you’re in for a rock-solid connection with Minwax wood filler.
Stick to these steps, and you’ll be screwing into Minwax wood filler like a boss, crafting woodwork that’s as sturdy as it gets. Now go have a blast with your woodworking projects, and I bet they’ll come out looking downright awesome!
Can I screw into Minwax wood filler and use it outdoors?
No problemo! You can totally rock Minwax wood filler in the great outdoors. Just a couple of things to keep in the back of your mind:
Weather Watch: While it’s up for some outdoor action, try not to let it soak up too much sun, wind, or rain. Treat it like a superstar and shield it from the harsh elements.
Get the Right Stuff: If you’re going big on an outdoor project, go for the outdoor-grade wood filler. It’s built to handle the wild side, with extra resistance to moisture, temperature swings, and those UV rays.
Play by the Rules: Don’t skip the instruction manual – follow it to the letter when you’re slapping on Minwax wood filler. Oh, and make sure your surface is squeaky clean for that perfect bond.
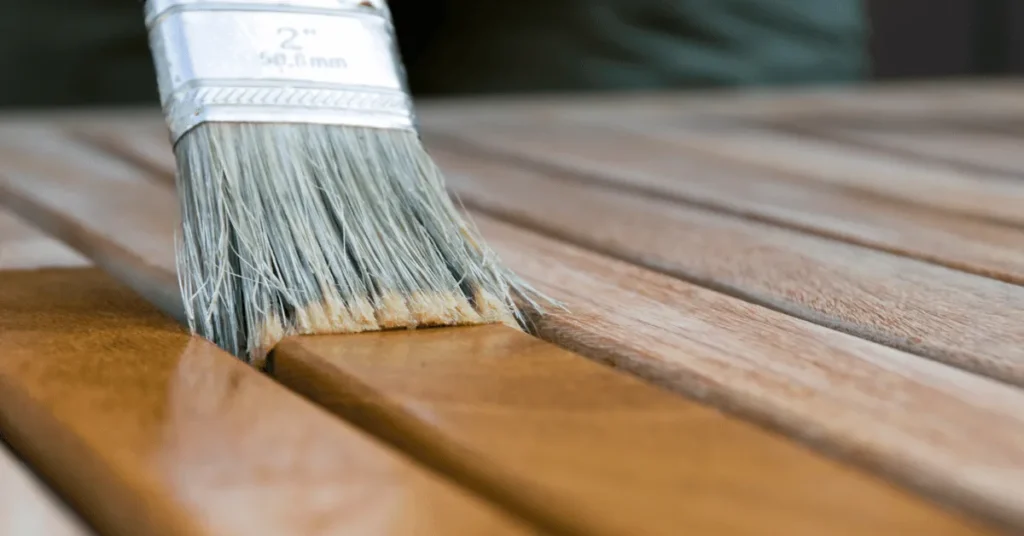
Seal the Deal: After you’ve worked your magic with Minwax wood filler, think about giving it a little extra love with an outdoor-grade sealant or finish. Protect that wood from the elements!
Check-Up Time: Outdoor projects need some TLC now and then. Keep an eye on your wood filler and the whole gang. If things start looking rough, a fresh coat of sealant or finish is the prescription.
With these tricks up your sleeve, you’ll have outdoor woodworking projects that’ll last and look good doing it.
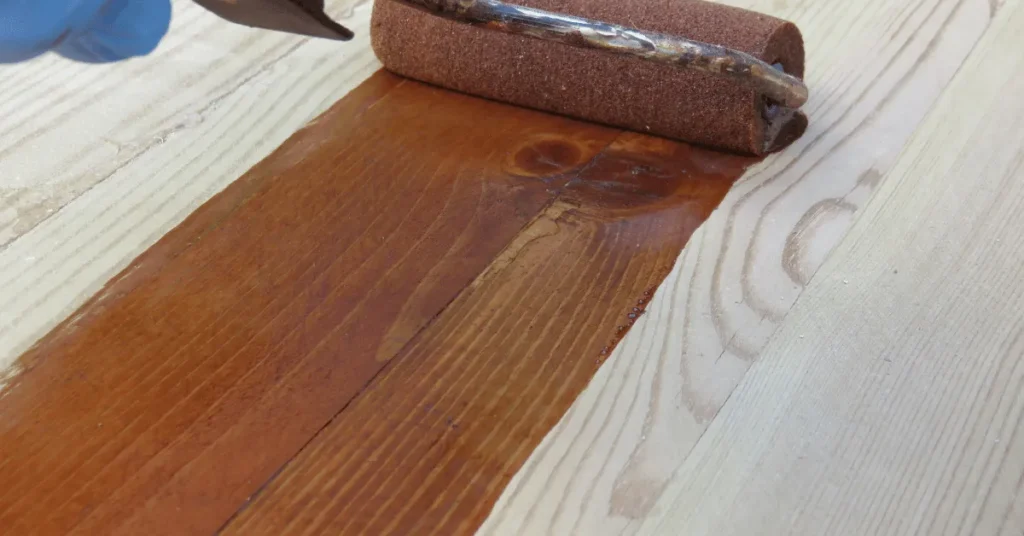
What are the best tips for applying Minwax wood filler effectively?
Let’s break it down, no fuss:
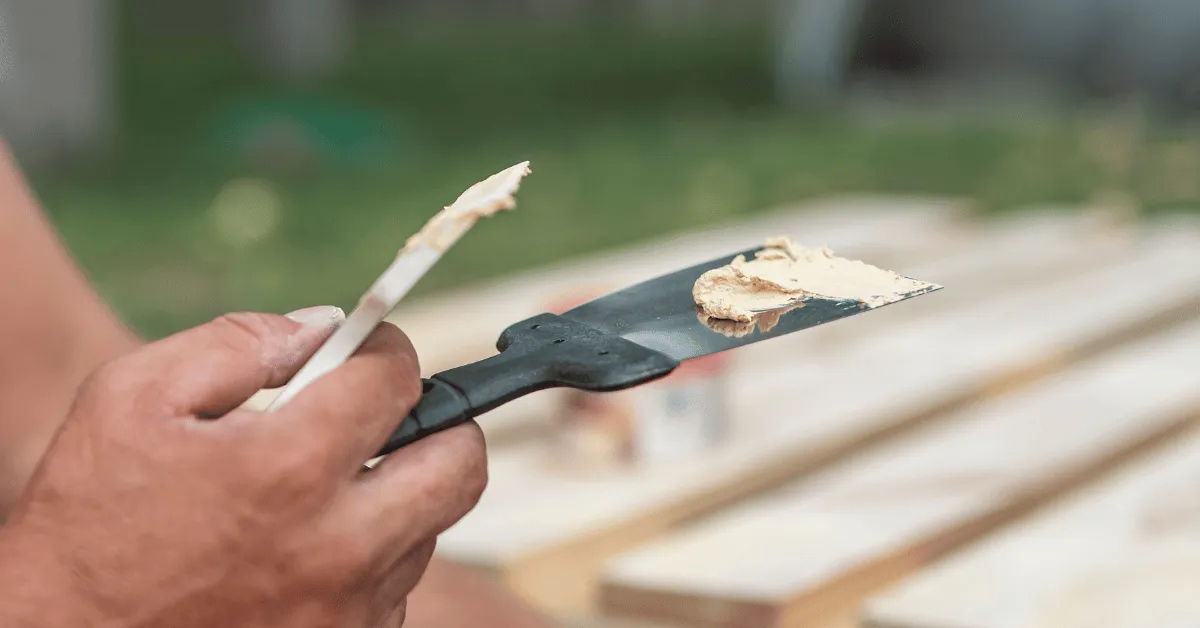
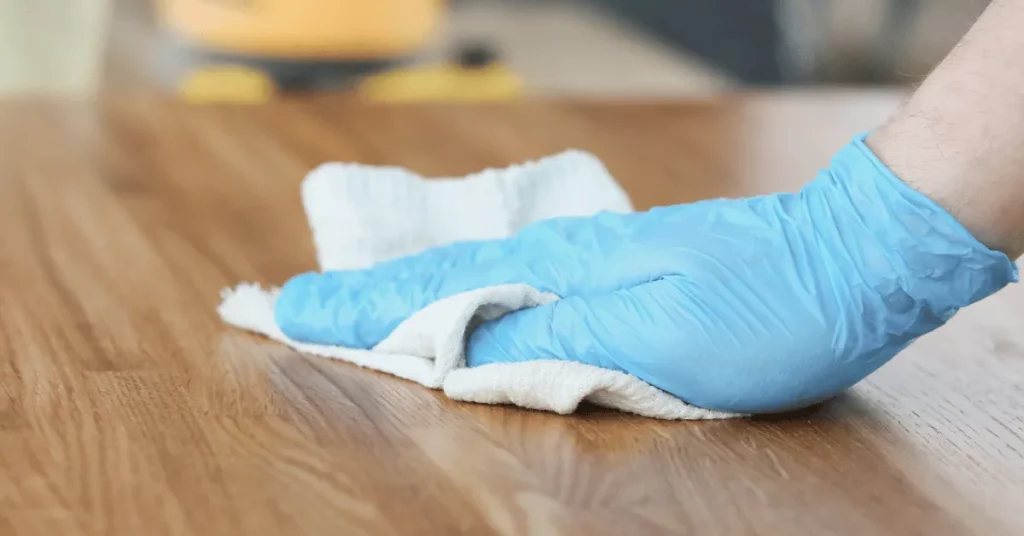
Get It Clean: Before you dive into Minwax wood filler action, make sure your surface is squeaky clean, dry, and free of any dirt or junk. It’s like giving your filler a clean canvas to work its magic.
Mix It Up: If you’re rocking a two-part wood filler, don’t skip the mix-a-palooza. Follow the maker’s instructions to the letter. A good mix means your filler will cure like a champ.
Tool Time: Grab the right gear – think putty knife or filling knife. These are your sidekicks for spreading that filler smooth and filling those gaps like a pro.
Take It Easy: Don’t go wild – work in bite-sized sections, especially on those big projects. That way, your filler stays flexible, and you’ll have that sleek finish you’re after.
With these tricks in your toolbox, you’ll be Minwax wood filler royalty!
Scrape Off the Extra: Once you’ve slapped on that wood filler, take your putty knife and gently scrape away any extra. Smooth is the name of the game here.
Sanding Time: When the filler’s rock-hard, grab some fine-grit sandpaper and go to town. Sand in the same direction as the wood grain for a finish that’s seamless.
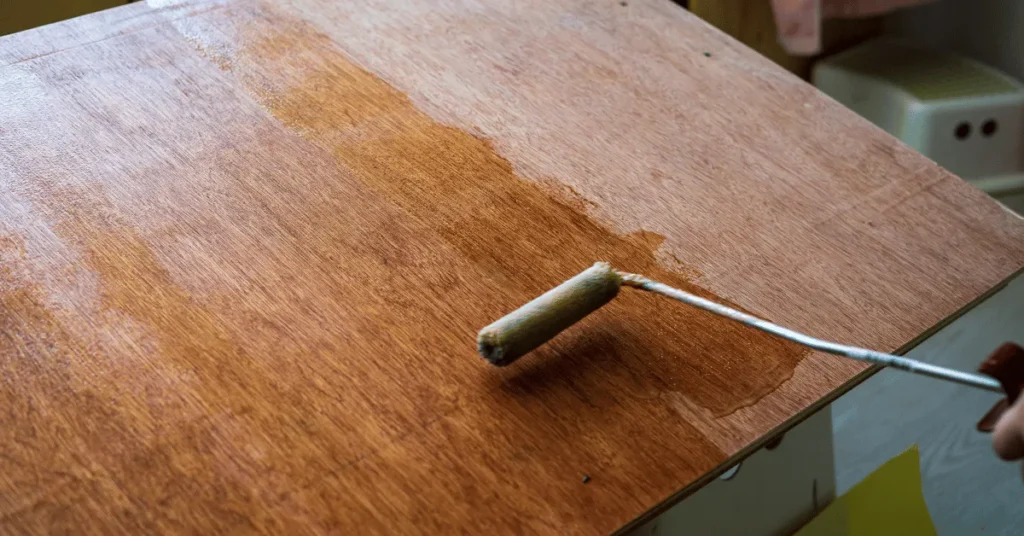
Color Match: If you’re thinking of staining or painting later, pick a filler that’s a twin to your wood’s color. That way, it’ll blend right in when you’re done.
Seal the Deal: After sanding, toss on a clear sealant or varnish. Not only does it make your project pop, but it also keeps moisture and wear at bay.
Test Run: If you’re a Minwax wood filler rookie or trying it out on new wood, give it a test run on some scrap wood first. Practice makes perfect, right?
With these moves, you’ll be a Minwax wood filler pro in no time, crafting woodworking projects that are pure pro-level perfection!
Important FAQs
Yes, Minwax wood filler can be used outdoors, but it’s important to protect it from extreme weather conditions and consider using an exterior-grade filler for better durability.
While Minwax wood filler is strong, it may not have the same load-bearing capacity as solid wood. For heavy load-bearing projects, additional support or alternative materials should be considered.
Yes, Minwax wood filler can experience slight shrinkage as it dries, especially when used to fill large voids. It’s important to be mindful of this during application.
Absolutely! Minwax wood filler can be painted or stained to match the color of your woodwork seamlessly.
Minwax wood filler dries relatively quickly, allowing you to proceed with your project without long waiting times. The drying time may vary based on environmental conditions and the thickness of the filler.
Unlike some other fillers that can be easily sanded and modified after curing, Minwax wood filler forms a rigid bond, making adjustments or repairs difficult once fully cured.
To achieve a professional finish, ensure the surface is clean, mix the filler thoroughly (if two-part), use the right tools, work in small sections, and sand with care after curing.
Yes, Minwax wood filler is versatile and can be used for both indoor furniture and outdoor structures. Just take proper precautions for outdoor use to protect it from weather exposure.
Final Thoughts
No doubt about it, Minwax wood filler is a real MVP in the world of woodworking.
It’s like a Swiss Army knife for your projects – versatile, tough, and super easy to use. Got gaps, holes, or little hiccups in your woodworking? Minwax wood filler’s got your back.
Sure, it’s not perfect, but with a little TLC and proper handling, you can conquer any quirks it throws your way. Whether you’re jazzing up your indoor furniture or beefing up those outdoor creations, Minwax wood filler’s your secret weapon for making things look top-notch.
So, why wait? Dive in and see how it takes your woodworking game to the next level!
All images in this article are taken from Canva.com
Can You Screw Into Epoxy Wood Filler?
“Unlock the Secrets: Can You Screw Into Epoxy Wood Filler? Discover the Surprising Answers!”