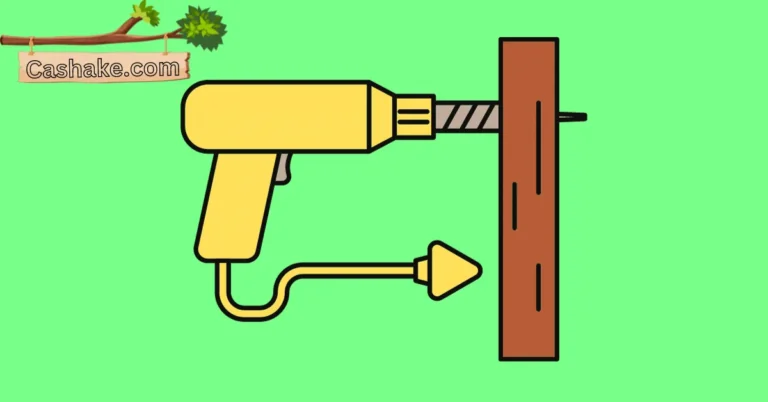
How to Plane Plywood? Step-by-Step Comprehensive Guide (2023)
Planning to work with plywood? You bet it’s crucial, and missing out on it can spell trouble. So, let me walk you through how to plane plywood.
If you’re eager to learn the ropes and score some of my handy tips from today, then stick around.
If you’re curious and want to uncover the answers to your burning questions while making the most of your internet browsing time, just keep scrolling.
Key Takeaways
- Planing plywood is necessary to achieve a smooth and even surface, precise fits, and strong joinery in woodworking projects.
- Planing with the grain helps prevent tear-out and splintering during the planing process, leading to a cleaner and more professional appearance.
- Plywood may have slight variations in thickness, but planing allows you to achieve consistent thickness throughout the surface.
- To overcome planing challenges, use a sharp blade, plane with the grain, secure the plywood properly, and practice proper planing techniques.
- Take your time during the planing process to avoid uneven surfaces and material wastage.
- Planing enhances the aesthetics of plywood by removing rough edges and imperfections, resulting in a visually appealing final product.
- Custom shaping is possible with planing, enabling you to create unique profiles and designs for your woodworking projects.
- In some cases, planing may not be necessary, such as when working with thin plywood or pre-finished surfaces.
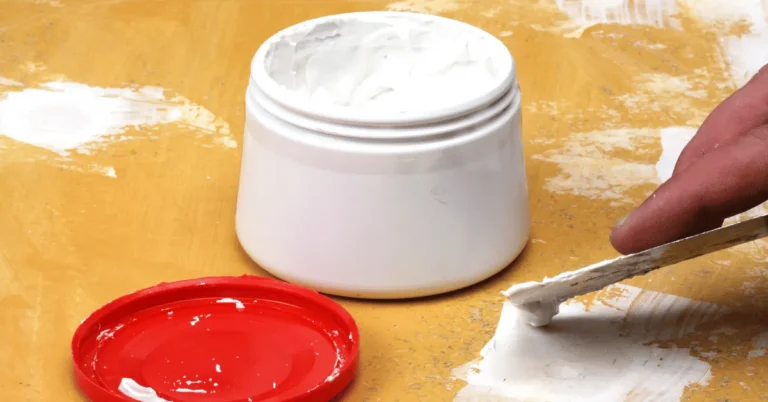
- Sanding the plywood after planing is essential to achieve a smooth and polished surface.
- Planing can be learned and mastered by beginners with patience and practice. Keep experimenting to improve your planing skills over time.
Why is planing plywood necessary?
Why bother planing plywood, you ask? Well, let’s break it down and see why giving plywood a good plane-down is worth the effort.
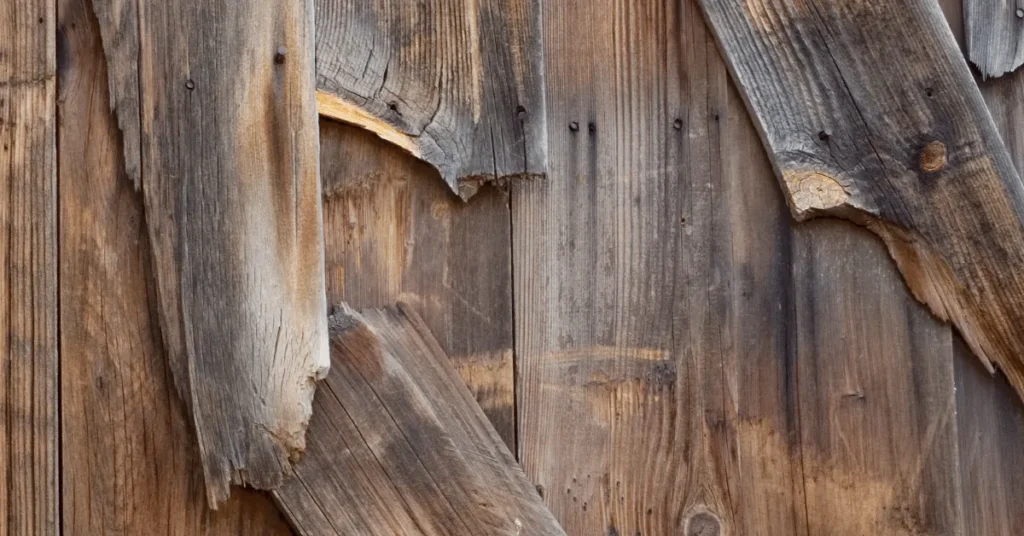
You see, plywood often comes with these pesky rough edges and uneven surfaces, courtesy of its manufacturing process and all those wood layers.
But guess what? Planing swoops in like a hero to save the day. It smoothes things out, making your life easier when working with it and dialing up the overall project finish.
Now, when it comes to woodworking, precision is the name of the game. You want those fits to be snug and those joints to be rock-solid.
Guess who can help? Yep, planing. It lets you fine-tune the plywood’s dimensions and thickness for a perfect match.
Oh, and there’s more! Plane plywood with the grain, and you’ll dodge that pesky tear-out issue. No more splintered, torn wood fibers – just a pro-level, clean finish for your plywood project. It’s like magic, but for woodworking!
Ever noticed how plywood can be a bit sneaky with its thickness variations? Well, fret not, because with a bit of plane action, you can level the playing field and get that sweet, consistent surface thickness.
But hey, that’s not all! Planing plywood has a bunch of other perks up its sleeve. You’re talking about a spiffier appearance, the power to mold it to your whims, and even cranking up the glue bonding real estate. It’s like giving plywood a makeover and a boost all at once!
What problems can you face while planing plywood?
Hey, when you dive into the world of plywood planing, a few hiccups might come your way. Here’s the lowdown on the bumps in the road:
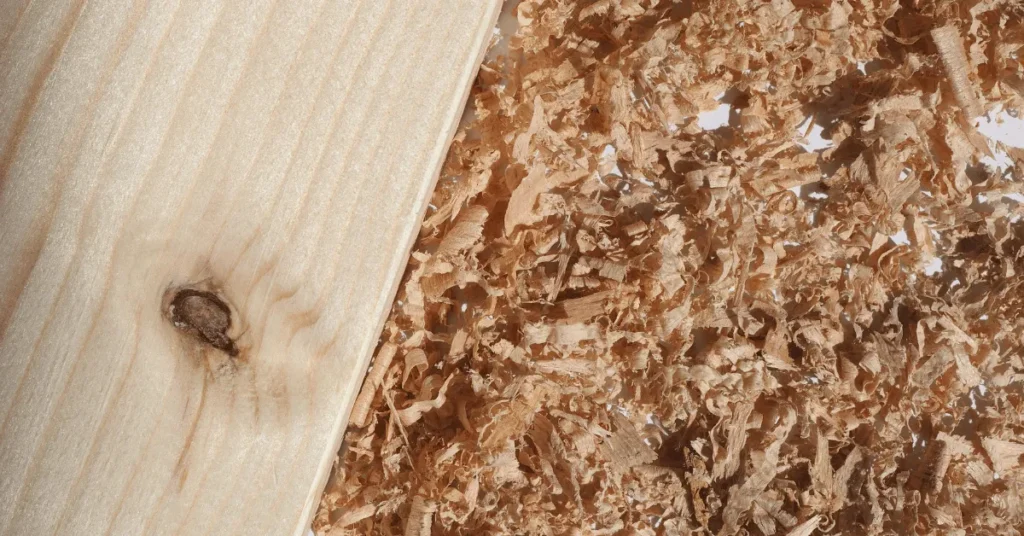
Tear-Out Trouble: Picture this – planing against the grain or using a blade that’s seen better days can lead to tear-out. Those wood fibers start doing a splinter dance, leaving your surface all bumpy and rough. Not the look you’re going for, right?
The Not-So-Smooth Ride: If your plywood isn’t feeling secure and comfy during planing, you might end up with a surface that’s anything but smooth. It’s like trying to skate on a rocky road – not fun.
Splinter Spectacle: Plywood’s got layers, like an onion (minus the tears). But, get too aggressive or use a blade that’s past its prime, and you could end up with layer separation and a surface that needs some TLC.
Now you know the possible pitfalls – time to dodge ’em!
Get real about planing plywood.
Let’s get real about plywood planing – there are a few hiccups that might throw a wrench in the works:
Material Munch: When you’re planing, wood’s gotta go, and if you’re not careful or go overboard, it’s bye-bye plywood layers. That means more trips to the store and a bigger dent in your project budget.
Wonky Thickness: Sometimes, the planing game isn’t all that uniform. You could end up with plywood pieces playing the thickness lottery. Trust me, that’s not great when you need things to fit snug and align like a dream.
Skill Matters: Planing isn’t a walk in the park; it’s a skill. If you’re new to the game or need to brush up on your hand plane moves, it can be a bit of a challenge to get the perfect results.
Clock’s Ticking: Brace yourself for the waiting game. Depending on your project’s size and complexity, planing can be a real time-eater. Precision takes time, my friend.
But hey, don’t sweat it. There’s a roadmap to smooth sailing: keep that blade sharp, go with the grain, secure that plywood like it’s your treasure, and practice those planing moves.
Oh, and don’t forget to slow down and take it easy – you’ll get better results with fewer bumps along the way.
Big Tip for Planing Plywood
Achieve flawless woodworking with successful planing: Use sharp blades, plane with the grain, secure plywood properly, and take your time. Practice makes perfect, so don’t be discouraged by initial imperfections.
Why it is recommend to plane plywood and why it is not?
Let’s start with the basics: why some folks swear by planing plywood, and why others give it a thumbs-down.
Recommendation to Plane Plywood:
Why bother with plywood planing, you ask? Well, there are some good reasons to get on board:
Smooth Operator: Planing works its magic to give your plywood a smooth and even surface. That’s like the secret sauce for making your woodworking projects look pro-level and all snazzy.
Perfect Fit: Want your pieces to fit like a glove and those joints to be rock-solid? Planing’s got your back. It lets you tweak the plywood’s dimensions and thickness for that precision fit.
Tear-Out Troubles? Not Here: Plan with the grain, and you’ll dodge those tear-out woes. No more messy edges or splintering – just smooth sailing.
Thickness Consistency: Say goodbye to wonky thickness variations. Planing makes sure your plywood stays consistent throughout, keeping your project looking sharp and steady.

Aesthetic Upgrade: Planing works its magic to make that plywood look top-notch. It’s like a makeover that zaps away the rough edges and flaws, leaving you with a project that’s easy on the eyes.
Shape It Your Way: Think of planing as your woodworking sculptor’s tool. You can mold that plywood to your heart’s desire, crafting custom profiles and designs that make your projects stand out. It’s like DIY artistry in action!
Reasons Not to Plane Plywood:
Although sanding plywood can be quite handy in many situations, there are times when you might not really need to bother with it, or when it’s not the best idea:
When it comes to thin plywood, going all-in with heavy-duty planing might not be the smartest move. You see, these delicate sheets can get damaged or weakened because they’re, well, super thin.
Now, onto pre-finished plywood. Some of these sheets come dressed to impress with their fancy veneers or laminates. But be cautious! Planing could strip away that stylish finish and mess up the look you’re going for.
And hey, project requirements matter, right? Depending on what you’re up to, planing might not be the hero you need. Sometimes, it can mess with your plywood’s personality.
Plus, let’s talk time and skill. Planing can be a real time-suck and needs some serious know-how. If you’re short on both, there are other ways to get that plywood looking sharp.
But remember, in most cases, planing is your plywood’s best buddy, giving it that smooth, snug fit and keeping tear-outs at bay.
But hey, before you start busting out the planer, make sure to check out the plywood type and what your project really needs. Sometimes, there are better ways to get the job done.
How to plane plywood? Step-by-step guide
Before we get into the whole deal of planing plywood, let’s break it down in simple terms and see why it’s a big deal for your woodworking game.
So, planing plywood, or just planing for the cool kids, is basically about making that plywood surface nice and smooth. You do it with this handy tool called a hand plane.
Now, here’s the scoop: Plywood can be a bit moody, often showing up with quirks like bumps, rough patches, or wonky edges.
And guess what? Those quirks can mess with how awesome your project looks and works. That’s why planing is your secret weapon.
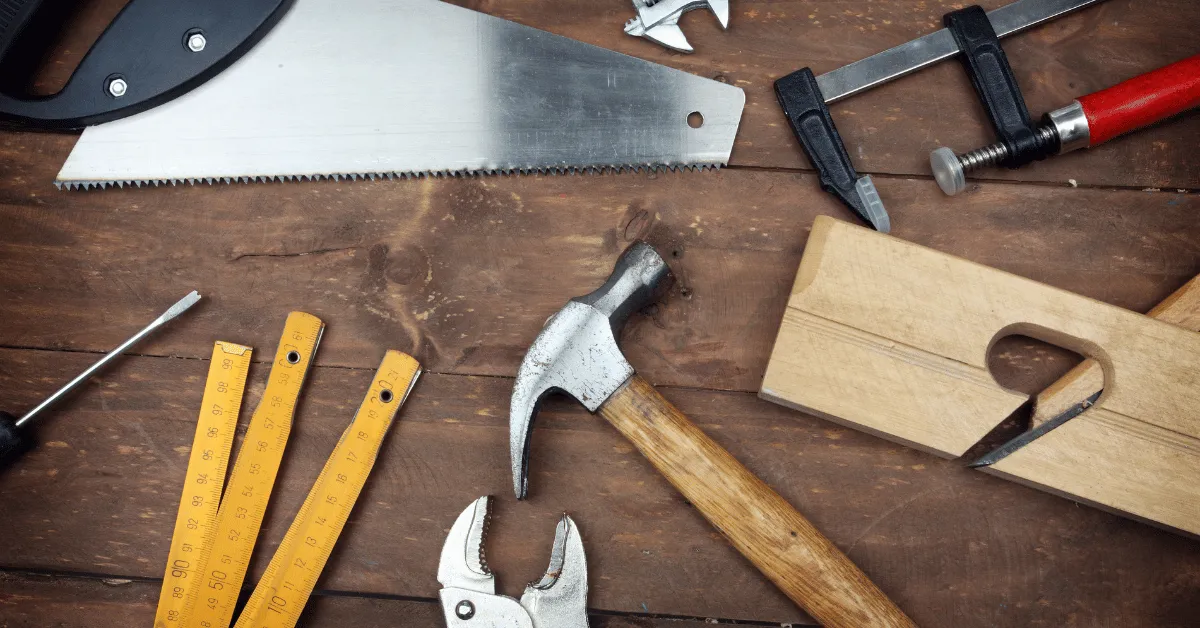
Gathering the Necessary Tools and Materials
Alright, before we dive in, let’s talk about what you’re gonna need for this project. But don’t worry, we’re not going full-on tool hoarder mode. Here’s the shortlist:
Tools:
- Hand plane (Jack plane or smoothing plane)
- Sandpaper (various grits)
- Workbench
- Safety goggles
- Dust mask
Materials:
- Plywood sheet
- Sawhorses or sturdy work surface
Choosing the Right Hand Plane
Alright, listen up! When it comes to nailing your plywood project, the key player in your lineup is picking the right hand plane. Now, we’ve got two main types to mull over:
Jack Plane:
Check it out – we’ve got this cool dude called the jack plane. It’s like the MVP when you want to zap away those rough patches and make your plywood all nice and level in no time. Grab it when you’re dealing with the chunkier plywood or need to shave off a bunch of stuff.

Smoothing Plane:
Now, here’s the deal: If you’re rolling with the thinner plywood or you’re all about that sleek and polished finish, the smoothing plane is your wingman. It’s like the final touch-up artist, making that surface as smooth as butter.
Preparing the Plywood
Now that you’ve got your trusty hand plane in hand, let’s get that plywood prepped for some serious planing action.
Marking the High Spots:
Before you dive into the planing fun, grab a pencil or some chalk and go all Picasso on your plywood. Mark those spots where things look a bit wonky or rough. This way, you’ll know exactly where to work your planing magic.
Securing the Plywood:
To keep that plywood from doing a little dance while you’re planing, plop it down on a solid work surface or some trusty sawhorses. Just make sure it’s snug and secure, so you’re the boss when that hand plane hits the stage.
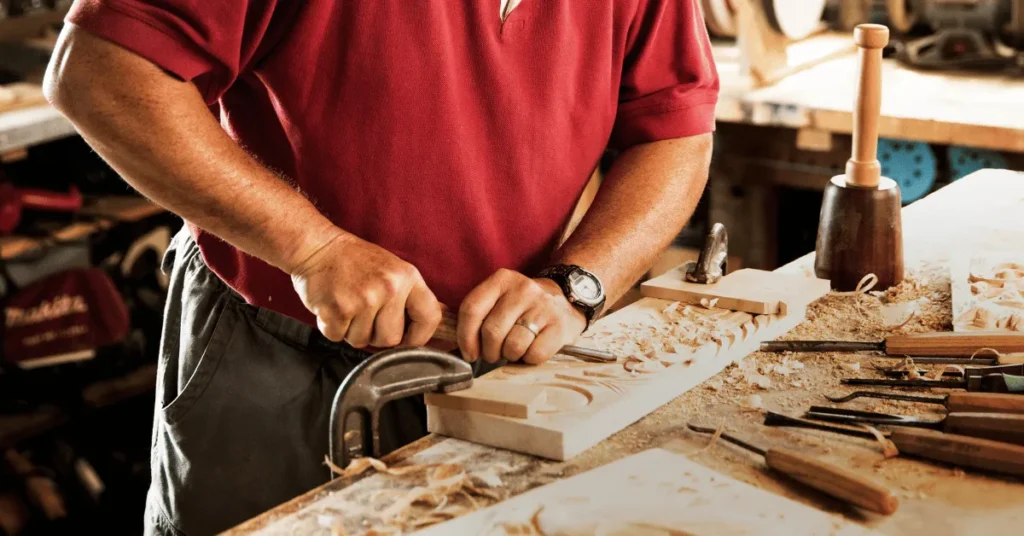
Starting the Plane Plywood Process
Now that you’re all set and prepped, let’s jump right into the plywood planing adventure!
Adjusting the Hand Plane:
Before you get down to planing, take a quick peek at that hand plane blade. You want it to be sharp and dialed in just right.
A blade that’s seen better days will only make things harder and leave you with a less-than-smooth finish. And hey, don’t forget to tweak the blade depth so you can control how much wood you’re shaving off each time you pass that plane.
Planing Technique:
Alright, grab that hand plane with both mitts and give it a good push forward on the plywood, applying some steady and even pressure. Keep it smooth!
Stick to the flow of the grain, my friend, and you’ll dodge any tear-out troubles while scoring a sleek finish. Just keep at it, going back and forth until you’ve covered the whole shebang, letting those passes overlap just a smidge.
Checking for Progress:
Now and then, give that planed surface a feel with your hands. If you’ve still got some bumpy bits or it’s not as smooth as you’d like, just keep on planing until it’s all nice and smooth like you want it.
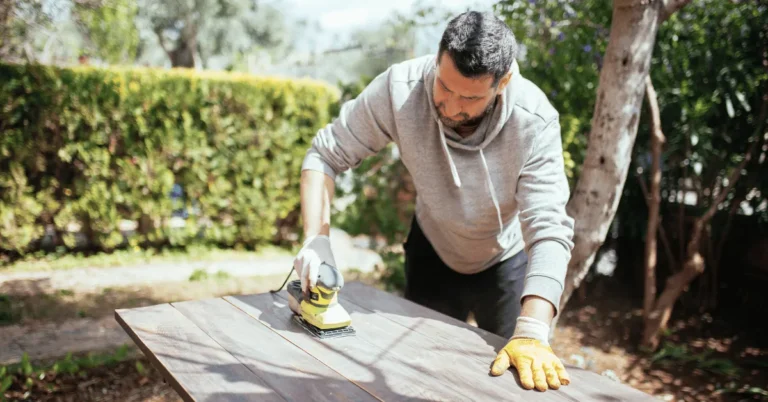
Smoothing the Surface
Alright, now that you’ve knocked out that first round of planing, let’s kick things up a notch with the surface.
Switching to Finer Grits:
Now, here’s the move: Say goodbye to the rough stuff and grab some finer sandpaper. Start with the kinda coarse stuff and then work your way up to the smoothest grit you can find. Keep at it until that surface is as smooth as silk.
Sanding Technique:
Get a good grip on that sandpaper, buddy, and make sure you’re moving it along with the grain. Keep the pressure steady and smooth so you don’t end up with a wonky-looking surface.
Final Touches and Tips
We’re almost wrapping this up, folks! Here are a few last-minute tips and tricks to make sure your plywood project is a real winner:
Removing Dust:
Once you’ve given it a good sanding, grab a clean cloth or one of those tack cloths and give that plywood a once-over. Gotta get rid of those pesky dust specks for that picture-perfect finish, you know?
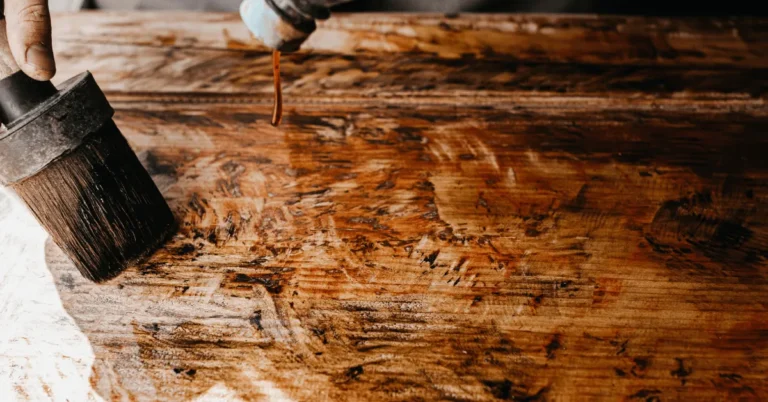
Applying a Finish:
Now, here’s a thought: think about slapping on a finish to give your plywood some love and keep it looking sharp. You’ve got options, like varnish, oil, or wax. Pick the one that vibes best with your project and just follow the how-to on the label. Easy-peasy.
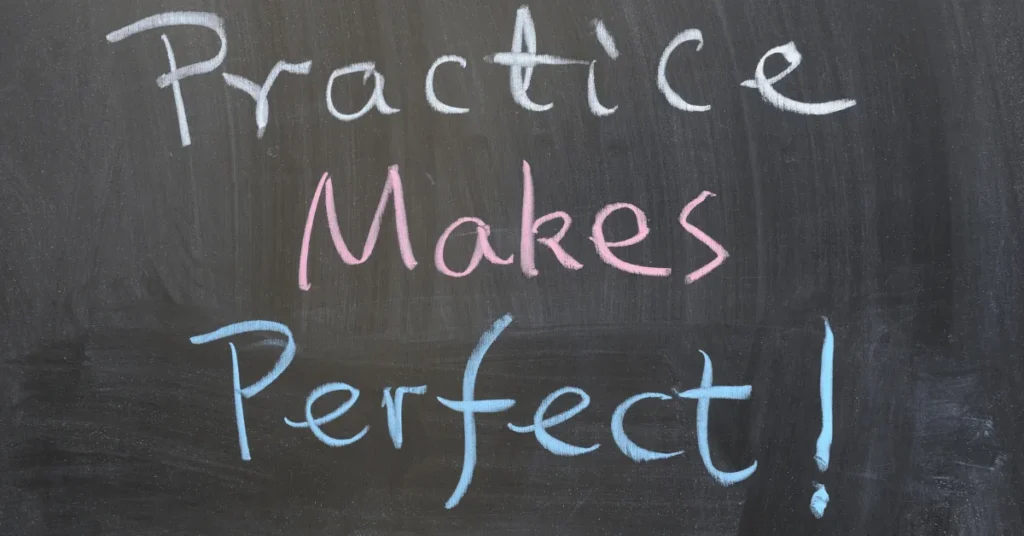
Practice Makes Perfect:
Hey, if you’re just starting out with this whole plywood planing thing and your first go isn’t exactly magazine-cover material, no sweat! Every pro was once a beginner. Just keep at it, try new stuff, and over time, you’ll be knocking out some seriously awesome results.
Well, look at you! You’ve cruised through this step-by-step plywood planing guide like a champ. Armed with your fresh skills and know-how, you’re all set to dive into woodworking projects like a pro.
Keep in mind, though, it’s all about taking your time and sweating the small stuff. Smooth and even surfaces are your ticket to success. So, go on, get out there, and craft your masterpiece!
Important FAQs
Yes, you can use either a jack plane or a smoothing plane for planing plywood. The choice depends on the thickness of the plywood and the desired finish.
Yes, sanding the plywood after planing is essential to achieve a smooth and polished surface. It helps in removing any remaining imperfections and provides a refined finish.
While prior woodworking experience can be helpful, planing plywood can be learned and mastered by beginners with patience and practice.
Yes, tear-out can be minimized by planing with the grain of the plywood and using a sharp blade. This will result in cleaner edges and reduce the risk of splintering.
Yes, alternatives to planing plywood include using power sanders or hand sanding, depending on the project’s complexity and the finish desired.
It is recommended to remove any dust particles from the plywood surface after planing before applying a finish. Using a clean cloth or tack cloth can help with this.
Planing plywood is generally recommended for achieving a smooth and even surface, but in some cases, such as when working with pre-finished plywood, it may not be necessary.
To prevent material wastage, it’s crucial to use a sharp blade and work carefully, removing thin layers of wood at a time. Avoid aggressive planing and take your time to achieve the desired result.
Final Thoughts
So, wrapping it up, planing plywood is like a secret weapon in the woodworking game. It’s all about that smooth surface, snug fits, and keeping tear-outs at bay.
But hey, not every situation needs a dose of planing. Like, if you’re dealing with the thin stuff or already have a fancy pre-finished surface, you can skip it.
But here’s the kicker: with the right tools and tricks up your sleeve, you can totally rock the art of planing and take your woodworking projects to the next level. Go get ’em, champ!
Read More:
Images of this article are taken from Canva.com
Can You Use Surface Plane on Plywood? (Is It Good or Bad?)
“Curious about using a surface plane on plywood? Wondering if it’s a woodworking game-changer or a big no-no? Dive into our article to uncover the ins and outs of this technique and discover whether it’s a woodworking win or not!”