What Setting for Iron on Edge Banding? (7 Steps Process)
Woodworking, a delightful blend of precision and creativity, hinges on achieving those impeccably smooth edges. Enter iron-on edge banding – your woodworking bestie.
Whether you’re a seasoned pro or just dipping your toes into the world of DIY, nailing the right settings for iron-on edge banding is the key to a picture-perfect finish.
Here, we’ll embark on a journey through the basics of iron-on edge banding, starting with what it is and loads of perks it brings to your woodworking game. I am going to solve your this question forever: What setting for iron on edge banding?
I’m here to walk you through the application process like your trusty friend, spilling the beans on expert tips and handy troubleshooting advice to ensure your project comes out looking spectacular.
Oh, and I’ve even rounded up a bunch of FAQs to squash any nagging doubts.
So, if you’re itching to up your woodworking ante and sprinkle that professional magic on your projects, let’s plunge headfirst into the universe of iron-on edge banding. Get ready for a crash course in achieving those flawless finishes!
Key Takeaways
- Iron-on edge banding offers easy, budget-friendly, and versatile woodworking solutions.
- Achieve polished, low-maintenance finishes with minimal effort and basic tools.
- Match edge banding materials and colors to your unique project.
- Shield wood from moisture, stains, and daily wear for long-lasting results.
- Effortlessly replace or reapply edge banding for project adjustments.
- Quick drying and no-fuss maintenance keep your projects on track.
- Perfect for both rookies and seasoned woodworkers.
- Avoid overheating to maintain that lovely veneer.
- Use a household iron set to the highest temperature.
- Share your insights and learn from fellow woodworkers’ experiences.
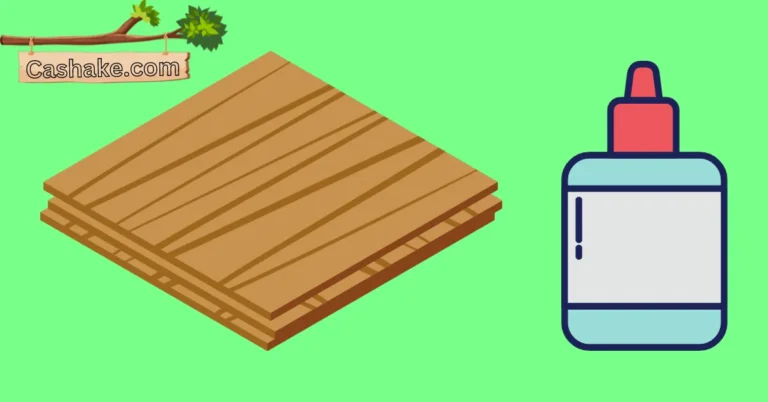
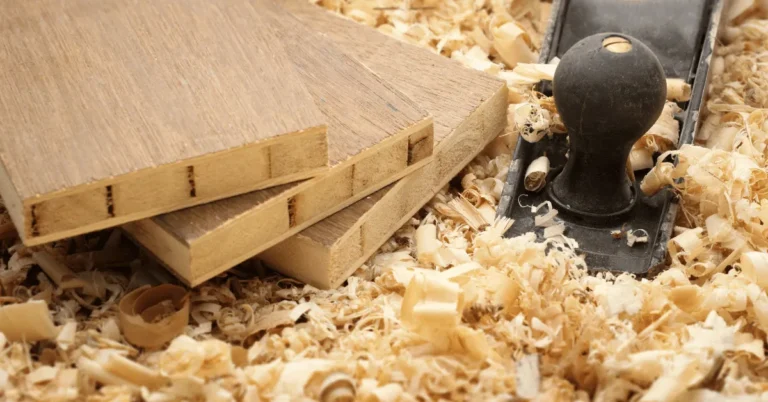
What is iron-on edge banding?

So, what’s the deal with iron-on edge banding, you ask? Well, it’s like this super-slim strip, usually made of wood veneer, that comes pre-loaded with glue on a nifty backing material.
This backing material, often made of paper or plastic, plays a disappearing act when you hit it with some heat – usually from an iron. Cool, right?
Now, here’s where the magic happens. You can slap this edge banding onto the edge of your wood piece without needing any fancy tools or glues. It’s like a DIY dream come true!
And guess what? This awesome feature makes iron-on edge banding a hit with DIY enthusiasts and pros alike.
It’s not just easy peasy to apply, but it won’t break the bank either, unlike some other options. Plus, it’s a real chameleon – coming in a zillion colors and finishes.
So, it can blend in with any piece of furniture, making it look all swanky and put-together. Voila, instant upgrade!
The benefits of using iron-on edge banding

Iron-on-edge banding is like the woodworking hack you never knew you needed. Seriously, it’s a breeze to use and brings a ton of perks to your DIY game.
The best part? It’s so beginner-friendly that you’ll wonder why you didn’t try it sooner.
All you need in your toolbox is a trusty hot iron and a handful of basic tools, and you’re good to go. It’s like the “easy button” for woodworking!
Let me tell you some more benefits of this material. It can help you a lot.
Benefits
Easy Peasy Application: Using iron-on edge banding is like a walk in the park. All you need is a regular hot iron and some basic tools, making it a total no-brainer for woodwork rookies and seasoned pros alike.
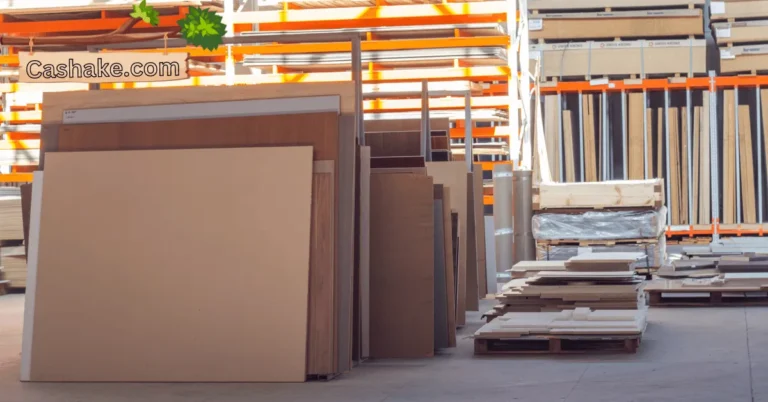
Loads of Material Options: It’s like a buffet for your woodworking projects! Iron-on-edge banding comes in all sorts of materials and finishes, from wood veneer to PVC and melamine. So, you can match it up perfectly with your project and keep things looking sharp.
Built Tough: This stuff can take a beating. It laughs in the face of wear and tear, moisture, and stains, so your projects stay looking fresh and fabulous for ages.
Budget-Friendly Vibes: Who says quality has to cost a fortune? Iron-on edge banding is a budget-friendly choice, so you can save some bucks without sacrificing results.
Fancy Finish: Say goodbye to rough edges! It gives your projects a smooth, polished look that’ll turn heads.
Built to Last: It’s like a shield for your wood. Iron-on edge banding protects against moisture, stains, and daily wear and tear, giving your projects extra staying power.
Low-Maintenance: You won’t be scrubbing your projects for hours. It’s easy to clean and takes the hassle out of finishes and maintenance.
Super Versatile: Whether you’re working on shelves, cabinets, drawers, doors, or furniture, it’s got your back. Talk about a team player!
Swap It Out: Need to make changes? No problem! It’s easily replaceable, perfect for projects that need disassembly or reassembly.
Speedy Dry: Don’t wait around – it dries lightning-fast, so you can keep your woodworking groove going.
No Fancy Tools Needed: Forget about complicated gadgets. A hot iron and basic tools are all you need to make this magic happen. Perfect for newbies!
How to apply iron-on edge banding?

To apply iron-on edge banding, you will need the following tools:
- A household iron
- A burnishing tool (optional)
- An edge trimmer (optional)
Instructions:
Let’s make this as easy as pie:
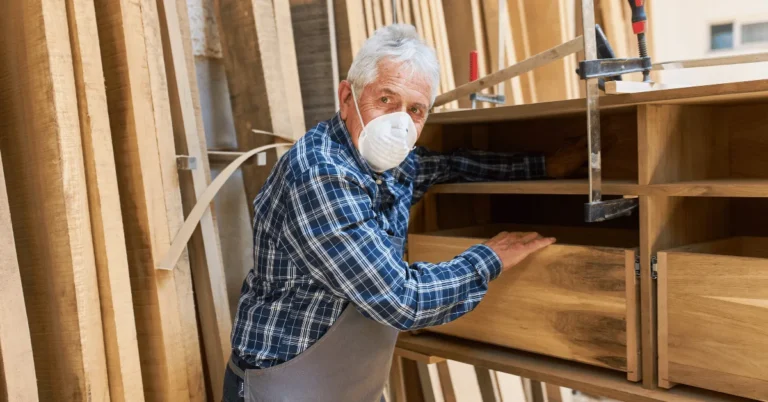
Step 1: Get Your Workpiece Ready: First things first, make sure your workpiece is clean and dry. If it’s plywood, consider giving those edges a little love with some light sanding to smooth out any rough patches.
Step 2: Chop the Edge Banding: Grab your edge banding and cut it to the right length. Leave about a 1/4-inch hanging over each end of your workpiece – it’s all about the overhang!
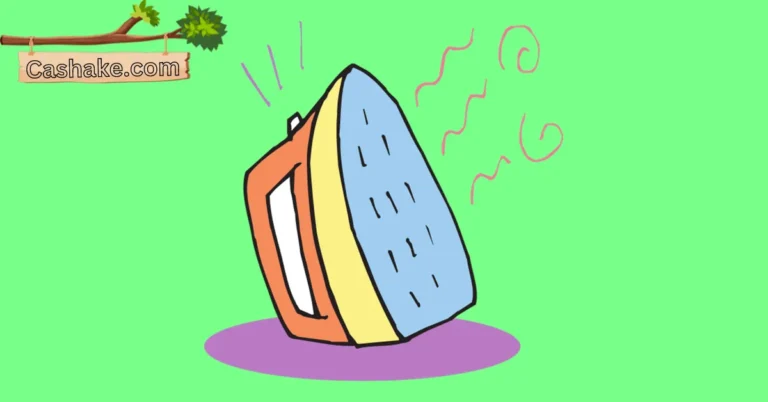
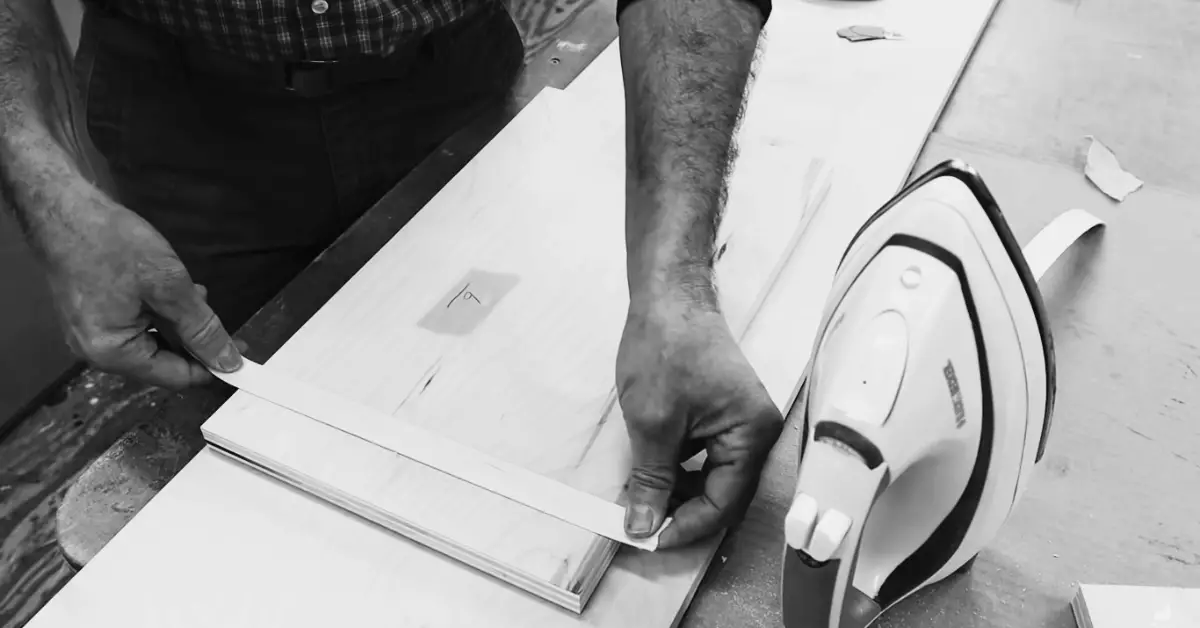
Step 3: Heat Up the Iron: Fire up your trusty iron and set it to the cotton setting. Oh, and don’t forget to turn off the steam – we’re not in a spa.
Step 4: Stick on the Banding: Lay that edge banding right over the edge of your workpiece, letting it hang over on both ends. It’s like giving your workpiece a stylish new border.
Step 5: Iron it Down: Put that iron to work! Press it firmly on the edge banding, and slide it back and forth smoothly. Don’t rush – overlap your passes just a tad.
Step 6: Smooth It Out: Grab a burnishing tool (or anything flat and smooth) and press down on the edge banding. Smooth out any pesky air bubbles like a pro.
Step 7: Trim the Excess: Time to tidy up. Use an edge trimmer to slice off the extra edge banding, so it lines up perfectly with your workpiece’s edge. Voilà, you’re a woodworking superstar!
Tips:
Dealing with Curved Surfaces: If you’re tackling a curved surface, think about bringing in the big guns – a heat gun can soften up that adhesive and make your life easier.
Adhesion Woes? Try Contact Adhesive: If things aren’t sticking as they should, consider swapping out the adhesive that comes with the edge banding for some trusty contact adhesive. Sometimes, it’s all about finding the right fit.
Don’t Go Overboard with Heat: Whatever you do, don’t go overboard with the heat! Too much can be a bad thing and might mess with that lovely veneer. Keep it cool, folks!
Tips for achieving perfect results:
- Make sure your workpiece is as flat as a pancake and that the edge banding is perfectly lined up.
- Press down evenly with the iron as you work your magic on that edge banding.
- Watch out not to go overboard with the iron; we don’t want any veneer mishaps.
- Grab a burnishing tool to squash out any pesky air bubbles in that edge banding.
- Trim off the extra edge banding as close to the workpiece’s edge as you can get.
- With a little practice, you’ll be a pro at slapping on that iron-on edge banding!
What setting for iron on edge banding?

When applying iron-on edge banding, it’s crucial to set your iron to the cotton or hottest setting. This ensures that the glue line on the edge banding melts completely and securely bonds to the substrate material.
However, it’s worth noting that not all irons are created equally. Some may not reach a high enough temperature to effectively melt the glue on the edge banding.
To verify if your iron is sufficiently hot, consider testing it on a scrap piece of edge banding beforehand.
Useful tips to keep in mind when working with iron-on edge banding:
- Prepare the Edge Banding: Begin by cutting the edge banding slightly longer than the edge of the substrate material.
- Application Process: Position the edge banding onto the substrate material and firmly press it down using the iron.
- Iron Technique: Move the iron back and forth along the edge of the edge banding while maintaining constant pressure. Be cautious not to overheat the edge banding, as excessive heat can cause damage.
- Trimming Excess Material: Trim any surplus edge banding with a sharp knife or an edge trimmer once the glue has melted and bonded properly.
Alternative Method
In case you encounter difficulties during the application process, an alternative method is to use a heat gun instead of an iron.
Heat guns offer more precise temperature control, aiding in achieving a strong bond. Here are some additional tips for utilizing a heat gun with iron-on edge banding:
- Temperature Control: Start with the heat gun set to a low setting, and gradually increase the heat as necessary.
- Application Technique: Hold the heat gun approximately 6 inches away from the edge banding and move it in a sweeping motion back and forth. Similar to using an iron, exercise caution to avoid overheating, which can potentially harm the edge banding.
- Trimming Excess Material: Once the glue has melted and successfully bonded, trim any excess edge banding with a sharp knife or an edge trimmer.
With some practice and these guidelines in mind, you’ll become proficient at applying iron-on edge banding for your projects.
Troubleshooting tips for applying iron-on edge banding

It is so much essential to know the solutions to the problems before the problems occur, isn’t it? So, allow me to tell you some of the problems that you might face and their solutions as well.
Problem: The edge banding is not adhering properly.
Possible causes:
- The iron is not hot enough.
- Too much pressure is being applied.
- The surface is not clean and dry.
- The adhesive is old or expired.
Solutions:
- Set the iron to the highest setting.
- Use a pressing cloth to protect the edge banding from the heat of the iron.
- Make sure the surface is free of dust, dirt, and grease.
- Use a new roll of edge banding if possible.
Problem: The edge banding is bubbling or blistering.
Possible causes:
- Too much heat is being applied.
- The edge banding is too wide or too thick.
- The edge banding is not properly aligned.
Solutions:
- Reduce the heat setting on the iron.
- Use a narrower or thinner edge banding.
- Make sure the edge banding is flush with the edge of the substrate.
Problem: The edge banding is peeling or lifting.
Possible causes:
- Not enough heat was applied.
- The surface was not clean and dry.
- The adhesive is old or expired.
Solutions:
- Use a higher heat setting on the iron.
- Make sure the surface is free of dust, dirt, and grease.
- Use a new roll of edge banding if possible.
Problem: The edge banding is wrinkled or creased.
Possible causes:
- The edge banding was not properly aligned.
- The iron was not moved quickly enough.
Solutions:
- Make sure the edge banding is flush with the edge of the substrate.
- Move the iron quickly and evenly over the edge banding.
If you are still having problems applying iron-on edge banding, you may want to try using a different type of adhesive or a different method of application.
Important FAQs

It’s recommended to use a household iron for applying iron-on edge banding. Set the iron to the cotton or hottest setting to ensure the glue on the edge banding melts properly. However, be aware that not all irons may reach a high enough temperature, so it’s a good idea to test on a scrap piece of edge banding first.
Iron-on edge banding is easy to apply, budget-friendly, and comes in a variety of materials and finishes. It provides a smooth, polished look to your projects, is durable against wear and tear, and offers easy maintenance. It’s a versatile option suitable for various woodworking projects.
While it’s possible to use iron-on edge banding on curved surfaces, it may require additional tools like a heat gun to soften the adhesive. Applying even pressure and being cautious not to overheat the banding is essential for successful application.
If the edge banding isn’t adhering properly, ensure that your iron is set to the highest setting, use a pressing cloth to protect the banding, clean the surface thoroughly, and consider using a new roll of edge banding if the adhesive is old or expired.
To prevent bubbling or blistering, reduce the heat setting on the iron, use narrower or thinner edge banding if necessary, and ensure the edge banding is properly aligned and flush with the edge of the substrate.
Final Thoughts

Hey there, you’re now in on the secrets of getting those flawless finishes with iron-on edge banding. This nifty woodworking trick can take your DIY projects to a whole new level.
Iron-on-edge banding is a game-changer in the woodworking world, and here’s why: it’s super easy to use, comes in a variety of materials, and won’t break the bank. It’s like having an “easy button” for creating projects that look great, last long, and need minimal upkeep.
Whether you’re a seasoned pro or just dipping your toes into DIY, iron-on edge banding is a must-have tool. With the right tips and tricks, you can use it on everything from shelves and cabinets to drawers and furniture.
But here’s the fun part: the journey doesn’t stop here. We want to hear from you! Do you have questions, tips, or stories about using iron-on edge banding? Don’t be shy – drop a comment below. Your insights could be a big help to fellow woodworkers.
And if this article rocked your woodworking world, why not share it? Let your pals and fellow DIY enthusiasts in on the magic of iron-on edge banding. Together, we can inspire more woodworkers to create amazing results.
How Plywood is Manufactured? (Process, Types, Uses, and Advantages)
After delving into the world of iron-on edge banding, it’s time to explore plywood’s fascinating universe. Discover the manufacturing process, types, uses, and advantages in our article “How Plywood is Manufactured? (Process, Types, Uses, and Advantages).” Expand your woodworking knowledge today!