
So, you want to find the correct temperature to iron on the veneer without damaging it. You may be a DIYer working on a project, or a professional woodworker who needs to know the correct temperature for different types of veneer.
Well, fear not, because in this article I am going to tell you everything about it. I will also give tips and troubleshoot common problems when ironing on veneer. But first of all, let me give you the exact answer to your question: How hot should an iron be for veneer?
The ideal iron temperature for veneer is between 250 and 350 degrees Fahrenheit (121-176 degrees Celsius). Test a small area first to make sure the heat does not damage the veneer.
Let’s deep dive into this article and learn more about it. If you are ready, then I am as well. Let’s go.
Key Takeaways
- Optimal temperature: Iron veneer between 250-350°F (121-176°C) for best results.
- Use appropriate adhesive for a strong veneer bond.
- Prepare the wood surface meticulously for a flawless finish.
- Apply even pressure to avoid bubbles during ironing.
- Avoid steam irons to prevent peeling and bubbling issues.
- Follow the wood grain for a polished appearance.
- Protect the veneer with a barrier like parchment paper.
- Perform a test run before working on your main project.
- Be cautious not to over-iron to prevent scorching.
- Seek advice from experienced woodworkers when in doubt.
How to iron on veneer?
Alright, let’s get down to the nitty-gritty of ironing on veneer. Here’s what you need and how to make it happen:
What You’ll Need:
- Iron-on veneer
- A sturdy base (plywood or MDF works like a charm)
- Wood glue
- Optional: Brayer (fancy roller thing)
- Craft paper or heat-resistant material
- Optional: Clamps (for the extra security)
Step-by-Step:
1. Prep the Base: First things first, make sure your base (that plywood or MDF) is clean and bone-dry.
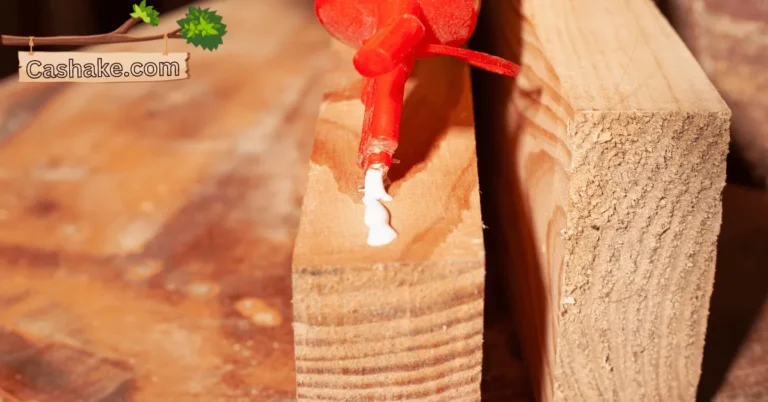
2. Glue it Up: Slather a nice, thin layer of wood glue on the back of your veneer. If you’re feeling pro, use a brayer to roll it out super evenly.
3. Let it Get Tacky: Give that glue a little alone time until it’s just tacky to the touch.
4. Get Aligned: Carefully place your veneer on the base, making sure it’s lined up to perfection.
5. Protect with Craft Paper: To shield the veneer from the iron’s heat, put some craft paper or a heat-resistant buddy on top.
6. Iron Power: Set your iron to medium-high and give the steam function a break. Now, press that iron down with firm but gentle pressure. Start from the middle and work your way out, making it all nice and even.
7. Full Bond Mode: Keep ironing until your veneer is tight and secure on the base.
8. Clamps (if needed): If you’re feeling a little extra cautious, use clamps to hold things together while the glue fully dries.
9. Trim and Shine: Once everything’s dry as a bone, trim off any excess veneer and get ready to show off your handiwork.
Extra Tips:
- Don’t Go Overboard: Watch out for overheating; too much heat can be a veneer’s worst nightmare.
- Bubble Trouble: If bubbles start popping up, make a tiny slit with a sharp knife, then press that iron over it to smooth things out.
- Big Veneer, Divide, and Conquer: If you’re dealing with a big piece of veneer, take it one section at a time to make sure it sticks just right.
- Chill Time: Let that veneer cool down completely before you start the trimming and finishing party.
And there you have it, a quick and breezy way to give your projects that sleek veneer finish. With a little love and attention, you’ll be rocking that pro look in no time.
How hot should an iron be for veneer (The best temperature for ironing on veneer)

Alright, let’s talk temperature when it comes to ironing on that veneer. No need for a thermometer; here’s the lowdown:
Sweet Spot: The magic range is between 250 and 350 degrees Fahrenheit (121 and 177 degrees Celsius). Most irons will have a setting that says “delicate” or “linen” in this zone, but here’s the kicker: check your iron’s manual because those settings can be as unique as a snowflake.
Glue Matters: Now, here’s a curveball – the glue you’re rocking can throw a wrench in the works. Some PVA glues might need more heat love than others. To dodge any veneer-vanishing disasters, run a test on a tiny piece before you go all in.
So, there you have it, the temperature talk for veneer ironing. Stay in the range, mind your glue, and you’re on your way to smooth sailing.
Different types of veneer and their ideal ironing temperatures
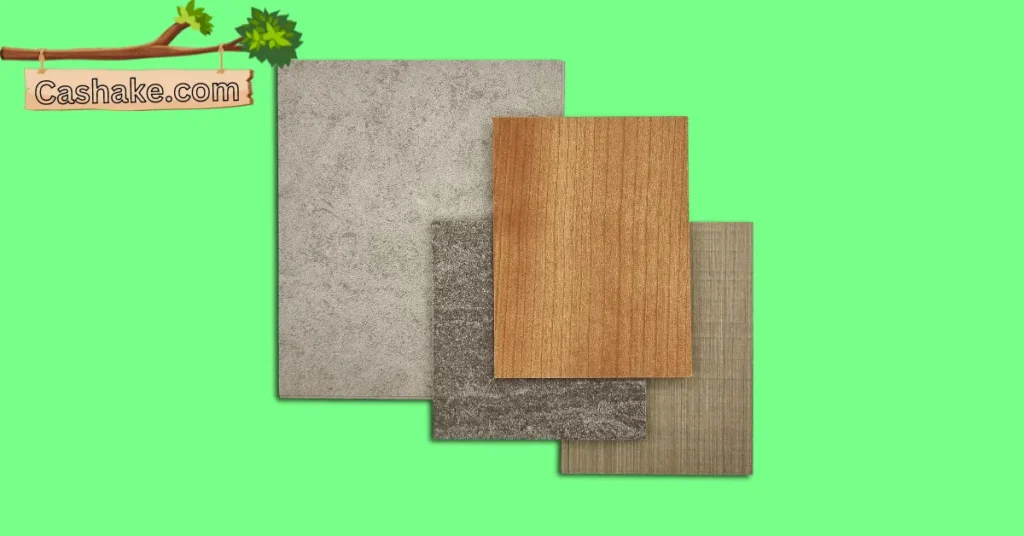
Check out this handy chart with different types of veneer and their ideal ironing temperatures in both Fahrenheit and Celsius:
| Type of Veneer | Ironing Temperature (Fahrenheit) | Ironing Temperature (Celsius) |
|---|---|---|
| Cherry | 300°F | 149°C |
| Maple | 300°F | 149°C |
| Oak | 325°F | 163°C |
| Walnut | 350°F | 177°C |
| Birch | 300°F | 149°C |
| Mahogany | 300°F | 149°C |
| Teak | 350°F | 177°C |
| Rosewood | 350°F | 177°C |
Remember, these temperature suggestions are just ballpark figures. The perfect ironing temperature can vary depending on factors like veneer thickness, adhesive type, and finish. To be safe, do a quick test on a small, hidden section of the veneer before tackling the entire piece.
Nifty ironing tips:
- Go-Dry: Steer clear of steam irons to prevent any mishaps like bubbling or peeling.
- Be Gentle: No need to Hulk out. Keep the pressure light to protect the veneer’s delicate surface.
- Follow the Grain: Always move with the wood grain for the slickest results.
- Press Cloth Power: When dealing with ultra-thin veneer, consider popping a press cloth in between the iron and the veneer to shield it.
- Don’t Overcook: Don’t let things get too hot to handle, or you might end up with discoloration or shrinkage.
If you’re feeling uncertain about ironing a particular veneer, don’t hesitate to get some pro advice from a seasoned woodworker or cabinetmaker. They’ve got the know-how to keep your veneered woodwork looking fabulous!
Tips for ironing on veneer without damaging it

Pick the Right Glue: To nail your veneer project, grab an adhesive that’s made for the job. Awesome choices include Titebond Instant Veneer Adhesive or Conover Hot Edge Veneer Glue.
Prep the Surface: Before you dive in, make sure the surface you’re veneering is clean, dry, and smooth. Any bumps or blemishes could show through the veneer.
Spread the Glue Evenly: Give both the back of the veneer and the surface a nice, thin coat of adhesive. Don’t go overboard with the glue – too much can cause wrinkles.
Set the Iron Heat: Crank up your iron to medium-high heat, but steer clear of the steam setting, as it can mess up the veneer.
Shield the Veneer: To prevent scorching, put a piece of brown paper or a thin cloth between the iron and the veneer.
Start from the Middle: Begin ironing from the center of the veneer and work your way outward. Apply some pressure and keep the iron moving nice and steady.
Watch for Flaws: While you iron, keep an eye out for bubbles or wrinkles in the veneer. If you spot any, lift the iron and gently smooth them out with your hand.
Let the Glue Set: Once you’ve ironed down the entire veneer, give the glue time to fully cure before you break out the sandpaper or finish the surface.
More tips to keep your veneer in tip-top shape:
Trim with Precision: Use a sharp knife or a veneer knife to trim the veneer to your desired size. Scissors might tear it up, so steer clear.
Don’t Overdo the Sanding: Be careful not to sand too much – too much sanding can make your veneer thinner and more prone to damage.
Pick the Right Finish: Grab a finish specifically made for wood veneer and follow the manufacturer’s instructions carefully when you apply it.
With these laid-back pointers and a little TLC, you’ll be ironing on veneer like a pro and crafting gorgeous, long-lasting wood projects.
Troubleshooting common problems when ironing on veneer

Ironing on veneer can be a convenient method for adding a new wood surface to your project, but achieving success can be a bit challenging.
Here, we’ll discuss some common problems encountered during this process and provide troubleshooting solutions.
Problem 1: The veneer is not sticking.
Possible causes:
- The iron is not hot enough.
- The glue is old or dried out.
- The veneer or substrate is not clean and dry.
- There is too much glue.
Solutions:
- Ensure the iron is set to the highest safe temperature for the veneer.
- Check the expiration date of the glue and replace it if it’s old.
- Wipe the veneer and substrate with a damp cloth to remove any dust or debris, ensuring they’re completely dry before applying the glue.
- Apply a thin, even layer of glue to both the veneer and substrate.
Problem 2: The veneer is bubbling.
Possible causes:
- The iron is too hot.
- There is too much glue.
- The glue is not drying properly.
Solutions:
- Lower the heat setting on the iron.
- Apply a thinner layer of glue.
- Allow the glue to dry completely before repositioning or moving the veneer.
Problem 3: The veneer is wrinkled.
Possible causes:
- The veneer was not properly clamped or pressed down while drying.
- The veneer was not properly applied to the substrate.
Solutions:
- Ensure the veneer is firmly clamped or pressed down during the drying process.
- Utilize a veneer roller or squeegee to eliminate air bubbles between the veneer and substrate.
Problem 4: The veneer is peeling or lifting.
Possible causes:
- The veneer was not properly bonded to the substrate.
- The veneer or substrate is not properly prepared.
- The veneer is too thin.
Solutions:
- Apply a thin, even layer of glue to both the veneer and substrate.
- Wipe the veneer and substrate with a damp cloth to remove any dust or debris, and allow them to dry completely before applying the glue.
- Utilize a veneer roller or squeegee to remove air bubbles between the veneer and substrate.
- Select a veneer that is adequately thick for the intended application.
Additional tips:
- Always perform a test run with the iron on a scrap piece of veneer before working on your actual project.
- Use a heat-resistant cloth or parchment paper as a protective barrier between the iron and the veneer.
- Exercise caution not to over-iron the veneer, which can lead to burning or scorching.
- Allow the veneer to dry completely before trimming or finishing it.
- If you encounter persistent difficulties when ironing on veneer, consider seeking guidance from a professional woodworker or cabinetmaker.
Important FAQs

Yes, you can use a regular household iron for veneer ironing. Just make sure to set it within the recommended temperature range of 250 to 350 degrees Fahrenheit (121-176 degrees Celsius) and avoid using the steam function.
It’s recommended to use adhesive specifically designed for veneer, such as Titebond Instant Veneer Adhesive or Conover Hot Edge Veneer Glue, to ensure a strong bond.
While veneer can be applied to various wood surfaces, the base surface must be clean, dry, and smooth. Ensure the wood is well-prepared to achieve the best results.
To avoid bubbles, apply even pressure while ironing and use a veneer roller or squeegee to eliminate air bubbles between the veneer and the substrate. If bubbles appear, make a tiny slit with a sharp knife and press the iron over it to smooth things out.
It’s best to steer clear of steam irons when ironing veneer, as the steam can lead to issues like bubbling or peeling. Stick to a dry iron for the best results.
Final Thoughts

Hey there, we’ve taken a deep dive into the world of veneer ironing, and trust us, it’s more of an art than you might think.
Whether you’re a woodworking pro or just someone who loves a good DIY project, getting that temperature just right is the key to success.
We’ve found that the sweet spot falls between 250 and 350 degrees Fahrenheit (121-176 degrees Celsius), guaranteeing a stunning outcome for your veneer masterpiece.
But we didn’t stop at the basics. We’ve dug into the nitty-gritty, breaking down the process step by step, sharing some handy tips, and even providing solutions for those pesky problems that can pop up.
With this knowledge in your toolbox, you’re all set to tackle veneer ironing like a seasoned pro.
Remember, practice is your best friend here. Start with a small test section before you dive into your main project – it’s a smart move.
And if you ever hit a roadblock or have burning questions, don’t hesitate to reach out to the woodworking community. They’ve got your back.
Now it’s your turn to join the conversation. Share your experiences, thoughts, and questions in the comments. We’re all ears and ready to help with any challenges you encounter on your veneer ironing journey.
Can You Glue Iron on Edging? Expert Tips for Perfect Iron-On Edging! (7 Steps)
“Now that you’ve got veneer ironing down pat, let’s dive deeper into woodworking! Check out ‘Can You Glue Iron on Edging? (7 Steps)’ for some pro tips.”