Can You Glue Iron on Edging? Expert Tips for You
So you are not sure whether or not it is possible to glue iron-edging. You are looking for a more affordable or convenient alternative to sewing on edging. You are looking for a way to repair damaged or worn-out edging.
Or you may be looking for a way to customize your projects with unique edging. Finally, you intend to find out whether or not it is possible to glue iron-on edging, and if so, how to do it.
Well, the simple and easy answer for your question: can you glue iron on edging? is here:
Yes, you can glue iron-on edging. It is a quick and easy way to finish the edges of plywood, wood, and other materials.
To glue iron-on edging, simply heat the back of the edging with an iron and press it onto the surface. Be sure to follow the manufacturer’s instructions for the best results.
Well, this is not the end of the article. Let me tell you some of the more details about it and give you a thorough answer.
Key Takeaways
- Glue iron-on edging for quick, polished edges on various materials.
- Prioritize manufacturer instructions for a successful edging application.
- Iron-on edging offers easy customization and durability for DIY enthusiasts.
- Consider extra glue for curved or high-stress projects.
- Choose suitable wood glue, like PVA, epoxy, or contact cement.
- Seek advice from experienced woodworkers for uncertain situations.
- Watch out for adhesive escaping during edging application.
- Removal of iron-on edging requires careful, wood-friendly techniques.
- Precision in application enhances seamless integration with the surrounding wood.
- Benefits include easy application, affordability, strong bonds, and material variety.
What is iron-on edging?

Iron-on edging rocks as the ultimate go-to for edging wizardry. Whether you’re a DIY champ or a seasoned woodworking pro, this method is your ticket to edge perfection.
Why’s it so rad? Well, it’s a breeze to use, and the results? Oh, they’re as tough as nails.
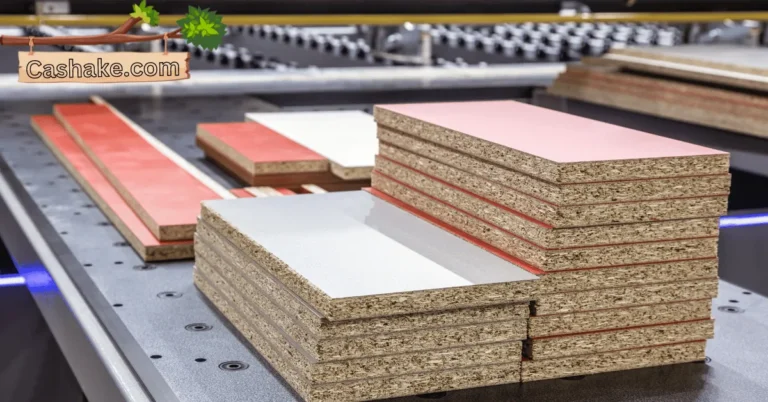
Here’s the lowdown: Iron-on edging rolls out a red carpet of choices. You’ve got wood veneer, melamine, PVC, and more.
These materials aren’t just sitting there for looks; they’ve got a job to do. Cover rough edges, dodge chipping and moisture mishaps, or simply glam up your project – iron-on edging’s got your back, no sweat.
Can you glue iron on edging?

You can stick on iron-on edging, though it’s not always a must-do. Iron-on edging already comes equipped with a heat-activated adhesive on the back, which makes it stick to wood when you apply heat with an iron.
However, there are situations where adding some extra glue might be a good call:
- Curved Surfaces: When you’re dealing with a curved surface, a bit of extra adhesive support can work wonders.
- Boosted Bond Strength: If you want that bond between the edging and the wood to be extra strong.
- Not-so-Sticky Iron-On Edging: Some types of iron-on edging might not have the stickiest backing, so extra glue comes to the rescue.
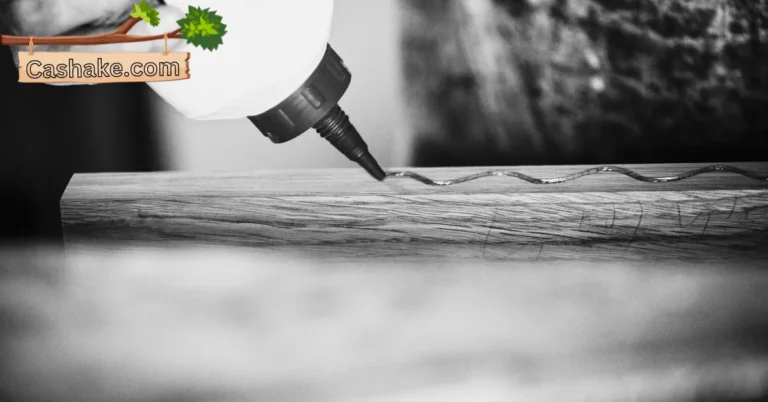
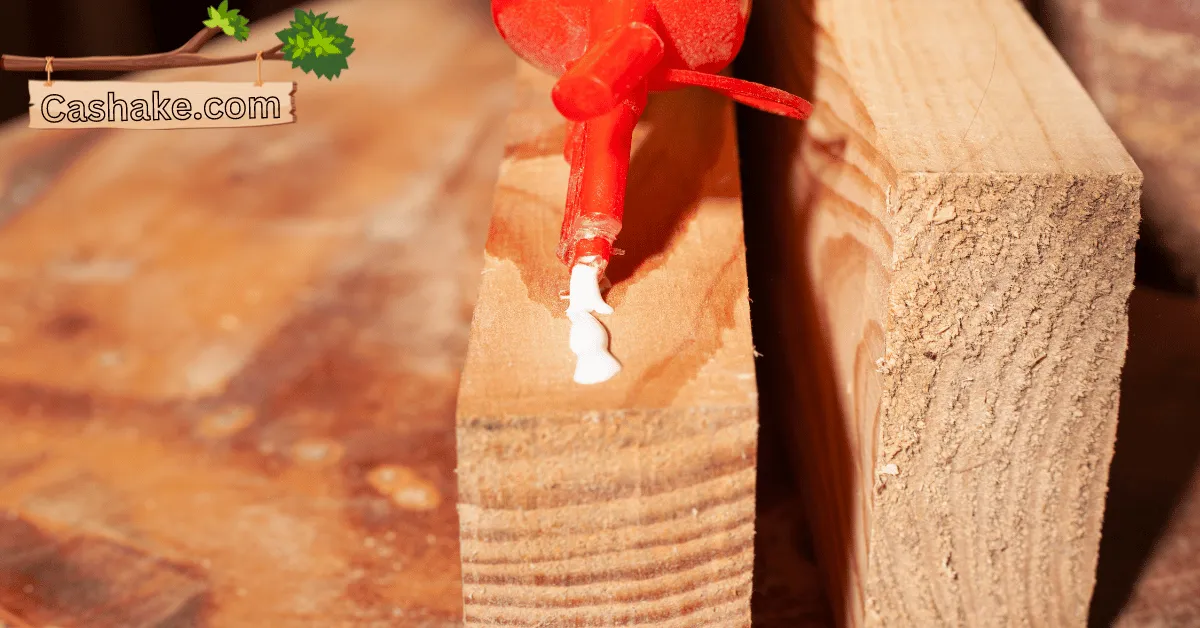
To get the job done right when gluing iron-on edging, you’ll need some wood glue that plays nicely with the type of edging you’ve got. Here are some common choices:
- PVA glue
- Epoxy glue
- Contact cement
Keep in mind that gluing iron-on edging might not be as hardcore as using a hot iron, but it can work as a solid plan B. This is especially handy if you’re having a tough time with the iron or just want some extra reassurance.
If you’re not entirely sure whether to glue your iron-on edging or not, consider reaching out to a seasoned woodworker. Their wisdom can help you make the right call for your specific project.
Pros and cons of gluing iron-on edging

Let’s break down the perks and quirks of gluing iron-on edging, shall we?
Pros:
1. Easy-Peasy Application: Iron-on edging is a breeze to apply, even for DIY rookies. Just fire up the iron, let that adhesive backing melt, and slap the edging onto your surface. Easy peasy!
2. Super Strong Bond: When you get the hang of it, iron-on edging sticks to plywood edges like glue (pun intended). It’s a champ for projects that’ll see a lot of action.
3. Wallet-Friendly: It won’t break the bank! Iron-on edging keeps your project budget in check and offers a rainbow of colors and wood options to boot.
Cons:
1. Sticky Removal: Here’s the tricky part – taking it off without wrecking the plywood edge can be a puzzle. Not ideal if you’re a fan of tweaks and fixes.
2. Watch Out for Adhesive Escape: During application, that adhesive might go rogue and create a sticky mess in places you don’t want it. Keep an eye out!
3. Durability Dilemma: When it comes to long-lasting oomph, iron-on edging might not stack up to other methods that involve glue and clamps. It’s like the sprinter of edge banding, not the marathoner.
4. Aesthetic Slight Hiccups: Sometimes, the look of iron-on edging might not blend seamlessly with the wood around it, especially if you’re not a precision pro.
In a nutshell, gluing on iron-on edging is a quick and DIY-friendly way to cover those plywood edges. It’s a champ for low-impact projects but consider these quirks before you make it your go-to.
How to glue iron-on edging?
Let’s keep it simple when it comes to gluing that iron-on edging. Here’s the lowdown:
Step 1: Get the Surface Ready Start with a clean slate. Wipe away the dust and debris from your woodwork surface. If you want it silky smooth, a quick sanding with fine-grit sandpaper will do the trick.
Step 2: Measure and Chop Now, measure and cut that edging, leaving a bit hanging over the edges of your workpiece.
Step 3: Heat Up the Iron Fire up your iron – set it to the right heat level for your edging. No scorched edges, please!
Step 4: Place and Press Lay your edging down, right in the middle, and press it like you mean it. For those pesky corners, grab some spare wood to help with the heavy lifting.
Step 5: Iron it Smooth Slide that hot iron back and forth over the edging, pressing down firmly. Don’t go overboard; too much heat is a no-no.
Step 6: Roll it Out Once it’s heated up enough, grab a roller and give it a good roll to kick those air bubbles to the curb.
Step 7: Trim the Overhang Take a sharp knife and trim off the excess edging, so it’s flush with your workpiece’s edge.
Pro Tips:
- Keep a damp cloth handy to wipe away any glue sneakily oozing out.
- Let it chill – the edging needs to cool completely before you get handsy with it.
- If you’re working on curves, swap the iron for a heat gun.
- Don’t get too iron-happy; it can make the edging shrink and get all wobbly.
Once that edging is locked and loaded, a light sanding with fine-grit paper can smooth out any rough spots. And hey, consider slapping on a finish to protect and jazz up that edging’s looks. Easy peasy, right?
More Pro Tips for gluing iron-on edging

Let me give you my pro tips that you should keep in mind while gluing iron-on edging.
- Cutting Edge Banding: Begin by using a sharp knife to cut the edge banding to the desired length. Avoid using a dull knife as it can tear the banding, making it challenging to apply.
- Slight Overhang: When applying the edge banding, leave a slight overhang on the edge. This excess material will be useful for trimming after the glue has cooled and cured.
- Applying Pressure: Utilize a pressing tool to apply firm and even pressure to the edge banding while it’s still hot. This ensures a secure bond between the glue and the wood.
- Avoid Overheating: Be cautious not to overheat the edge banding, as excessive heat can cause the glue to bubble or scorch, potentially ruining the project’s appearance.
- Trimming Excess: After the glue has set, trim off the excess edge banding carefully using either a sharp knife or a veneer trimmer, making sure not to damage the underlying wood.
Consider these tips for improved results:
- Heat Gun: For more control, opt for a heat gun instead of an iron, especially when working on curved surfaces.
- Even Glue Distribution: Apply a thin, even layer of glue to the edge banding before heating it. This ensures that the adhesive is evenly distributed.
- Clean Excess Glue: Before the glue dries, use a damp cloth to wipe away any excess glue that may have seeped out during application.
- Allow Complete Curing: Give the glue ample time to cool and cure entirely before proceeding with sanding or finishing the project.
When gluing edge banding on curved surfaces, follow these specific tips:
- Heat and Soften: Use a heat gun to warm both the edge banding and the wood underneath. This softens the glue, making it easier to bend the edge banding around the curve.
- Apply Pressure: While the edge banding is still hot, employ a pressing tool to maintain pressure, ensuring the banding stays in place as it cools and cures.
- Practice Patience: Be patient and take your time when working on curved surfaces. Achieving a perfect bend may require several attempts, but with practice, you’ll master the technique.
With these guidelines, you’ll soon become adept at gluing iron-on edging like a pro!
Important FAQs

Yes, iron-on edging can be applied to curved surfaces, but in some cases, additional adhesive support may be necessary to ensure a strong bond.
Select the glue based on the type of edging material you’re using. Common choices include PVA glue, epoxy glue, and contact cement.
Yes, for curved surfaces, when you need an exceptionally strong bond, or if the iron-on edging has a less adhesive backing, adding extra glue can be beneficial.
Keep an eye out for adhesive escaping from the edging during application. Wipe it away with a damp cloth before it dries to avoid sticky messes.
Removing iron-on edging can be tricky without damaging the wood underneath. Careful and patient removal techniques are required.
Final Thoughts

So there you have it – gluing iron-on edging is like your trusty sidekick when it comes to giving your projects that extra edge. Whether you’re working with plywood, wood veneer, melamine, or PVC, this method’s got your back, making DIY a breeze.
Now, let’s talk shop. Before you dive into your iron-on edging projects, here are the basics: prep your surface, measure, and snip that edging, apply heat evenly, give it a good press, and trim off any extras for that pro finish.
Whether you’re a woodworking whiz or just getting started, nailing this technique will step up your project game.
But hey, we’re all in this together, right? If you found this article handy or have burning questions, drop your thoughts in the comments below. Ever tried gluing iron-on edging? Share your stories and tips with the crew. Your wisdom might just save someone’s project!
And don’t keep this treasure trove of knowledge to yourself –share it with your DIY buddies. Let’s make every project a winner!
What Kind of Glue to Use for Edge Banding? Are You Using the Right Glue? (2023)
“Once you’ve checked out iron-on edging, let’s dive into the world of the best glues for edge banding. Take a peek at ‘What Kind of Glue to Use for Edge Banding? Are You Using the Right Glue? (2023)’ for some pro tips.”