
In the world of woodworking and DIY enthusiasts, there’s often this burning question: Can your everyday household iron handle edge banding tasks?
Well, in this handy guide, I am here to demystify this common query and arm you with all the know-how you need to take on edge banding projects like a pro.
You may be pondering, “Can I use a regular iron for edge banding?” This inquiry arises as DIY enthusiasts and woodworkers perpetually seek economical and efficient alternatives.
I get it; you want to make the most of the tools you have on hand. But can your trusty iron go head-to-head with those fancy edge banding machines?
In this article, I am going to dive deep into the perks and pitfalls of using a regular iron for edge banding. I’ll walk you through the steps to tweak your iron for this job, providing a step-by-step roadmap to ace your edge banding projects.
Plus, I’ll size up the pros and cons of sticking with your iron versus investing in a dedicated edge banding machine, so you can make savvy choices.
From tackling common troubleshooting hiccups to knowing exactly when to go with your iron or splurge on a machine, consider this article your trusty sidekick for mastering edge banding with flair and confidence.
Ready to explore the world of edge banding with a regular iron? Let’s dive in, one question at a time.
Key Takeaways
- Regular irons are budget-friendly for edge banding projects.
- They’re versatile and suitable for curved and straight edges.
- Apply wood glue for a stronger bond with banding.
- Use a pressing cloth to prevent scorching.
- Practice and patience lead to better results.
- Ideal for beginners and small-scale woodworking.
- Consider dedicated machines for larger, precise projects.
- Temperature control is crucial for different materials.
- Regular irons can handle various edge banding materials.
- Safety first: Turn off steam and unplug when not in use.
Can I use a regular iron for edge banding?

Using a regular iron for edge banding is possible, but it’s not the most ideal tool for the job. Dedicated edge banding irons are designed specifically for this purpose, and they come with several features that greatly enhance their effectiveness and ease of use.
Now, what makes them special? First off, their soleplates are wider than those on regular irons. Why does that matter? Well, when you’re all about precision and speed, that extra surface area is a game-changer.
But wait, there’s more! Edge banding irons usually come with a nifty temperature control feature. That means you can dial in the perfect heat for the type of edge banding material you’re using. No one-size-fits-all here; you get tailor-made heat for top-notch results.
In a nutshell, you can go the regular iron route, but if you want to level up your game with efficiency and top-quality work, those dedicated edge banding irons are where the magic happens.
What are the advantages of using a regular iron for edge banding?

Using a regular iron for edge banding comes with some cool perks. First off, it won’t burn a hole in your pocket like those fancy edge banding machines. This means it’s budget-friendly, and everyone from beginners to seasoned pros can get in on the action.
Plus, these irons are super portable. They’re pint-sized and easy to lug around, making them perfect for DIY adventures in different spots. Whether you’re in your garage or a friend’s workshop, you’re good to go.
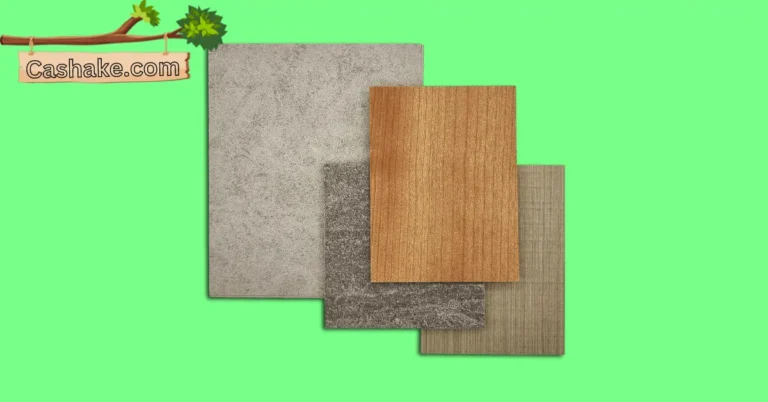
What’s even better? It’s a breeze Iron-on-edge banding is straightforward, and with a regular iron, it’s like a walk in the park. And it’s not picky either – it handles wood veneer, PVC, melamine, you name it. Talk about versatility!
But wait, there’s more! If you goof up during the application, no worries. Just heat it and peel it off. Try doing that with some other edge banding methods – not gonna happen.
Plus, if your edge banding takes a beating, you can often revive it by reheating and pressing it down. This saves you time and money down the road.
And don’t think it’s only for straight edges. Nope, regular iron magic works on curved edges and tricky shapes too.
So, whether you’re a newbie or a woodworking pro, a regular iron for edge banding is your ticket to a cost-effective, user-friendly edge-finishing solution for plywood and all your wood projects. It’s a win-win!
What are the disadvantages of using a regular iron for edge banding?

Using a regular iron for edge banding? Well, let’s talk about the downsides. First off, these irons aren’t made for this job, so keeping a consistent temperature across the whole surface can be a real head-scratcher.
That means you might end up with uneven edge banding – not a good look, and it could start peeling off over time.
And watch out for the heat! Regular irons can go overboard and damage your edge banding. Melting and blistering – it’s not the style statement you want in your woodworking projects.
Control freaks, beware! These irons don’t do even pressure, so you’ll struggle to get that strong bond between the edge banding and your project.
Time’s not on your side either – regular irons aren’t the Usain Bolt of heating edge banding materials, especially for big or complex jobs.
In a nutshell, skip the regular iron for edge banding. Go pro with a specialized edge banding iron designed for the task.
They’re the kings of maintaining temperature, applying even pressure, and heating materials efficiently. You’ll end up with a slick, long-lasting finish that leaves regular irons in the dust.
Oh, and let’s not forget the hazards of a super-hot iron – burns and messes galore. And don’t even think about using it for melamine or PVC – they’re too fancy for regular irons to handle.
So, if you’re serious about edge banding, open that wallet and invest in a dedicated edge banding iron. Your projects will thank you with top-notch results, a smoother process, and a safer workspace.
What are the steps to prepare your regular iron for edge banding?
Getting your regular iron all set for edge banding? No sweat, just roll with these steps:
Say bye-bye to water: First things first, make sure your iron’s water reservoir is bone-dry. We don’t want any unexpected steam making a mess while you work – it’s like kryptonite for edge banding.
Crank up the heat: The glue on that edge banding needs some serious heat to do its thing. So, turn your iron up to the hottest setting – we’re talking maximum firepower.
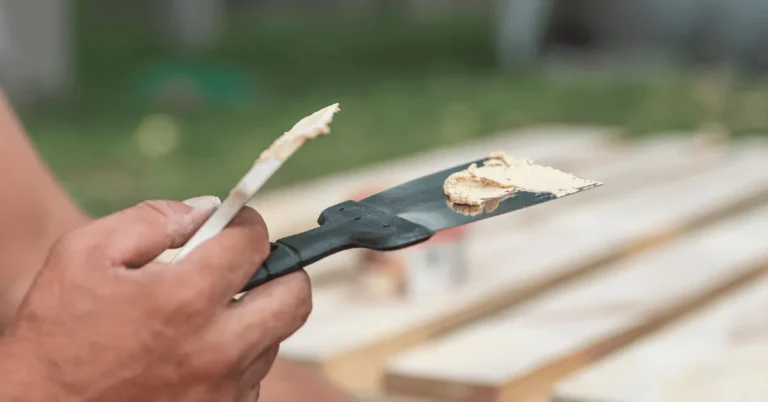
Clean that soleplate: Take a peek at the bottom of your iron. If you spot any dirt or gunk, clean it up. We don’t want any nasty surprises ruining our sleek finish. Just grab a damp cloth and give it a good wipe-down.
Optional: Get a pressing cloth: It’s not a must, but it can help. Slap a pressing cloth onto your iron – it’s like a buffer zone between the hot iron and your edge banding. Any thin cotton fabric will do the trick.
With your iron prepped like a pro, you’re ready to rock the edge banding.
And hey, here are some extra tips:
- Kill the steam (if you have a steam iron): Switch that bad boy to “dry” mode. We’re in the business of edge banding, not sauna sessions.
- Check the cord (for corded irons): Make sure the cord can comfortably reach your work area. No acrobatics are required while edge banding, please.
- Juice up cordless irons (if you’re going wireless): Charge it up fully. A happy, charged iron means even heating – no disappointments.
- Practice makes perfect (especially for beginners): If you’re new to edge banding, practice on some spare wood first. Get the hang of it before tackling the big project. You’ll thank yourself later.
With these easy steps and tips, you’ll be an edge banding pro in no time, rocking those woodworking projects with style.
How to do edge banding with a regular iron?

Looking to do some edge banding with just your trusty old iron? Here’s what you’ll need:
- Iron-on edge banding
- Your regular iron
- Scissors
- A utility knife
- (Optional) A sanding block
Now, let’s break it down, no fuss:
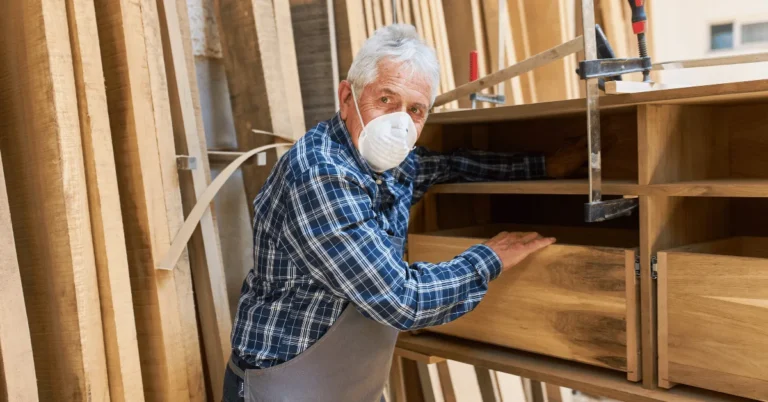
Get the Edge Ready: First off, give that plywood or whatever material you’re working with a quick sanding. Smooth edges are the name of the game – no splinters allowed!
Cut the Banding: Grab your edge banding and cut it to a length about an inch longer than the edge you’re jazzing up.
Stick It On Center that banding right on your plywood edge and use your fingers to press it down. No fancy tools are required here.
Heat Things: Crank your iron to the max setting and switch off the steam – we’re in business. Lay the iron on the banding and press down for a few seconds. Glide the iron slowly along the banding while keeping it pressed down.
Trim the Excess: Use your trusty utility knife to trim away any extra banding hanging off the edges or at the ends.
Pro Tips for the Road:
- If you’re using your regular iron, consider using an old or thrift store find. That adhesive can be a bit clingy!
- To keep your banding from cozying up too much with your iron, pop a piece of parchment paper between them.
- If your banding isn’t feeling the love with the plywood, don’t be shy – add a bit of wood glue for that extra oomph.
Now you’re all set to become an edge banding pro with your everyday iron. Easy peasy!
Regular iron vs. Edge banding machine

So, you’re in the woodworking game, and you’re eyeing those edges – but how do you choose your weapon of choice? Here’s a laid-back rundown:
Regular Iron: Yep, your trusty old iron can do the job. But here’s the scoop – it might take a bit more time and practice.
What you need:
- Your regular iron (duh!)
- Pre-glued edge banding
- A sharp utility knife
- A trimming tool
How to do it:
- Cut that edge banding to the right length.
- Lay it down, sticky side facing the wood edge.
- Heat your iron to the temp recommended by the banding makers.
- Push down the iron evenly.
- Glide it along while keeping the pressure steady.
- Let it chill and cool down.
- Trim off any excess banding with your trusty knife and trim tool.
Edge Banding Machine: Fancy a bit of speed and efficiency? Well, the edge banding machine is your high-tech sidekick. But, yeah, it costs more.
What you need:
- The edge banding machine
- Edge banding material (PVC, melamine, you name it)
- Your sharp utility knife
- The trim tool
How to do it:
- Chop that edge banding to the right length.
- Slide it through the machine.
- Set your machine to the right heat and speed.
- Feed the banding in, and line it up with the wood’s edge.
- Watch the machine do its magic.
- Once it’s on, trim the excess with your trusty knife and trim tool.
Comparison Time:
Here’s the lowdown on regular irons vs. edge banding machines:
- Cost: Irons are wallet-friendly; machines dig a bit deeper.
- Speed: Irons are slower; machines are zooming.
- Efficiency: Irons need more love; machines are like pros.
- Ease: Irons can be a bit fussy; machines are user-friendly.
- Quality: Irons need practice; machines bring consistent perfection.
Which One’s Your Jam? If edge banding is a rare gig for you, stick with the regular iron. But if you’re in this game for real, and you want pro-level results, the edge banding machine is where it’s at.
Bonus Tips:
- Pick your edge banding material wisely – PVC, melamine, or wood veneer, depending on your style.
- Check out the extra features on those machines, like auto-trimming and buffing – they can be a game-changer.
- Budget-wise, decide what you’re willing to drop before you go machine shopping – prices vary big time.
Now, go make those edges look sharp!
When to use a regular iron and edge banding machine?

Regular Iron vs. Edge Banding Machine: Which One’s Your Jam?
Alright, let’s break it down for ya in a more laid-back style:
Regular Iron:
- Ideal for small projects, curved edges, one-off gigs, or when you’re watching those pennies.
- It’s easier to handle but might need a bit of practice to nail down.
- Precision? Well, it’s not super precise, but it gets the job done.
- Takes its sweet time compared to the other guy.
- Budget-friendly, so your wallet stays happy.
Edge Banding Machine:
- This one’s for the big leagues – large projects, straight edges, high production volume, or when you’re all about that precision game.
- It’s a bit trickier to master, but it’s like a precision ninja.
- Speed demon – gets things done in a flash.
- Costs a bit more, but you’re paying for that top-tier performance.
Here’s a handy cheat sheet:
| Characteristic | Regular Iron | Edge Banding Machine |
|---|---|---|
| Ideal for | Small projects, curved edges, one-off projects, tight budgets | Large projects, straight edges, high production volume, precision required |
| Ease of use | Easier to use, but requires more practice to get good results | More difficult to use, but produces more consistent results |
| Precision | Less precise | More precise |
| Speed | Slower | Faster |
| Cost | Less expensive | More expensive |
Some Bonus Tips:
- With the regular iron, keep it medium heat and move it swiftly to avoid burning the edge banding.
- Stick a piece of wax paper in there to stop the adhesive from becoming best friends with your iron.
- For the edge banding machine, follow the manual like it’s your project bible.
- Practice makes perfect, so try it out on scrap wood first.
In a nutshell, it all boils down to your gig and what floats your boat. If you’re in doubt, chat up a pro – they’ve got the wisdom!
What problems you can face while using regular iron for edge banding and how to solve them?

Here’s the deal: using a regular iron for edge banding can be a bit tricky at times, but fear not! We’ve got some simple fixes for the most common hiccups:
Issue 1: Glue Not Playing Nice
Problem: The glue on the edge banding isn’t melting evenly, leaving you with a weak bond. Not cool, right? Solution: First, make sure your iron is at the right temperature.
When you’re ironing it on, take it slow and steady. Oh, and a pro tip – pop a pressing cloth between the iron and the edge banding. It’ll spread the heat evenly and make bonding a breeze.
Issue 2: Scorched Edges
Problem: The iron’s hotter than the sun, and you’re ending up with scorch marks. Ouch! Solution: Lower that heat setting and keep the iron moving. Don’t park it in one spot for too long.
Another trick – use a pressing cloth as a shield between the iron and the edge banding. No more fiery mishaps.
Issue 3: Sticking Problems
Problem: The edge banding just won’t stick like it’s supposed to. Frustrating, right? Solution: Start with a clean slate – make sure your wood’s free from dust and debris.
Then, dab on a bit of wood glue before you slap on the edge banding. It’ll work like glue magic.
Issue 4: Bubbles and Puckers
Problem: Bubbles and puckers are popping up when you apply the heat. Not the look you were going for! Solution: Turn down the heat on your iron and give it a slow, steady sweep.
And you guessed it – that pressing cloth can help smooth out those pesky imperfections.
Issue 5: Trim Trouble
Problem: Getting that edge banding trimmed flush feels like a wrestling match. Solution: Grab a sharp flush trim bit for your router – it’ll give you a clean finish without breaking a sweat.
If you’re feeling old-school, a sharp utility knife will do, but take it easy to avoid roughing up the wood.
With these laid-back solutions, you’ll tackle those edge-banding glitches like a pro.
Important FAQs

Absolutely! A regular iron can handle curved edges just as well as straight ones. Its versatility shines when you need to tackle various project shapes.
Yes, indeed. Regular irons are budget-friendly tools that allow beginners to dive into edge banding without breaking the bank.
Safety first! Remember to turn off the steam function to prevent accidents. Additionally, always unplug the iron when not in use and be cautious of its hot surface.
While it can work with various materials, the temperature control feature in dedicated edge banding irons makes them more suitable for specific materials like PVC, melamine, or wood veneer.
Yes, for optimal results, it’s recommended to apply a thin layer of wood glue on the edge before attaching the banding. This helps ensure a strong bond.
Final Thoughts

When it comes to woodworking and DIY, choosing between a regular iron and a dedicated edge banding machine comes down to what suits you best.
Both options have their pros and cons. Whether you’re a seasoned pro or just getting started, there’s a solution that’s a perfect fit for your project.
So, whether you’re leaning towards the cost-effective versatility of a regular iron or the precision and speed of an edge banding machine, just remember that practice and patience are the keys to success.
Now, we’re eager to hear from you! Share your thoughts and experiences in the comments below. Have you given edge banding a shot with a regular iron, or do you swear by the machine?
Let’s keep the conversation flowing and spread this valuable knowledge among our fellow DIY enthusiasts.
How Hot Should an Iron be For Veneer? Discover the Ideal Temperature! 2023
“After learning about edge banding, dive into ‘How Hot Should an Iron be For Veneer?’ and discover the ideal temperature for your woodworking projects in 2023!”