
When it comes to woodworking projects, achieving that professional finish is key. One crucial element often overlooked is edge banding thickness.
In this guide, we’ll delve into why it matters, its impact on your project’s appearance and durability, and how to choose the right thickness.
Whether you’re a novice or an expert, get ready to enhance your woodworking skills with valuable insights. And ultimately, you this question: What is the best thickness for edge banding? will be solved.
Key Takeaways
- Choose edge banding thickness based on the project’s durability and appearance.
- Thicker banding for high-traffic areas, thinner for delicate designs.
- Match edge banding thickness to substrate material for stability.
- Consider thicker banding for curved edges; it’s more flexible.
- Material affects thickness options; PVC, veneer, and more available.
- Installing thicker banding needs precision and care for a pro finish.
- Balance project needs with budget when choosing banding thickness.
- Clean panel edges and follow instructions for successful installation.
- Thicker banding costs more but offers added durability and style.
- Edge banding thickness is a crucial factor in woodworking projects.
What is the best thickness for edge banding?

Alright, let’s dive into the thickness game for edge banding. It’s all about finding that sweet spot based on what you’re up to and the materials you’re rocking.
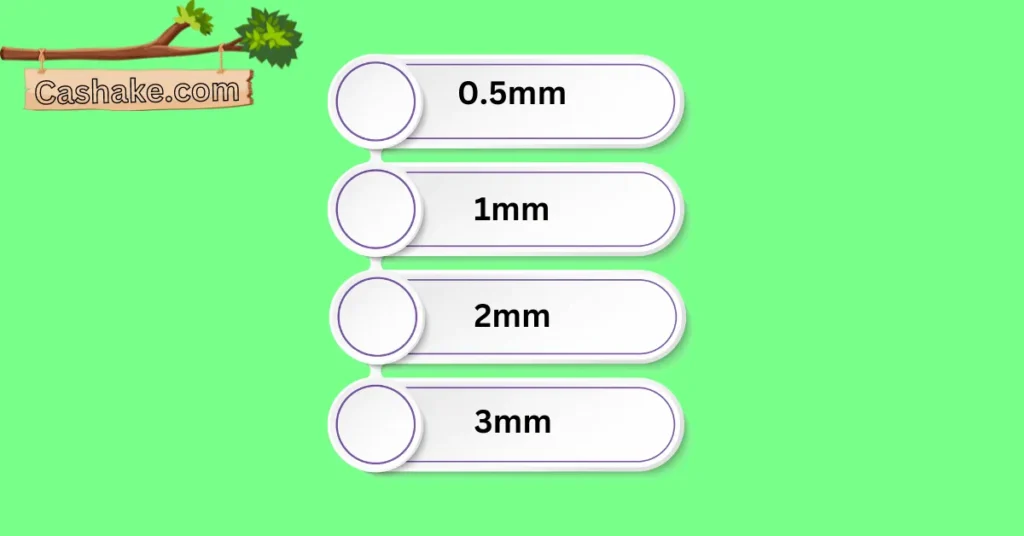
PVC Edge Banding: This one’s a crowd-pleaser, and you’ve got options from 0.5mm to 3mm. For everyday stuff, think 1mm or 1.5mm – a nice blend of tough and good-looking. But if you’re going all-in for something like a kitchen counter that takes a beating, aim for 2mm or 3mm.
Veneer Edge Banding: Looking for that natural wood vibe? Veneer’s your jam. It usually runs from 0.6mm to 1mm. Keep in mind, though, that it’s not as tough as PVC, so choose your thickness wisely, depending on the job.
Solid Wood Edge Banding: This one’s the heavyweight champ but also a bit spendy. Thickness options? From 1.5mm to 9.5mm – it means business. Save it for heavy-duty gigs like table tops or workbenches where toughness is non-negotiable.
So, there you have it – the edge banding thickness lowdown. It’s all about matching your project’s needs. Time to get that edge just right!
What is the importance of choosing the right thickness for edge banding?

Alright, let’s chat about picking the right thickness for your edge banding – it’s kind of a big deal and can make or break your project. Here’s the scoop, plain and simple:
Durability: First up, think about how tough your edge banding needs to be. Thicker is sturdier, no doubt.
If your project’s going to see a lot of action – think high-traffic zones or furniture that gets a workout – go thicker.
It’ll keep things looking fresh for longer and withstand the bumps and bruises of daily life.
Appearance: Now, let’s talk looks. Thickness affects how your finished piece comes across. Thick edge banding gives off that chunky, robust vibe, perfect for furniture that means business.
On the flip side, if you’re working on something delicate or intricate, thin is in. It gives you that subtle, barely-there edge.
Cost: Remember, thicker isn’t always cheaper. You’re paying for that extra durability and style. So, budget comes into play. Balance what you need with what you’re willing to spend.
Choosing by Traffic Levels:
- Low-Traffic Areas: If it’s a quiet spot like a home office or bedroom, you can roll with thin edge banding – around 0.5mm. It’s clean, and sleek, and gets the job done without drawing attention.
- Medium-Traffic Areas: In spaces like kitchens or dining rooms, where things are moderately busy, go for a bit more muscle – 1mm to 2mm. It holds up well and adds a bit of substance to your furniture.
- High-Traffic Areas: Now, if your furniture’s taking a daily beating, like in commercial kitchens or stores, bring out the big guns – 3mm or even 5mm edge banding. It’s like armor for your furniture, built to withstand the chaos.
Also, remember to match the edge banding thickness with your substrate. Thinner substrates like plywood need thinner edge banding to keep everything stable and locked in place.
So there you have it – a crash course in edge banding thickness. Now go out there and make your furniture shine!
What does edge banding thickness refer to?

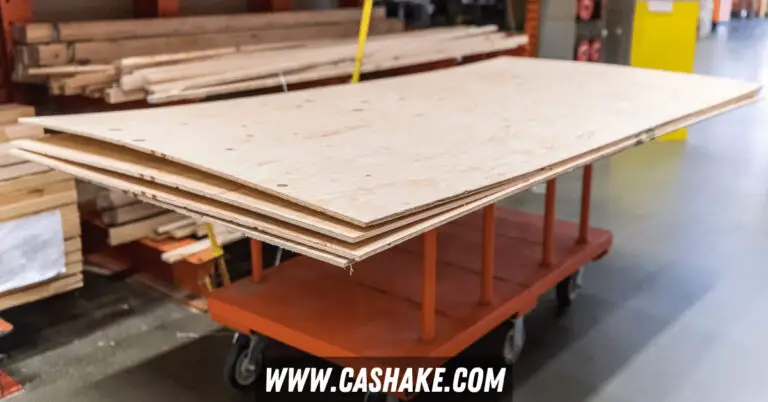
Let’s dive into the thickness game when it comes to edge banding. We’re talking about how thick that protective strip covers the edges of your plywood, particleboard, or other wood-based panels.
Now, edge banding can be made from different stuff like PVC, melamine, or wood veneer, and it comes in various thicknesses, from as thin as 0.018 inches to a chunkier 3mm (that’s roughly 1/25″ to 1/8″ for the non-metric folks).
So, why does thickness matter? Well, it’s a big deal for a couple of reasons.
Durability: Thicker edge banding is like your furniture’s bodyguard. It can take a hit, resist scratches, and keep your piece looking sharp for longer. So, if you’re building something that’s going to face daily battles, thick is the way to go.
Looks: The thickness also affects the style of your finished piece. Thick edge banding gives it that polished, professional appearance.
It’s like putting on a tailored suit for your furniture. But if you’re going for something delicate or low-key, thinner edge banding can be the way to keep things subtle.
Your choice depends on the job at hand. If you’re making furniture for a bustling area, like a busy kitchen, think of thicker edge banding for extra protection.
But if it’s a chill space with less action, thinner edge banding can do the job without breaking the bank.
What factors to consider when choosing edge banding thickness?

When you’re picking the right edge banding thickness, there are some crucial factors you gotta keep in mind. These things matter big time if you want your woodworking projects to look good and work well. So, check these out:
Where It’s Going: First up, think about where you’re putting this edge banding stuff. This stuff is great for places where not many feet or hands are gonna be rubbing against it. But if it’s a high-traffic area or a commercial spot, go for the thicker stuff.
Match the Thickness: Your edge banding’s thickness should match how thick the wood underneath is. Plywood? Thin edge banding’s your buddy. But if it’s solid wood, you want something thicker to match.
Edge Style: If you’re planning on fancy edges like curves or bevels, you’re gonna need the thicker edge banding. It’s tougher and can handle the bending and shaping. Thinner stuff might not cut it.
Looks Matter: Your choice of edge banding thickness seriously affects how your project looks. Thin edges give a modern, minimalist vibe, while the thick stuff goes for that classic, traditional feel.
Watch Your Wallet: Keep in mind, that thicker edge banding can hit your wallet harder. It usually costs more than the thinner options.
Alright, let’s break it down in simple terms:
- 0.5mm – 1mm: Super thin, for low-traffic spots like the hidden backs of furniture or inside cabinets.
- 1.5mm – 2mm: This is your all-rounder, and works great for most things, be it at home or in a shop.
- 3mm – 5mm: Thick and tough, ideal for places where people will be bumping into it a lot or when you’re getting creative with rounded or beveled edges.
And if you’re still scratching your head about which one to pick, reach out to a woodworking pro or a supplier. They’ll guide you right, based on what your project needs.
Don’t forget these other things too:
- Material Matters: Different edge banding materials like PVC, veneer, or melamine come in different thicknesses. PVC can be as thin as 0.5mm or as thick as 3mm, while veneer usually falls in the 1mm to 2mm range.
- Tools and Gear: If you’re planning to do the banding yourself, make sure you’ve got the right tools. Thicker banding might need beefier equipment, so plan accordingly.
In the end, the right edge banding thickness depends on your project. So, think it through, and you’ll nail it in no time!
What are some common edge banding thickness options and where are they used?
Alright, let’s talk edge banding thicknesses in a more laid-back way:
0.5mm: This super skinny edge banding is all about the looks, perfect for giving furniture and cabinets that extra flair. But remember, it’s not built for roughhousing, so keep it away from high-traffic spots.
1mm: Now we’re talking versatility! This 1mm edge banding can handle a lot, from your home kitchen countertops to cabinets, even in places with some people traffic like small shops.
2mm: Stepping it up a notch! The 2mm thickness is like the sturdy middle ground. It’s your go-to for bustling spots like commercial kitchens and bathrooms. Plus, it’s tough enough to handle furniture and cabinets that get a lot of love.
3mm: This one’s the heavyweight champion, the 3mm edge banding. It’s built for battle, perfect for places that see heavy foot traffic, like restaurants and hospitals. And it’s not afraid of tackling industrial jobs either.
So, where do these thicknesses shine?
- 0.5mm: Think decoration. Use it to make your furniture and cabinets pop.
- 1mm: It’s a homebody, comfy in your kitchen and on your cabinets, and it’s cool with a bit of foot traffic too.
- 2mm: Ready to tackle some action! From busy kitchens to well-loved furniture, it’s got you covered.
- 3mm: The tough guy. Bring it on, heavy traffic and industrial projects, it can handle the heat.
Easy-peasy, right? Now you know your edge banding thicknesses inside and out!
What are the best tips for installing different thicknesses of edge banding?

Here are some handy tips for getting different edge band thicknesses installed like a pro:
General Pointers
Pick the right thickness for your project. Thicker edge banding offers durability and a robust finish, but it can be a tad trickier to work with.
Thinner edge banding is easier to apply, though it may offer less protection to your panels’ edges.
Ensure your panel edges are squeaky clean before applying any edge banding.
If you’re using pre-glued edge banding, stick to the package instructions carefully.
For non-adhesive edge banding, you’ll need your adhesive game. Go for a contact adhesive specially designed for edge banding.
Be cautious not to overheat the edge banding during application to prevent warping or shrinking.
Tips for Handling Thick Edge Banding
Cut the edge banding to size with a sharp utility knife. Don’t forget to use a straightedge for that clean, precise cut.
For curved edges, a heat gun can soften the edge banding, making it more flexible.
Give it a good roll or press to ensure a solid bond with the panel.
Trim away any excess edge banding using a utility knife or a flush trim router.
Handling Thin Edge Banding
Don’t over-tighten it; otherwise, you might end up with wrinkles or puckers.
Trim any excess edge banding neatly with a sharp utility knife and a straightedge.
If you’re working with pre-glued edge banding, consider sealing it to guard against moisture and damage.
Extra Tips
Having a helper for larger panels makes alignment and even pressure application a breeze.
For curved edges, use a jig to secure the panel in place, ensuring an even edge banding application.
With non-adhesive edge banding, double-sided tape can keep things in place while the adhesive sets.
Once applied, sand the edge banding flush with the panel surface for a polished finish.
With a little practice, you’ll be installing edge banding of any thickness like a pro in no time!
Best Tips Table for you
| Tip | Thickness | Instructions |
|---|---|---|
| General Pointers | ||
| Choose the right thickness | Varies | Select based on project needs and skill level. |
| Clean panel edges | All thicknesses | Ensure they are free from dirt or debris. |
| Follow instructions | All thicknesses | Adhere to package instructions for pre-glued. |
| Use appropriate adhesive | All thicknesses | Choose contact adhesive for non-adhesive types. |
| Avoid overheating | All thicknesses | Prevent warping or shrinking during application. |
| Handling Thick Edge Banding | Thick | |
| Cut with a sharp knife | Thick | Use a straightedge for precise cutting. |
| Soften with a heat gun | Thick (curved) | Especially useful for curved edges. |
| Ensure a solid bond | Thick | Press firmly for a strong connection. |
| Trim excess neatly | Thick | Use a knife or flush trim router. |
| Handling Thin Edge Banding | Thin | |
| Avoid over-tightening | Thin | Prevent wrinkles or puckers. |
| Trim excess neatly | Thin | Use a knife and straightedge. |
| Consider sealing | Thin (pre-glued) | Protect against moisture and damage. |
| Extra Tips | ||
| Get a helper | All thicknesses | Especially helpful for large panels. |
| Use a jig for curves | All thicknesses | Ensure even application on curved edges. |
| Use double-sided tape | Non-adhesive | Keep the edge banding in place during setting. |
| Sand for a polished finish | All thicknesses | Achieve a smooth and refined appearance. |
Important FAQs
The ideal thickness for edge banding in woodworking depends on the specific project and its requirements. Thicker edge banding, such as 2mm or 3mm, offers greater durability and is suitable for high-traffic areas like kitchens. Thinner options, like 0.5mm to 1mm, are ideal for low-traffic spots or decorative purposes.
Edge banding thickness significantly impacts the appearance of a finished woodworking project. Thicker edge banding gives a chunky, robust look, perfect for furniture that needs to convey sturdiness. In contrast, thinner edge banding provides a subtle, minimalist appearance, ideal for delicate or intricate designs.
Thicker edge banding generally offers better durability and protection for woodworking projects. It can withstand more wear and tear, making it suitable for high-traffic areas. However, the choice of thickness should align with the specific project’s needs and budget.
Matching edge banding thickness to the substrate material is essential for stability. Thinner substrates like plywood work well with thinner edge banding, while solid wood may require thicker edge banding to match its thickness. Ensure a proper fit to prevent issues during application.
Final Thoughts
So, to wrap things up, picking the right thickness for your edge banding is a pretty big deal in the woodworking world.
It’s like the secret sauce that affects how long your project lasts and how awesome it looks. And trust me, there’s no one-size-fits-all solution here.
Whether you’re into the sleek vibes of thin edge banding or the tough armor of the thicker stuff, you’ve got to grasp the basics.
Think about where your creation will live, match that thickness to your wood, and don’t forget about your style and budget.
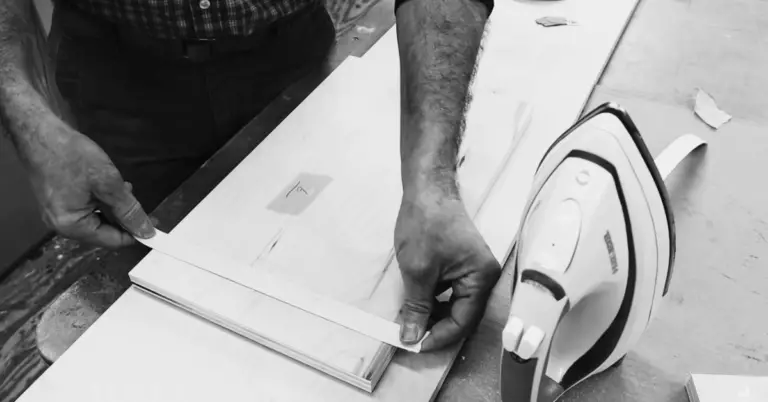
Can I Use a Regular Iron For Edge Banding? A Comprehensive Guide 2023
Having explored edge banding thickness, your next must-read is “Can I Use a Regular Iron For Edge Banding? A Comprehensive Guide 2023.” Discover essential tips and techniques for flawless edge banding.