How Do You Cut a Square Hole With a Jigsaw? (Full Guide 2024)
In the realm of woodworking, where precision is key, there often arises the need to fashion square holes in a variety of wood types.
Whether you’re a seasoned pro or just an eager DIYer, getting the hang of cutting a square hole with a jigsaw can open doors to endless project possibilities.
In this all-inclusive guide, I’ll walk you through the whole shebang, making it as easy as pie to create pristine square holes with your trusty jigsaw.
From picking the right jigsaw blade to nailing down the perfect outline and sidestepping common slip-ups, I’ve got your back.
So, gather your tools, and let’s plunge into the captivating world of crafting square holes in wood with confidence and a touch of laid-back flair.
Ultimately, your this question is going to get solved: How Do You Cut a Square Hole With a Jigsaw?
Key Takeaways
- Choose a jigsaw blade based on material type and thickness.
- Prepare wood: mark, clamp, select blade, and align.
- Create a precise square outline with pilot holes.
- Use sharp pencils and tools for accuracy.
- Ensure safety with gloves and safety glasses.
- Maintain jigsaw speed and alignment for clean cuts.
- Handle corners carefully for sharp results.
- Use backing boards for thin materials.
- Slow and steady cutting prevents mistakes.
- Seek professional help when in doubt.
How to choose the right jigsaw blade for cutting a square hole?

When you’re picking out the right jigsaw blade to tackle the job of cutting a square hole, there are a few key things to keep in mind. Check out these must-know factors:
Material Thickness: The thickness of the stuff you’re planning to cut is a big deal. It directly affects the kind of jigsaw blade you should go for.
Material Type: What you’re working with also calls the shots on your blade choice. Different materials need different blades to shine.
Desired Finish: Think about the finish you want for your cut. Whether it’s aiming for a smooth, clean cut or trying to avoid chipping, it’s going to steer you toward the right blade.
For thinner materials like plywood or melamine, a standard jigsaw blade with lots of teeth per inch will do the trick. This ensures you get a nice, clean cut.
But when you’re dealing with thicker stuff like hardwood or metal, you need a blade with fewer teeth and a heftier shank. This helps prevent the blade from getting too hot and warping.
Now, if the material is prone to chipping, like acrylic or plexiglass, you’ll want a jigsaw blade with a finer tooth count. It’ll help keep those chips in check and give you a cleaner cut.
Some specific blade recommendations based on what you’re cutting:
- Plywood or Melamine: Go for a standard jigsaw blade with 10-14 teeth per inch.
- Hardwood: Opt for a jigsaw blade with 6-8 teeth per inch and a thicker shank to handle that hardwood toughness.
- Metal: Grab a jigsaw blade with 4-6 teeth per inch and a thicker shank to tackle that metal might.
- Acrylic or Plexiglass: Choose a jigsaw blade with 18-24 teeth per inch to keep chipping at bay.
Once you’ve got the right blade in hand, it’s time to pay attention to your speed and feed rate. Matching these up with your material will give you that clean, smooth cut you’re after.
How to prepare the wood for cutting with a jigsaw?

Getting wood ready for jigsaw action? No sweat! Here’s the lowdown in plain and simple terms.
First up, grab a sharp pencil and a straightedge. Mark that cutting line like a pro, making sure it’s spot-on. If you’re going for a curved cut, a bendy curve rule is your best buddy for nailing precision.
Now, let’s talk about keeping that wood steady. Clamp it down onto your work surface. It’s like the wood’s anchor, making sure it doesn’t wiggle while you’re in cutting mode. For small pieces, a sawhorse will do, but for the big guys, opt for a solid workbench for that extra stability.
Picking the right jigsaw blade is a must. There are different types for different jobs, and since you’re tackling wood, a wood-cutting blade is your go-to. Don’t forget to consider the wood’s thickness and the cut style you’re after.
With the blade in hand, follow the manufacturer’s instructions to slot it in securely. Make sure those teeth are facing the right way to keep things smooth.
Time for some jigsaw fine-tuning. Most jigsaws have speed and orbital action settings. Speed? Adjust it based on your wood’s thickness. Thicker wood needs a slower pace. Orbital action? Match it to your cut style. For regular cuts, go medium speed and medium to high orbital action.
Now, you’re all set to start slicing and dicing that wood. Safety first, though! Pop on those safety glasses and gloves to ensure a smooth and safe ride with your trusty jigsaw.
How to mark the outline of the square hole to cut it with a jigsaw?
Ready to square up that hole for your jigsaw adventure? No worries, just follow these easy steps:
Step 1: Measure and Mark Start by measuring and marking the size of your square hole. Use a trusty ruler and square to keep those lines straight and corners sharp.
Step 2: Pilot Holes Drill pilot holes at each corner of your square outline. This step is key to keeping your jigsaw on the right track.
Step 3: Connect the Dots Grab your pencil and connect those pilot holes with straight lines. Keep them square and parallel for a spot-on outline.
Step 4: Square Check Make sure it’s all square using a square tool. If things aren’t perfectly square, tweak the outline till they are.
Step 5: Darken It Up Make the outline pop by darkening it with your pencil. This makes it a breeze to follow when you fire up the jigsaw.
With that outline locked in, it’s game time with your jigsaw.
Here are a few extra tips:
Tip 1: Pencil Perfection Sharper pencils mean straighter, easier-to-see lines. Keep that pencil pointy for top-notch results.
Tip 2: Big Squares, Big Help For those hefty square holes, a framing square is your MVP. It guarantees precision and square corners.
Tip 3: Thin Material Trick Working with Thin Stuff? Use a backing board to keep that saw blade in check. No more tearing out the material.
Safety first, too! Rock those safety glasses and gloves, and if you need a hand, a jigsaw guide can be your best friend for those precise cuts.
How Do You Cut a Square Hole With a Jigsaw?
To make a square hole with a jigsaw, just follow these easy steps:
Get Your Jigsaw Ready: Plug in your jigsaw and pick a good blade. It’s smart to go with a fine-tooth blade for cleaner cuts, especially with thinner stuff.
Set the Speed: Take a second to adjust your jigsaw’s speed to match what you’re cutting. For wood, middle speed is usually the way to go.
Get Positioned and Aligned: Put your jigsaw over your workpiece, making sure the blade lines up with one of the holes you marked for your square hole. Make sure your jigsaw is level and the blade isn’t touching the workpiece.
Start Cutting: Turn on the jigsaw and gently lower the blade into your workpiece. Don’t push too hard, though. Pushing too much can make the blade chip or break.
Stay on Track: While you’re cutting, stick to the square hole’s outline with your jigsaw blade. Keep the jigsaw level and the blade at a right angle to the workpiece for precise cuts.
Handling Corners: When you get to a corner of the square hole, stop the jigsaw and lift the blade out of the workpiece.
Reposition and Keep Going: Move the jigsaw so the blade lines up with the next hole, then keep cutting.
Repeat for All Sides: Keep doing steps 5-7 until you’ve cut all four sides of the square hole, keeping things accurate.
Double-Check: After your square hole is done, check the edges for any rough spots or flaws. If needed, use a file or sandpaper to smooth them out for a clean finish.
By following these chill steps, you’ll be a pro at using a jigsaw to make a square hole.
Tips for cutting a square hole with a jigsaw
Here are some handy tips for rocking that square hole with your trusty jigsaw:
Safety First:
- Always sport those safety glasses and gloves when you’re jigsawing.
- Before you do any blade swapping or adjustments, make sure that the jigsaw is unplugged.
- Keep that jigsaw cord well out of the blade’s path.
- Don’t go all Hulk on the jigsaw – forcing it can end up with a chipped or broken blade.
The Cutting Deets:
- Grab a sharp blade that’s a good match for the material you’re cutting.
- Grab your pencil or marker and outline your square hole on the workpiece.
- Pop a pilot hole at each corner of that square hole.
- Slide the jigsaw blade into one of those pilot holes, flip the switch, and let it sing.
- Slowly follow the outline, keeping that jigsaw level.
- When you hit a corner, give it a break, lift the blade, and move on.
- Reposition the jigsaw so the blade lines up with the next pilot hole and keeps on cutting.
- Rinse and repeat until you’ve conquered all four sides of your square hole.
Finishing Touches:
- Once you’ve done the cutting, give those edges a once-over for any rough patches. Smooth them out with a file or sandpaper if needed.
Extra Hacks:
- Want to keep it super straight? Use a jigsaw guide for those laser-like cuts.
- If your square hole is on the larger side, go ahead and drill multiple pilot holes along the outline to keep that blade from wandering off.
- Thin material? Stick a backing board underneath to stop the blade from tearing things up.
- If your square hole is too snug for the jigsaw blade, drill a bigger hole in the center of the square and start your cut from there.
- Remember, slow and steady wins the race. Take your time – better a careful cut than a costly mistake.
- If you’re ever in doubt about jigsaw wizardry, don’t hesitate to call in the professionals. Safety first, always!
Common mistakes to avoid when cutting a square hole with a jigsaw
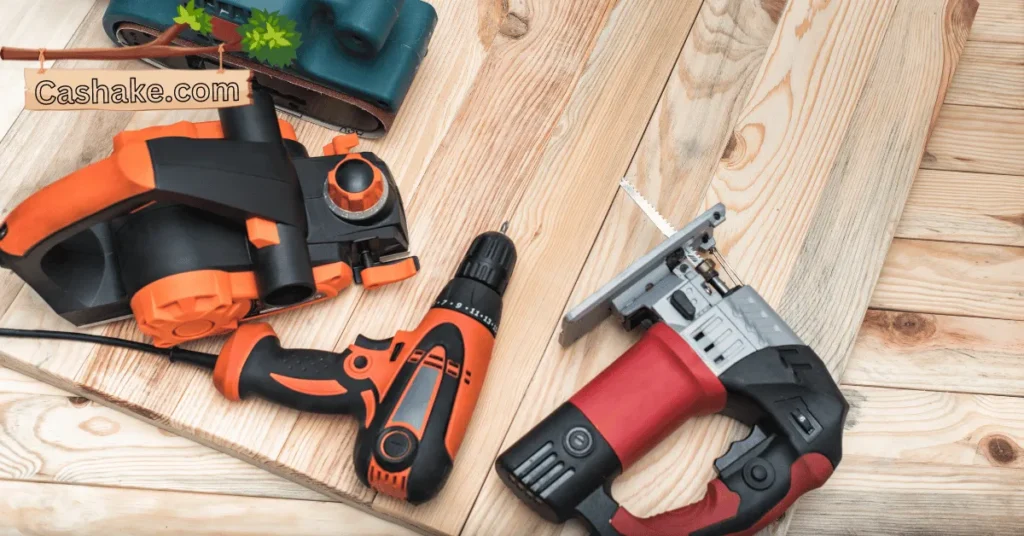
When you’re tackling the task of cutting a square hole with a jigsaw, there are a bunch of common slip-ups you’ll want to dodge.
These blunders can mess with your craftsmanship and even give your trusty tools a hard time. Let’s break down these no-nos and toss in a few extra pointers to help you get those sweet results:
Using a Blunt Blade: The golden rule here is to always roll with a sharp blade. Blunt ones not only make it tough to keep those lines straight but can also lead to some unfortunate blade chipping or breaking in the heat of the moment.
Forgetting the Pilot Holes: Precision is key, my friend. Make sure you’ve drilled those pilot holes at each corner of your square hole before you even think about cutting. This step keeps your jigsaw blade on the straight and narrow.
Bypassing the Jigsaw Guide: Especially when you’re wrangling with sizable square holes, a jigsaw guide is your trusty sidekick. It plays a crucial role in keeping things on the level, ensuring that the final hole hits the mark.
Pushing Too Hard: Let’s not be hasty here. Forcing that jigsaw through the material can spell trouble, like blade damage, chips, and breaks. Take it easy, make those slow, deliberate cuts, and let the tool do its thing without the drama.
Speed Demon Mode: Lightning-fast cuts might sound cool, but they’ll only overheat your blade and up your odds of a mess-up. Ease up on the gas pedal, maintain a steady pace, and you’ll get smoother, more precise results.
No Backing Board: Thin materials require some backup. A backing board is your best buddy in preventing your jigsaw blade from ripping through the material, giving you those clean, sharp edges you crave.
How to cut a square hole in the middle of a piece of wood?
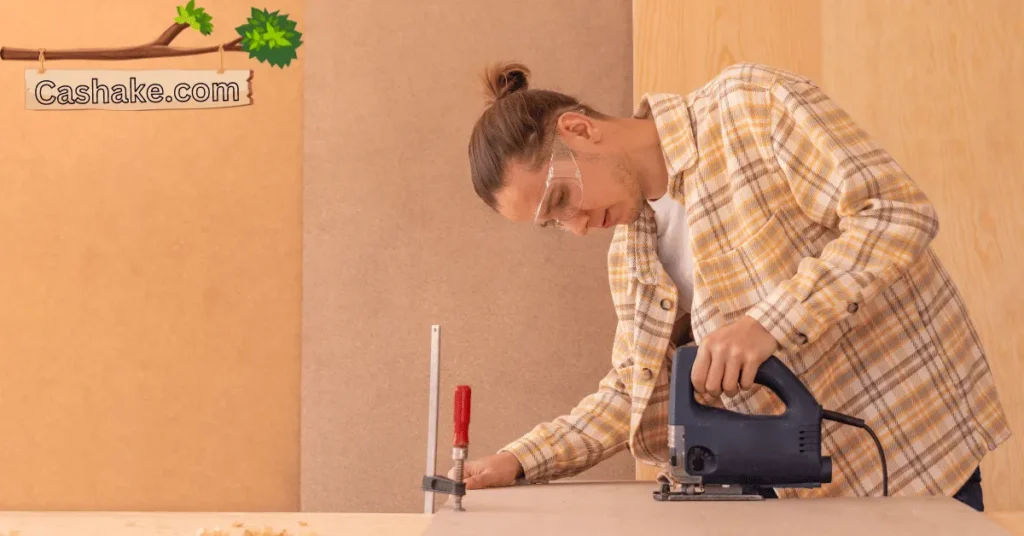
To cut a square hole in the wood’s center, gather key tools: a jigsaw, suitable blade, drill, smaller bit, pencil, ruler, square, safety glasses, and gloves.
Now, let’s break down this woodworking dance:
Draw the Line: Kick things off by grabbing that pencil and ruler and marking out the square hole’s outline. Make sure those lines are as square and straight as your favorite board game.
Pilot Party: Time to get your drill in the game. Drill a pilot hole at each corner of your square’s outline. This is your secret sauce to keep that jigsaw blade on the right path.
Blade Entrance: Slide that jigsaw blade into one of your pilot holes and rev up the jigsaw engine.
Cutting Showtime: Now, it’s all about following that outline like you’re tracing your favorite comic book. Keep the jigsaw level and go easy on the gas pedal—precision is the name of the game.
Corner Magic: When you hit a corner, give the jigsaw a breather and lift the blade gently from the wood.
Reset and Roll: Get your jigsaw in position so the blade lines up with the next pilot hole, and get back to the action. Keep this groove going for all four sides of your square.
Smooth Moves: Once your square hole is looking sharp, check those edges. If things are feeling a bit rough, bring in the file or sandpaper for a bit of TLC.
Bonus tips to keep you on your A-game:
- Jigsaw Guide FTW: For extra precision and straight-as-an-arrow cuts, consider getting a jigsaw guide.
- Multiple Pilots for Big Jobs: If you’re dealing with a monster square hole, throw in a few extra pilot holes along the outline. This keeps your blade from going off on an adventure of its own.
- Back it Up: When you’re dealing with thin materials, a backing board is your knight in shining armor. It stops the blade from ripping through like a wild beast.
- Start Small if You Must: If your square hole is feeling shy and won’t fit the jigsaw blade, drill a smaller hole right in the middle of the square and start cutting from there. It’s a hack that works wonders.
- Chill and Cut: Don’t rush the process. Slow and steady is your best bet. A rushed cut can be a one-way ticket to workpiece damage.
And if you’re ever in doubt, don’t hesitate to call in the big guns—a professional can be your woodworking hero.
How to cut a square hole in the corner of a piece of wood?
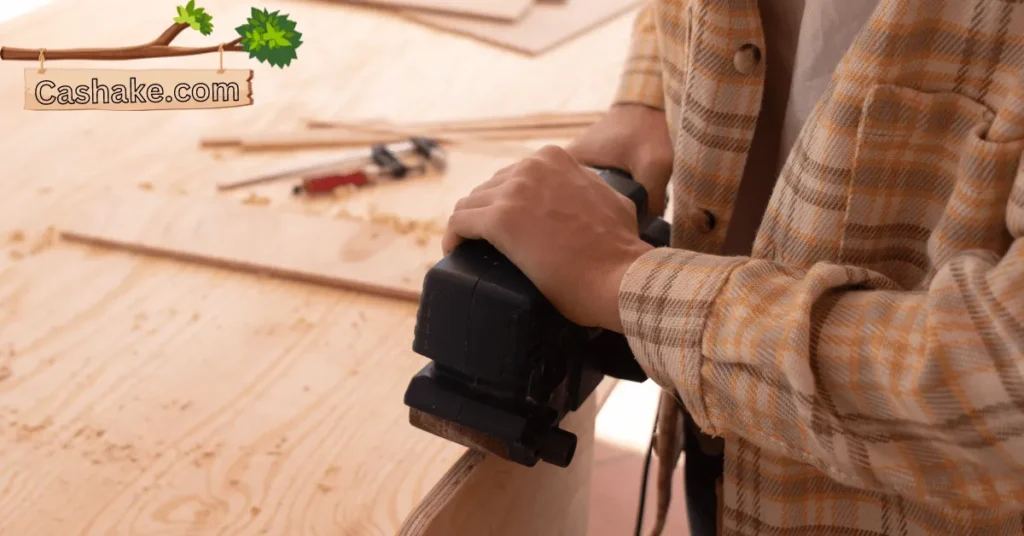
So, you’re on a mission to carve out a square hole in the corner of a piece of wood? No sweat, here’s your step-by-step game plan:
The steps
Step 1: Square It Up
Grab your trusty pencil and a square tool (the measuring kind, not the shape we’re going for) and mark out that square hole. Make sure it’s dead center in your desired corner.
Step 2: Start with a Pilot Hole
Time to break out the drill. Choose a bit that’s a bit skinnier than the width of your square hole. Drill into one of the corners of your square outline, making sure you don’t go all the way through the wood.
Step 3: Get to Cutting
Now, here’s where the real fun begins. You’ve got two options: go with a jigsaw or a coping saw. Either way, slide that blade into the pilot hole you drilled and gently follow the square outline. Keep it steady for that perfect cut.
Step 4: Tidy Up Those Edges
After you’ve successfully liberated that square from your piece of wood, grab a chisel and clean up any rough edges. You might need to do a little sanding for that silky-smooth finish.
And hey, here are some bonus tips to keep you sharp:
- Lock It Down: Before you dive in, use a clamp to secure your wood to the workbench. No wiggling is allowed; this keeps things neat.
- Blade Choice Matters: If you’re rolling with a jigsaw, grab a fine-toothed blade for those crisp cuts. Coping saw? Keep that blade sharp and don’t rush it.
- Don’t Go Too Deep: When you’re close to the wood’s edge, take it slow and be careful not to overdo it. We want a square hole, not a surprising gap somewhere else.
- Big Square Hole? Router Time: For those big square holes, consider bringing a router to the party. They’re like the precision artists of the tool world. Just make sure you’ve got the skills to handle one safely.
Now go forth, my woodworking warrior, and conquer that square hole like a pro!
How to cut a square hole in a curved piece of wood?
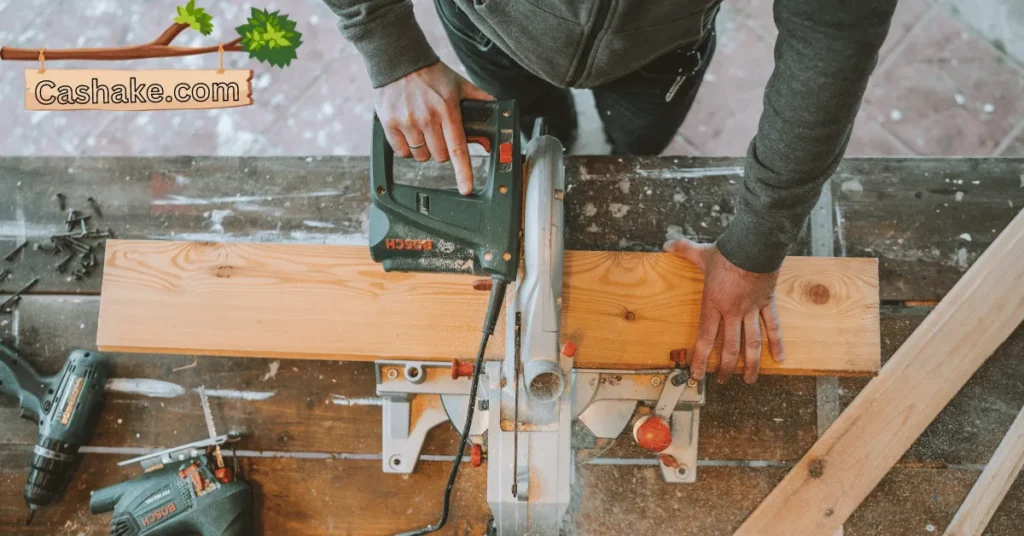
To make a square hole in a curved piece of wood, you’ll want to have these tools and materials on hand:
- Jigsaw
- Square
- Pencil
- Drill
- Drill bit matching the jigsaw blade size
- Scrap wood
- Safety glasses
Now, here’s how you can get it done:
- Use the square and pencil to sketch out the square hole’s shape on the curved wood.
- Grab your drill and drill bit, then make a hole at each corner of the square outline.
- Insert the jigsaw blade into one of the corner holes and carefully follow the outline as you cut. Keep that blade perpendicular to the wood’s surface.
- After cutting all four sides of the square, use the jigsaw to remove the centerpiece.
- Smooth out the edges of the square hole with some sandpaper.
And here are a few extra tips for you:
- Make sure your jigsaw blade is sharp; it makes the job easier.
- Take it slow and steady; rushing can lead to mistakes.
- Use a piece of scrap wood to support the curved piece during cutting; it prevents splitting.
- Don’t forget your safety glasses to shield your eyes from any debris.
If you’re not feeling confident about tackling this project yourself, consider seeking help from a professional woodworker.
How to cut a square hole in a thick piece of wood?
Want to carve out a square hole in a chunky piece of wood? Well, there are a few ways to go about it, and it depends on your comfort level and what tools you’ve got on hand.
Method 1: Jigsaw
If you’ve got a jigsaw, you’re in luck. Here’s how you can make that square hole:
- First, use a square and pencil to outline your square on the wood.
- Make a little starter hole in one corner of your square.
- Pop the jigsaw blade into that starter hole, power it up, and gently follow your outline. Don’t rush; slow and steady wins the race.
- Once you’ve cut all four sides, tidy up with a chisel to smooth those edges.
Method 2: Router
Got a router? Great! But be careful; these can be a bit tricky. Here’s the drill:
- Mark your square outline.
- Attach a square router bit to your router.
- Clamp your wood down tight.
- Position the router over your outline, turn it on, and carefully follow your marks.
- Slow and steady wins again; don’t overheat things.
- Finish up with a chisel for a clean finish.
Method 3: Hand Drill and Chisel
No fancy tools? No problem. You can still do it old school:
- Outline your square.
- Drill a bunch of holes close together along your outline.
- Then, grab a chisel and carefully remove the wood between those holes.
- Take it slow and steady to keep it neat.
- Finally, tidy up the edges with that trusty chisel.
Some Quick Tips:
- Sharp tools are your friends; they’ll give you cleaner cuts.
- Slow and steady wins the race here, too; rushing leads to mistakes.
- Safety first! Wear those glasses and gloves with power tools.
- Clamp that wood down securely to prevent any unexpected movements.
So, there you have it – a square hole in wood, your way. The best method? Well, that’s up to you and your tools!
Important FAQs
No, the type of jigsaw blade you use depends on the material you’re cutting. For example, you should use a standard jigsaw blade with many teeth per inch for thinner materials like plywood, while thicker materials like hardwood or metal require a blade with fewer teeth and a thicker shank. Choosing the right blade is crucial for a clean cut.
Yes, drilling pilot holes at each corner of your square outline is essential. Pilot holes help guide the jigsaw blade and ensure precise cuts. Skipping this step can lead to inaccurate results.
To cut a square hole in the corner of a piece of wood, first outline the square, drill a pilot hole in one corner, and then use a jigsaw or coping saw to follow the outline. Take your time and be careful when cutting near the wood’s edge.
Yes, you can cut a square hole in a curved piece of wood with a jigsaw. To do this, mark the square outline, drill pilot holes at the corners, and carefully use the jigsaw to follow the outline. Support the curved piece with scrap wood to prevent splitting.
Final Thoughts
In the world of woodworking, diving into the art of cutting square holes with a jigsaw unlocks a whole world of creative opportunities.
From picking the right blade to getting your wood ready and marking out the lines, you’ve got the lowdown on the fundamental steps for nailing that perfect square.
Just remember, it’s all about the nitty-gritty. Whether you’re a seasoned pro or an enthusiastic DIYer, these steps are your ticket to becoming a square-hole-cutting maestro. But guess what? The journey doesn’t stop here.
We’re throwing the door wide open for you to share your own experiences and wisdom in the comments. Ever tried your hand at crafting square holes with a jigsaw?
Do you have any secret tips or hacks up your sleeve? Your input is pure gold for fellow woodworkers looking to level up their game.
What Type of Clamp is Best For Gluing up Large Panels? (Solved!) (2023)
Having mastered square hole cutting, it’s time to tackle gluing large panels! Check out “What Type of Clamp is Best For Gluing up Large Panels? (Solved!) (2023)” for more woodworking wisdom. Let’s keep the creative journey going!
