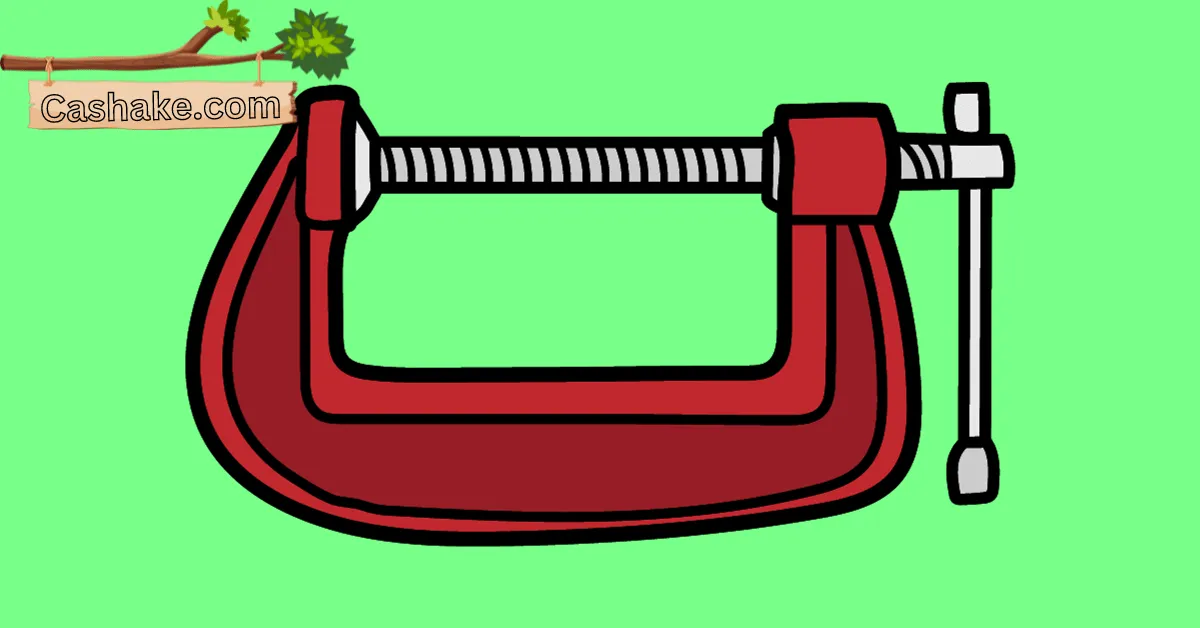
How Do You Clamp Something Bigger Than a Clamp? (SOLVED)
Have you ever found yourself in the middle of a DIY project or a workshop, staring at an object that’s just too big for your trusty old clamp to handle? Well, you’re in good company because countless DIY enthusiasts and craftsmen have been there too.
But don’t worry, this article is here to save the day. We’re diving into some cool and practical solutions for clamping those tricky objects that seem to laugh at regular clamps.
Whether you’re into woodworking, metalworking, or any other craft, we’re about to embark on a journey into the world of clamping finesse. We’ll tackle oversized materials, funky shapes, and even the need to stretch your clamp’s limits.
In the upcoming sections, we’ll share five clever methods to clamp larger objects, address short clamp issues, demonstrate on-the-spot makeshift clamps, and explore the use of multiple clamps for handling challenging objects.
Ultimately, your this question: How Do You Clamp Something Bigger Than a Clamp will be answered. Let’s dive into the world of clamps and creativity!
Key Takeaways
- Use a team of clamps for extended reach and even pressure.
- Ratchet straps work as clamps for larger objects.
- Tourniquets can double as effective clamping tools.
- Craft homemade clamps with wood and basic tools.
- Utilize gravity for heavy objects during clamping.
- Protect workpieces with sacrificial clamping blocks.
- Combine shorter clamps or use extenders when needed.
- Select the right clamps for various woodworking projects.
- Employ cauls to distribute pressure on irregularly shaped workpieces.
- Seek professional guidance for complex clamping challenges.
How do you clamp something bigger than a clamp: 5 creative solutions?

Check out these 5 nifty ways to clamp down on something bigger than your average clamp:
1. Team of Clamps: The classic move – using multiple clamps. But here’s the trick: grab a clamping bar, those long metal strips with evenly spaced holes. Attach your clamps to it for extended reach and even pressure all around.
2. Ratchet Strap: Those straps you use to secure cargo? They moonlight as clamps for larger items. Wrap one around your object, give it a little ratchet-tightening love, and you’ve got yourself a clamp.
3. Tourniquet Trick: Yep, the same tourniquets used in medicine can work as clamps too. Just wrap it around, crank it down, and voilà – clamped!
4. DIY Clamp: Feeling crafty? Whip up your clamp with some wood and basic tools. Two bits of wood, a dowel, and some holes are all you need. Stick the dowel through, use wedges to tighten, and you’ve got your very own homemade clamp.
5. Gravity Assist: For the heavy stuff, let gravity do some of the work. Say you’re gluing two pieces of wood together – pop a weight on top, and it’ll apply the pressure for you.
Pro Tips for Clamping Big Stuff:
- Sacrificial Clamping Block: Shield your precious workpiece from clamp damage with a sacrificial clamping block.
- Even Pressure: If you’re rocking multiple clamps, make sure they’re all playing nice and spreading the pressure evenly.
- Don’t Go Hulk: No need to go all superhero and over-tighten. Too much force can be a buzzkill for your project.
- Gravity for the Win: Heavy objects? Let gravity be your sidekick for applying some serious pressure.
Remember, these clever clamping methods can be handy, but sometimes, nothing beats a good old commercial clamp for safety and effectiveness. If you’re in doubt about clamping the big stuff, it never hurts to ask a pro for some guidance.
What to do when your clamp isn’t long enough?

When your clamp falls short, no need to sweat it – there are some clever tricks up our woodworking sleeves.
Team Up Shorties: Grab two of your shorter clamps and get them to play nice together. You can connect them using things like a pipe coupler or a piece of spare wood. It’s like a clamp partnership for extra reach.
Commercial Clamp Extenders: If you’re not feeling the DIY vibe, there are these nifty clamp extenders on the market. They come in various lengths and can attach to different clamp types, giving you that added stretch.
Get Crafty: Got some basic woodworking skills? Craft your very own clamp extender from a scrap piece of wood. Just cut it to the length you need and drill some holes at each end to fit your clamp jaws.
Upgrade to Big Guns: When you’re dealing with a hefty piece of material, consider switching to heavy artillery – think pipe clamps or band clamps. They come in different lengths and can handle the big stuff.
Extra Tips for the Big Jobs:
- Team of Clamps: Don’t put all the pressure on one champ. Multiple clamps help spread the love and keep that material from going wonky.
- Cauls to the Rescue: Cauls are like the peacemakers of clamping. Stick ’em on either side of your material, and when you clamp down, they make sure the love is evenly distributed.
- Pad It Up: No need to be rough. Throw in a clamping pad – a soft cushiony layer – between your clamp jaws and the material. It’s like a comfy buffer for your wood.
And when you’re in doubt, don’t hesitate to tap into the wisdom of a seasoned carpenter or woodworker. They’ve seen it all and can guide you to the perfect clamping solution for your project.
How to make a makeshift clamp?

When it comes to makeshift clamps, there’s a bit of MacGyver spirit involved. You’ve got to work with what you’ve got, and here are some crafty ideas:
Wood and Screws: Grab two pieces of wood, cut them to the right length, and screw them together at one end. Leave a gap at the other end for clamping your workpieces.
Rope or Cord: Tie a loop at one end of a rope or cord. Wrap it around your workpieces, thread the other end through the loop, and cinch it tight with a knot.
Elastic Bandage: Wrap an elastic bandage around your workpieces, and it’ll squeeze them together quite nicely.
Jumper Cables: Connect the clamps on a pair of jumper cables, wrap them around your workpieces, and tighten them down.
Caulk Gun: Stick a caulk gun between your workpieces and give it a squeeze to hold them in place.
Car Jack: Slide a car jack between your workpieces, use a piece of wood underneath for even pressure, and crank it up.
Weights: Sometimes simplicity works best – just pile some weights on top of your workpieces.
Now, a word of wisdom: be gentle with your makeshift clamps. Avoid going all Hulk on them to prevent any harm to your precious workpieces. Here are a few extra tips:
- Pad It Up: To protect your workpieces, slip some padding between the clamp and the wood.
- Don’t Overdo It: No need to go full throttle – overtightening can lead to trouble.
- Keep an Eye On It: Regularly check to make sure your makeshift clamp is doing its job and keeping things snug.
- Stay Supported: If you’re using a hefty clamp, make sure there’s enough support underneath to avoid any sagging.
With a touch of creativity, you can whip up a makeshift clamp that’ll get the job done.
How to use multiple clamps to clamp a large object?

When you’re in the clamping game with multiple clamps for a big job, you want to make sure you’ve got the right moves down. Here’s how to wrangle those clamps like a pro:
Pick the Right Clan of Clamps: First off, your choice of clamps should be like a well-tailored suit for your object. Think of it this way:
- Pipe clamps are your go-to for long, straight objects.
- Bar clamps are like the versatile all-rounders, perfect for smaller or wonky-shaped stuff.
Lay Them Down Right: Once you’ve got your clamps ready, space them evenly along your object’s length. Think 6 inches apart is a good rule of thumb. But if your object is a behemoth, don’t be shy about adding more clamps for that extra support.
The Art of the Squeeze: Here’s where the magic happens. Tighten each clamp bit by bit to get that snug fit. Easy does it, though – don’t Hulk out and over-tighten, or you might just damage your object.
Here are a few bonus tips to make sure you’re clamping champ:
- Size Matters: Mix and match clamp sizes to get the perfect fit and spread the pressure around.
- Cauls Are Your Friends: To keep your object looking pristine, slide some cauls (that’s just wood scraps) between the clamps and your precious piece.
- Give It a Base: For extra stability with mega-sized objects, bring in the big guns like a sturdy workbench or some trusty sawhorses.
- Don’t Get Too Tight: Keep an eagle eye on those clamps to avoid the dreaded over-tightening. Nobody likes a crushed masterpiece.
And for those “What in the clamps am I doing?” moments, don’t hesitate to reach out to the wise sages of the woodworking world – the professionals. They’ve got the clamping knowledge to save the day.
Clamping tips for large and irregularly shaped objects

Clamping big, odd-shaped stuff might sound like a head-scratcher, but don’t sweat it. We’ve got some nifty tricks to make it a breeze:
Clamp Selection Shuffle: Step one is picking the right clamps for your circus act. Band clamps, hose clamps, and our trusty sidekick, cauls, are all MVPs here. Band clamps are like the Swiss Army knives of clamping, able to hug all sorts of shapes and sizes.
Unite the Clamps: For the big leagues, call in the gang. Multiple clamps working together keep the peace and spread the pressure of love evenly.
Cauls to the Rescue: Cauls to the rescue! These handy helpers made of wood or other friendly materials are like peacekeepers, making sure the pressure’s on point and your object stays scratch-free.
Get Crafty: When the A-team of clamps isn’t available, get your MacGyver on. Ropes, and bungee cords – can all work some magic in a pinch.
Wood Wisdom: When wrestling with wood, remember the cauls. They’re like the wood’s best friends, protecting its surface and keeping the pressure fair. And don’t forget the wedges or shims to keep those cauls in line.
Metal Matters: Metal needs a little extra TLC. Soft materials like wood, leather, or rubber should play the middleman between the clamp and the metal to prevent any ugly scrapes.
Plastic Fantastic: Treat plastic with kid gloves. Gentle pressure is key; too much force can be its kryptonite. Soft materials again can be the barrier between clamp and plastic, ensuring a scratch-free show.
Important FAQs
For woodworking projects, bar clamps and pipe clamps are commonly used. Bar clamps are versatile and suitable for various sizes and shapes, while pipe clamps are ideal for long, straight objects.
To clamp irregularly shaped objects, consider using band clamps or hose clamps, which can conform to various shapes. Additionally, using cauls (wooden pieces) on either side of the workpiece helps distribute pressure evenly.
If your clamp is too short, you can either connect two shorter clamps using a pipe coupler or a piece of spare wood, use commercial clamp extenders, or craft your clamp extender from a scrap piece of wood.
To prevent clamp damage to your workpiece, use sacrificial clamping blocks made of soft materials like wood, leather, or rubber between the clamp jaws and the workpiece.
Yes, you can create makeshift clamps using materials like wood and screws, ropes or cords, elastic bandages, jumper cables, caulk guns, car jacks, or even weights. Just ensure you protect your workpiece and avoid overtightening.
When using multiple clamps, choose the right type of clamps for your project, space them evenly along the object’s length, tighten them gradually to ensure even pressure, and use cauls to protect the workpiece’s surface.
Final Thoughts
In a nutshell, becoming a clamping maestro is a must-have skill for DIY buffs and crafty folks alike.
We’ve had a blast exploring ingenious ways to handle those pesky oversized objects, stretching the capabilities of shorter clamps, and even venturing into the world of DIY makeshift clamps.
On top of that, we’ve spilled the beans on some savvy tips for making the most of multiple clamps and wrangling those hefty or oddly shaped workpieces.
But now, the spotlight’s on you! We’re all ears for your clamping tales and the brilliant tricks you’ve cooked up. Ever found yourself in a real head-scratcher of a clamping situation? Don’t be shy—share your anecdotes, advice, and nifty hacks in the comments below.
Your wisdom might just be the missing piece of the puzzle for someone else facing their clamping conundrum.
How to Clamp Large Panels? (A Comprehensive Guide 2023)
Having learned how to tackle clamping challenges, it’s time to dive into the next topic: “How to Clamp Large Panels? (A Comprehensive Guide 2023).” Expand your skills and knowledge in clamping techniques by checking out this comprehensive guide.
