Can You Screw Back Into Wood Filler? Step-By-Step Guide
In woodworking, the question can you screw back into wood filler arises. Wood filler is commonly used to mend imperfections, but its ability to hold screws securely varies.
This guide delves into the nuances of screwing back into wood filler, providing step-by-step instructions and insights.
While wood filler is useful for small repairs, it might not provide the robustness needed for screws. This page explores the proper techniques, including predrilling and choosing the right type of filler.
By understanding the strengths and limitations, you’ll be equipped to navigate this woodworking challenge with confidence.
Key Takeaways
- Yes, you can screw it back into the wood filler, but there are a few things you need to do to make sure it is done correctly.
- Use the right type of wood filler. Two-part epoxy wood fillers are often recommended for this purpose.
- Drill a pilot hole slightly smaller than the screw you are using. This will help to prevent the wood filler from cracking or splitting.
- Use the right size screw. A screw that is too big will split the filler, and a screw that is too small will not hold well.
- Sand the area around the wood filler to create a smooth surface.
- Apply even pressure as you screw the screw into the wood filler.
- Use a slow speed when screwing the screw into the wood filler.
- If the wood filler is old or brittle, it is best to drill a new hole in the wood.
- If you are using a screw to hold a heavy object, it is best to drill a new hole in the wood.
- If the wood filler is a different color than the wood, you may need to paint or finish the repaired section to blend it in.
Can you screw back into wood filler? (Detailed)
Yes, you can screw it back into the wood filler. Ensure the filler is fully cured before screwing to maintain stability. Predrill holes are slightly smaller than the screw diameter to prevent cracking.
However, there are a few things you need to do to make sure it is done properly.
First, you need to use the right type of wood filler. Not all wood fillers are created equal, and some are better suited for screwing back into than others.
A good option is a two-part epoxy wood filler. This type of filler is very strong and will hold up well to the pressure of a screw.
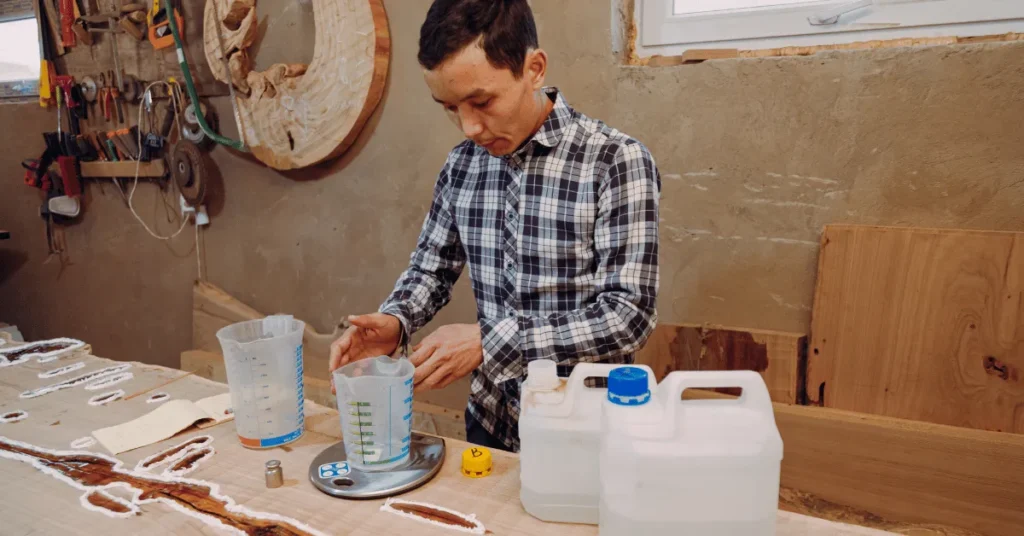
Second, you need to drill a pilot hole before screwing it into the wood filler. This will help to prevent the filler from cracking or splitting. The pilot hole should be the same size as the screw you are using.
Third, you need to use a screw that is the right size for the hole. A screw that is too big will split the filler, and a screw that is too small will not hold well.
If you follow these steps, you can screw back into wood filler with no problems.
Types of Wood Filler for Screw Attachments
When choosing a wood filler for screw attachments, it’s essential to opt for a filler that offers strength, stability, and durability.
Two-part epoxy wood fillers are often recommended for this purpose due to their robustness. They create a strong bond and can withstand the pressure exerted by screws.
Other types of wood filler, such as cellulose-based fillers, may not provide the same level of strength and stability for screwing back into. These fillers are better suited for cosmetic repairs and less demanding applications.
To summarize, selecting a high-quality two-part epoxy wood filler can greatly enhance the success of screwing back into the wood filler.
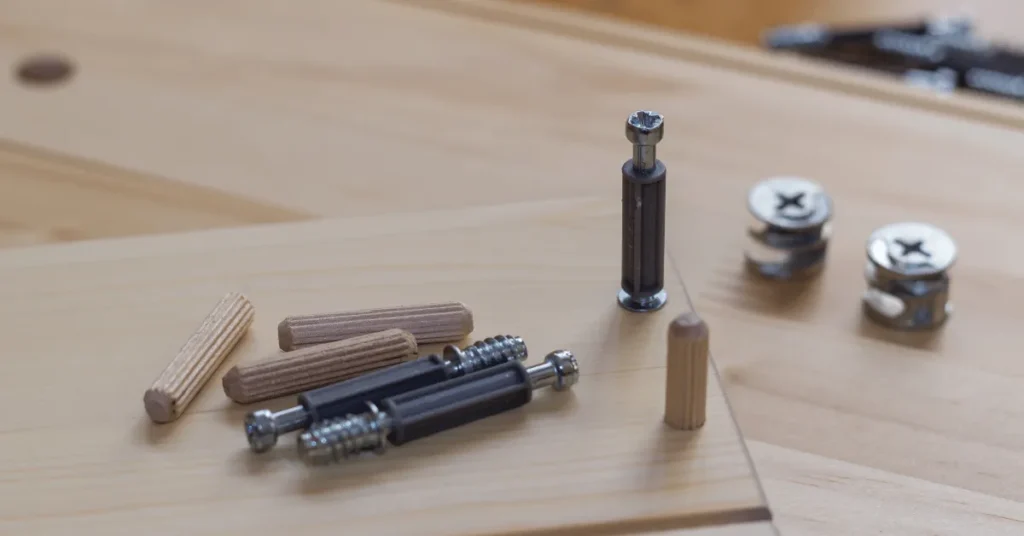
Proper technique, appropriate screw size, and predrilling are essential steps to ensure a secure attachment that withstands the test of time.
How to screw back into wood filler? Step-by-step guide
Screwing into wood filler can be a bit tricky since the wood filler is not as strong or dense as actual wood. However, if done carefully, you can achieve a decent hold for lightweight items. Here’s a step-by-step guide on how to screw back into wood filler:
Materials Needed:
- Screwdriver or drill with an appropriate drill bit and screwdriver bit
- Screws
- Wood filler
- Sandpaper
- Paint or finish (if needed)
- Paintbrush (if needed)
Step-by-Step Guide:
Prepare the Area: Ensure the wood filler is completely dry and hardened. If it’s not, allow it to cure according to the manufacturer’s instructions. Sand the area around the wood filler to create a smooth surface.
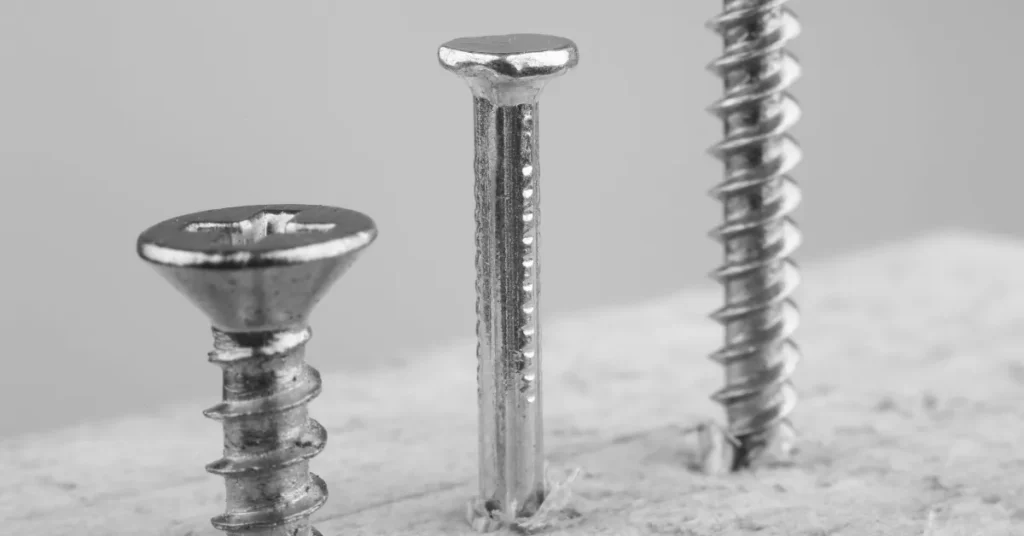
Select the Right Screw: Choose screws that are appropriate for the weight and purpose of the item you’re attaching. The screw length should be sufficient to go through the wood filler and penetrate the underlying wood for a secure hold.
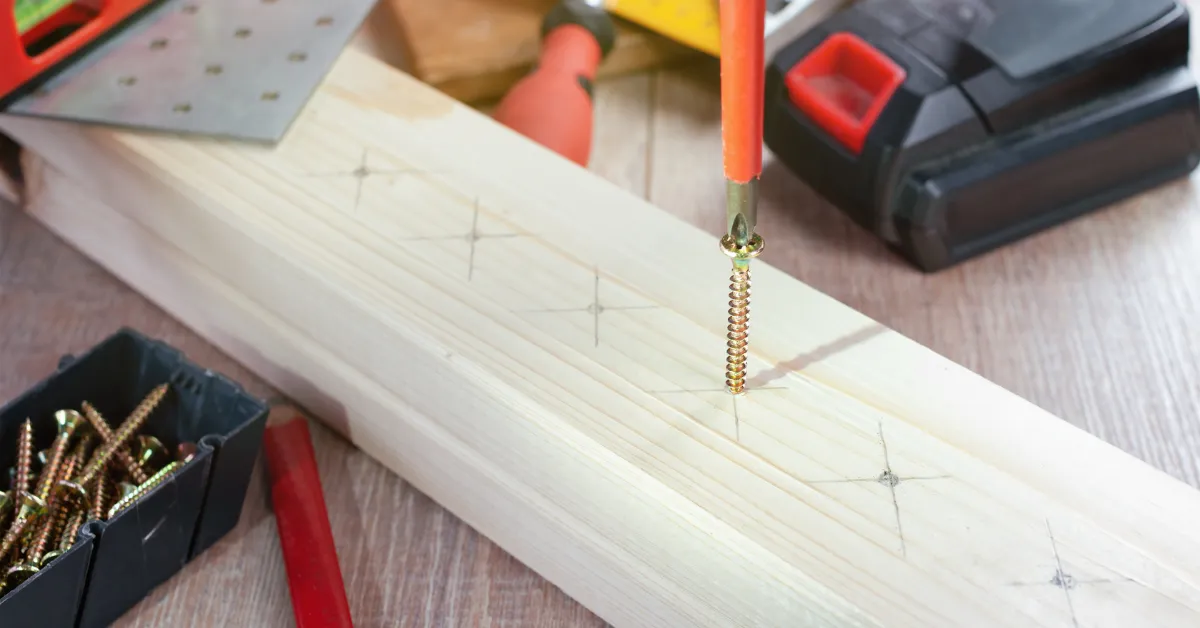
Drill Pilot Holes: Drill pilot holes into the wood filler using a drill and a bit that’s slightly smaller in diameter than the screws. This will help prevent the wood filler from cracking or splitting when you insert the screws.
Insert Screws: Align the item you’re attaching and insert the screws into the pilot holes. Use a screwdriver or drill to turn the screws into the wood filler.
Apply steady, gentle pressure to avoid stripping or damaging the wood filler. If you’re using a drill, set it to a low torque setting to prevent over-tightening.
Drive the Screws: Slowly drive the screws into the wood filler until they’re snug. Be cautious not to overtighten, as this could strip the wood filler. If the screws start to feel loose, stop immediately and reevaluate the situation.
Check for Stability: Gently test the stability of the attached item. If it feels secure and there’s no movement, the attachment should be adequate for lightweight items.
However, remember that wood filler isn’t as strong as solid wood, so avoid putting excessive stress on the screws.
Finishing Touches (Optional): If desired, you can touch up the area with paint or finish to help blend the repaired section with the surrounding wood. This step is especially important if the wood filler is a different color than the wood.
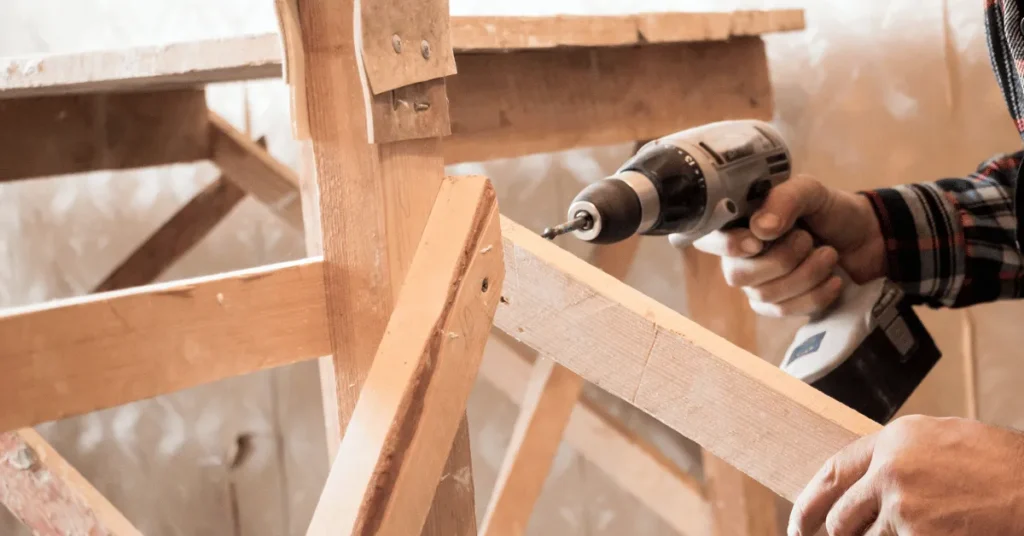
Remember that this method is best suited for lightweight items like decorative pieces or small fixtures. For heavier items or applications that require significant load-bearing capacity, it’s better to find a solid wood area to attach to.
In general, using wood filler to hold screws isn’t the most secure method, and it’s often better to screw into actual wood.
If the wood filler isn’t providing a reliable hold, you might want to consider alternative solutions such as using wall anchors, brackets, or finding a different attachment point.
Big Tip For You
If you need to screw back into wood filler, use a two-part epoxy wood filler and drill a pilot hole slightly smaller than the screw.
Sulman Khan
Why would you screw back into wood filler?
There could be several reasons why you want to screw back into the wood filler. So some of them are below.
- To repair a stripped screw hole. If a screw hole is stripped, it means that the screw has been turned so many times that it has damaged the wood. This can make it difficult or impossible to remove the screw. In this case, you can screw back into the wood filler to create a new, stronger screw hole.
- To add strength to a joint. If you are joining two pieces of wood together, you can screw back into the wood filler to create a stronger joint. This is especially helpful if the wood is soft or if the joint is going to be subjected to a lot of stress.
- To create a new anchor point. If you need to hang something heavy on a piece of wood, you can screw it back into the wood filler to create a new anchor point. This is a good option if you don’t want to drill a hole in the wood, or if you don’t want to damage the wood.
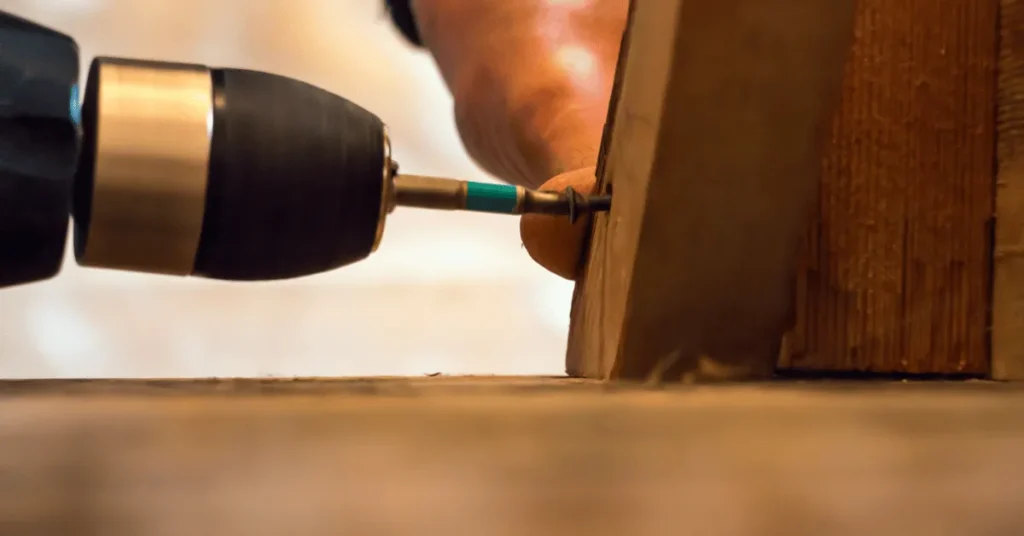
Here are some additional reasons why you might want to screw back into wood filler:
- To repair a crack or hole in the wood.
- To create a new surface for painting or staining.
- To hide a screw that is no longer needed.
If you are considering screwing back into wood filler, it is important to use the right type of wood filler and follow the correct procedures. This will help to ensure that the screw holds securely and that the wood filler does not crack or split.
What will be the consequences of screwing back into wood filler?
Wood filler is a great way to repair small holes and cracks in wood. However, if you screw back into the wood filler, there are a few potential consequences.
- The screw may not hold securely. Wood filler is not as sturdy as solid wood, and screws may not hold securely in certain situations. If the screw size is inappropriate or the filler is not strong enough, the screw may fail to anchor properly. For instance, if a screw is too large for the filler’s capacity, it could pull out of the filler due to insufficient grip.
- The wood filler may crack or split. The act of screwing into wood filler can exert stress on the material. If the filler lacks sufficient strength, it may crack or split under pressure. This not only compromises the repair’s aesthetics but also weakens the hold of the screw, potentially causing the attachment to become unstable.
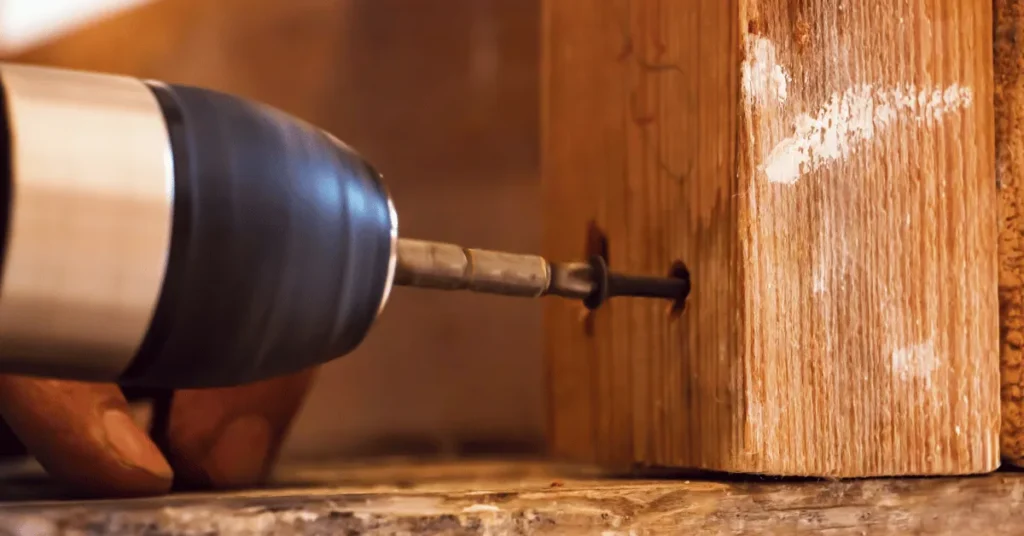
- The screw may damage the wood. Improper screw placement or choosing the wrong size can lead to damage to the surrounding wood. If the screw is too large, it may create cracks or splits in the wood, making it more challenging to achieve a secure hold. This not only affects the immediate repair but also impacts the structural integrity of the overall piece.
To mitigate these consequences, it’s crucial to adhere to recommended guidelines. Properly predrilling holes, selecting appropriate screws and wood filler, and using the careful technique are all essential steps to ensure a successful and reliable screw attachment.
If there are doubts about the integrity of the wood filler or the repair’s overall strength, it’s wise to explore alternative attachment methods or consider drilling a new hole in solid wood for better stability.
Here are some tips for screwing back into wood filler:
- Use Appropriate Screw Size: When screwing back into the wood filler, it’s advisable to use screws that are of an appropriate size. Typically, a screw with a diameter of no more than 1/4 inch (6.35 mm) is usually sufficient for screwing into the wood filler. This size ensures that the screw provides a secure hold without causing excessive stress or cracking in the filler.
- Drill Pilot Hole: Before inserting the screw, drill a pilot hole into the wood filler. The diameter of the pilot hole should be slightly smaller than the diameter of the screw. This step helps prevent the filler from cracking or splitting when the screw is inserted.
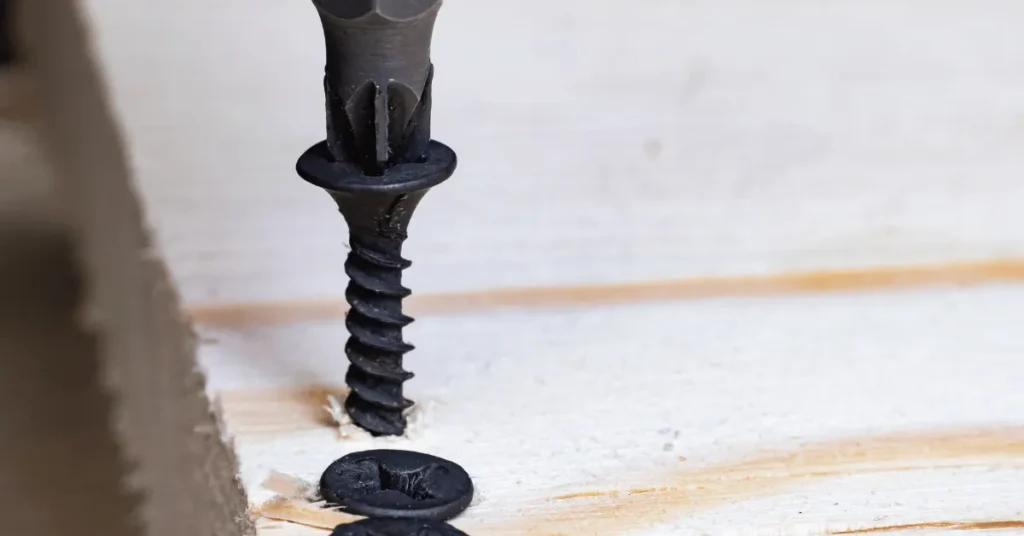
- Apply Even Pressure: As you drive the screw into the wood filler, apply even pressure to ensure that the screw goes in smoothly and securely. This prevents the filler from becoming unevenly compressed or causing the screw to pull out due to uneven stress.
By using the right size of screws, drilling pilot holes, and maintaining even pressure, you can minimize the risks associated with screwing back into the wood filler and increase the likelihood of a successful and stable attachment.
My personal thoughts on screwing back into wood filler?
As a woodworker, I have a lot of experience with screwing back into wood filler. I have found that it is generally safe to do so, as long as you follow a few simple guidelines.
Here are my personal thoughts on screwing back into wood filler:
- It is important to use the right type of wood filler. Not all wood fillers are created equal. Some are more brittle than others and are more likely to crack or split when screwed into. I recommend using a two-part epoxy wood filler. This type of filler is very strong and will hold up well to the pressure of a screw.
- It is important to drill a pilot hole. A pilot hole will help to prevent the wood filler from cracking or splitting when you screw it in. The pilot hole should be the same size as the screw you are using.
- It is important to use a slow speed. Using a slow speed will help to prevent the screw from damaging the wood filler.
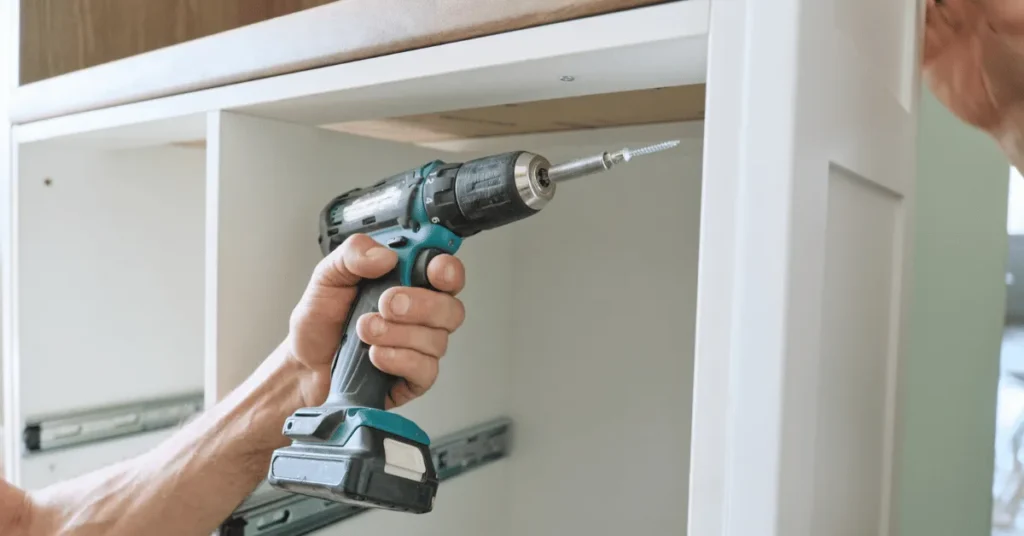
- It is important to apply pressure evenly. Applying pressure evenly will help to prevent the screw from pulling out of the wood filler.
If you follow these guidelines, you can safely screw back into the wood filler. However, there are a few instances where I would not recommend doing so.
- If you are using the screw to hold a heavy object. In this case, it is best to drill a new hole in the wood. The wood filler may not be able to hold the weight of a heavy object securely.
- If the wood filler is old or brittle. In this case, it is also best to drill a new hole in the wood. The wood filler may crack or split when you screw it in.
Ultimately, the decision of whether or not to screw back into wood filler is up to you. If you are unsure, it is always best to err on the side of caution and drill a new hole in the wood.
Important FAQs
Not all wood fillers are suitable for screwing back into. Opt for a strong two-part epoxy wood filler for better results.
Drilling a pilot hole prevents wood filler from cracking or splitting, ensuring a secure hold for the screw.
It’s crucial to use the correct size screw for the hole. A screw that’s too big can split the filler, while a small screw won’t hold well.
For heavy objects, it’s recommended to find a solid wood area to attach to instead of relying solely on wood filler.
Wood filler isn’t as strong as solid wood, so it’s advisable to avoid putting excessive stress on screws attached to the filler.
Yes, alternatives include using wall anchors, and brackets, or finding more secure attachment points in the wood.
Yes, you can touch up the repaired area with paint or finish to blend it with the surrounding wood, significantly if the colors differ.
While wood filler can repair small holes and cracks, for a reliable solution, it’s recommended to follow proper procedures and consider the strength needed for the repair.
Final Thoughts
In the world of woodworking, where precision meets restoration, the question often arises: Can screws find their place in wood filler once more? Today, we’ve journeyed through this query, exploring its nuances and possibilities.
As the dust settles, one thing is clear: Yes, you can screw back into wood filler, but it demands meticulous attention.
With this guide, you’ve learned the art of re-screwing, transforming wood filler into a reliable anchor for your projects. Whether you’re a seasoned craftsman or an aspiring woodworker, this guide equips you with the knowledge to confidently navigate this woodworking realm.
So go ahead, and venture forth with your screws and wood filler. Armed with insights, techniques, and considerations, you’re now ready to create with confidence.
Remember, woodworking is an art, and each project holds its own unique puzzle. With the wisdom gained here, your woodworking journey continues, one successful screw at a time.
Images by: Canva.com
