Can You Screw Into Epoxy Wood Filler? (A Comprehensive Guide 2023)
If you’re just starting out in the world of woodworking or simply love a good DIY project, and you’re wondering if epoxy wood filler is a good match for screws, you’re in luck!
This article spills the beans on all things epoxy wood filler, its pros and cons, and tackles those burning questions you’ve got in mind.
So, if you’re curious, stick around and I’ll dish out the answers you’re looking for.
Key Takeaways
- You can confidently screw into epoxy wood filler for woodworking projects.
- Ensure the epoxy wood filler is fully cured before inserting screws.
- Use pilot holes as guides to avoid damaging the filler when screwing.
- Choose the right screw size for a secure and snug fit.
- Apply gentle pressure to prevent damage to the surrounding material.
- Invest in high-quality screws for a reliable and long-lasting bond.
- Epoxy wood filler is durable, providing long-lasting support.
- It’s versatile, easy to apply, and can be painted or stained.
- Consider potential disadvantages, such as longer curing times and shrinkage.
- Practice scrap wood before working on the main project.
Can You Screw Into Epoxy Wood Filler?
Absolutely, no sweat! You can totally give that epoxy wood filler a good screwing. As someone who’s all about woodworking, trust me when I say epoxy wood filler’s got your back.
Now, if you want to get that screw nice and snug in the epoxy wood filler, here’s the lowdown on making it stick for the long haul.

So, here’s the deal: before you go screwing stuff into epoxy wood filler, make sure it’s had its beauty sleep and fully cured. You want that grip to be rock-solid, no wobbling allowed.
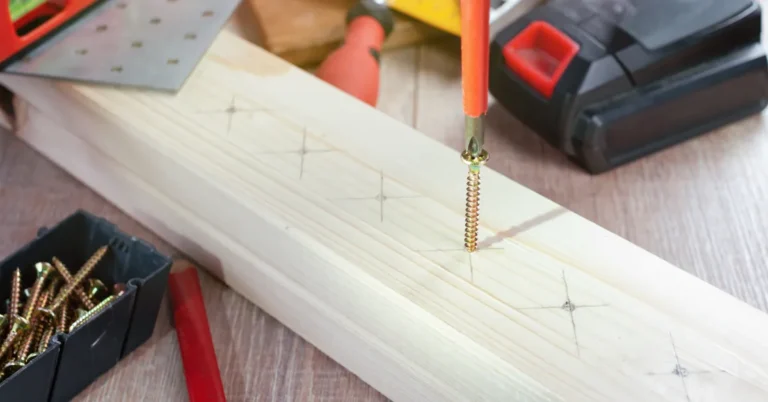
Next up, pilot holes are your BFFs here. They’re like the GPS for your screws, keeping them on track and saving your filler from any nasty cracks or dings. Oh, and don’t forget to match the drill bit size to the pilot hole for primo results.
How durable epoxy wood filler is?
Let’s talk about epoxy wood filler – it’s like the superhero of the woodworking world when it comes to toughness. This stuff is known for being seriously durable and crazy strong, which is pretty awesome for all sorts of woodworking gigs.
Once it’s had time to cure, epoxy wood filler teams up with your wood and creates a rock-solid partnership. That means your projects get the stability and muscle they need to handle whatever life throws at them.
With this kind of durability on your side, your woodworking wonders are ready to stand the test of time and keep up with your everyday adventures.
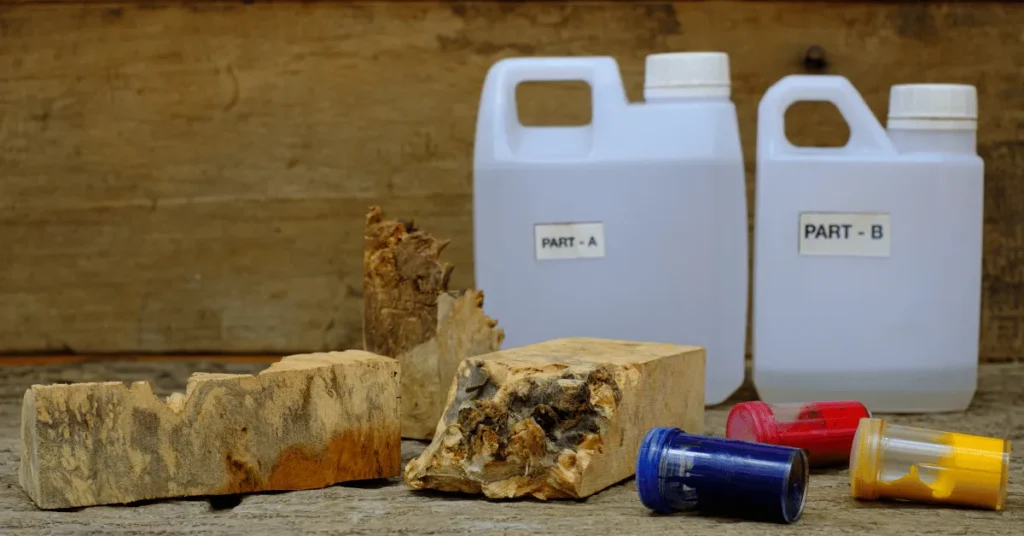
Thinking about giving epoxy wood filler a shot for your screwing needs? Go for it! This stuff’s got your back and can handle the job like a pro.
Oh, and here’s the inside scoop: make sure to do the pilot holes thing and wait for that filler to fully set before you start screwing around. That’s the secret sauce for top-notch results.
Read More: Can you plane plywood?
How to screw into epoxy wood filler?
Screwing into epoxy wood filler? Piece of cake, my woodworking buddy! Check out these quick tips:
- Get Your Timing Right: Wait for that epoxy wood filler to fully set and toughen up before you dive into screwing. It’s all about that rock-solid foundation.
- Pilot Holes to the Rescue: Don’t forget your trusty pilot holes when dealing with epoxy wood filler. They’ll guide your screws like a GPS and save you from any filler fiascos. And hey, match that drill bit to the hole size for primo results.
- Size Matters: When it comes to screws, go for ones that match the holes in your epoxy wood filler – it’s all about that snug and secure fit. Keep it real, my friend!

Easy does it! When you’re screwing into that wood filler, keep the pressure nice and gentle. No need to Hulk-smash it – we’re aiming for precision here to steer clear of any oopsies.
Oh, and remember, quality counts! Go for the good stuff when it comes to screws, and you’ll lock in a trusty and long-lasting connection with your epoxy wood filler.
Follow these simple tips, and you’ll be screwing into epoxy wood filler like a pro, crafting sturdy and rock-solid woodwork.
Big Tip For You
When you’re working with epoxy wood filler, just keep it chill. Remember to give those screws a helping hand with some pilot holes, and go for the good stuff when it comes to screws – quality matters!
Pilot holes are like the GPS for your screws, making sure they find their way without wrecking the filler. And those high-quality screws? They’re the real MVPs, ensuring a bond that’ll last a lifetime.
Oh, and don’t rush it. Let that filler do its thing and get rock hard before you start screwing around. Follow these easy steps, and you’ll be crafting solid, reliable woodwork with epoxy wood filler in no time.
What are the benefits of Epoxy wood filler?
Epoxy wood filler is seriously awesome, no doubt about it! As a fellow woodworking enthusiast, I can tell you it’s the bomb. Check out why Epoxy wood filler rocks:
Rock-Solid and Tough: This stuff is like the Hulk of wood fillers. Once it’s all set, it bonds with wood like they’re best buddies, giving your woodworking projects the endurance they need.
Jack of All Trades: Epoxy wood filler is a real multitasker. Whether you’ve got gaps, holes, or just some wood imperfections, this filler’s got your back, and it does the job like a pro.

Applying Epoxy wood filler is a piece of cake. It goes on smoothly, you can mold it however you want, and sand it down to perfection. It’s like woodworking magic.
And the cool thing? You can paint it or stain it to match your wood’s color perfectly. So, your project ends up looking flawless, like it came straight from a pro workshop.
No more twiddling your thumbs either – this stuff dries up fast, so you can get back to your project in no time.
When you use Epoxy wood filler the right way, your woodworking projects get that sleek, pro finish. Indoor, outdoor – it works like a charm everywhere. Trust me, it’s a woodworker’s best buddy. Give it a shot!
What are the disadvantages of Epoxy wood filler?
Now, let’s chat about the nitty-gritty stuff when you’re using this fantastic material for your woodworking projects.
Time’s a-Tickin’: So, here’s the deal – Epoxy wood filler likes to take its sweet time to cure. We’re talking hours, maybe even a whole day. That means your project might need a bit more patience than you expected. Plan accordingly, my friend.
A Little Shrinkage: Just like some other wood fillers, Epoxy wood filler can do a tiny “shrink and sink” as it dries.
Especially if you’re filling up bigger gaps, you might notice some slight dips or spaces in your woodwork. Nothing major, just a little quirk to keep in mind.

Now, let’s talk about a few things you should keep in mind when you’re rocking Epoxy wood filler.
Rock Hard: When this stuff cures, it’s like concrete. Super strong, but not very forgiving. Precision is your best buddy during application and shaping to get the results you want.
The Sneaky Show: Sometimes, even after a coat of paint or stain, you might spot Epoxy wood filler peeking through. It’s usually subtle, but on certain woods or projects, it can be more noticeable. Good blending and finishing techniques are the secret sauce here.
Mix It Up: Epoxy wood filler often comes as a two-part deal that needs mixing. It makes for a robust filler but adds a touch of complexity compared to the one-part options. Mixing it right is key for top-notch performance.
Pricier Pick: Quality Epoxy wood fillers can hit your wallet a bit harder than others. But trust me, it’s a smart investment. You’re getting durability that’ll outlast the ages.
Sure, there are a few quirks, but Epoxy wood filler is still a crowd-pleaser in the woodworking world. Knowing these bits and bobs will help you work your magic with it.
What are the best tips to screw into epoxy wood filler?
Hey, fellow woodworking enthusiast! Let’s chat about nailing it with epoxy wood filler. Here are my top-notch tips:
- Don’t Rush It: Before you go screwing around, make sure that epoxy wood filler is rock-solid and cured. It’s all about that strong foundation for your screws. Trust me, a little patience here goes a long way.
- Be Hole-some: Pilot holes are your best buddies in this game. They’re like screw GPS, preventing any filler fiascos. Just pick the right drill bit size, and you’re on your way to smooth sailing.
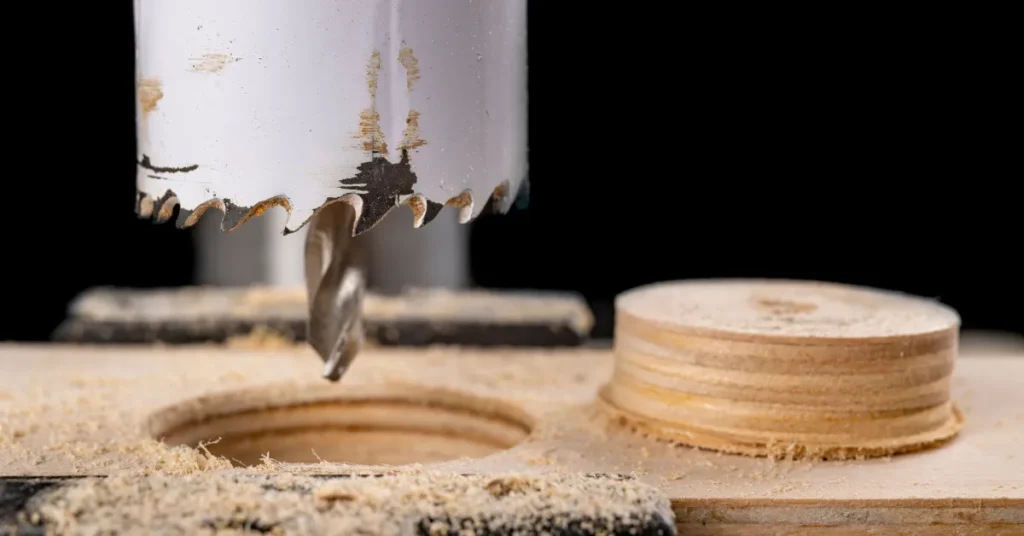
When it comes to screwing into that epoxy wood filler, here’s the lowdown:
Size Matters: Grab the right screws for the job – they should match the size and depth of those filler holes. A snug fit keeps things stable and in line.
Easy Does It: When you’re turning that screw, don’t go all Hulk on it. Gentle pressure’s the name of the game. Too much force can mess up the filler or the surrounding stuff – not cool.
Splurge a Bit: Treat yourself to some high-quality screws. They’re like the VIPs of your project, making sure things hold up for the long haul.
Measure Twice, Screw Once: Check that screw alignment and depth – you want them snug but not poking out or causing bumps on the surface.
Drill, Baby, Drill: If you’re working with big screws or dense wood, pre-drill those holes. It’s like a warm-up, prevents wood splitting, and makes screwing in smoother.
Practice Makes Perfect: Feeling a bit rusty or trying a new technique? Get some scrap wood and practice first. It’s like a woodworking dress rehearsal – builds your skills and confidence.
Important FAQs
Yes, epoxy wood filler is suitable for both indoor and outdoor use. Its durability and resistance to weather make it an excellent choice for outdoor woodworking projects.
Absolutely! Epoxy wood filler can be painted over once it’s fully cured. You can easily match it to the color of your woodwork for a seamless finish.
Yes, epoxy wood filler is great for filling larger voids and gaps in the wood. Just ensure that you follow the correct mixing and curing instructions for optimal results.
While some shrinkage may occur during the curing process, it’s generally minimal with high-quality epoxy wood fillers. Proper application and overfilling the gaps can help minimize this effect.
Definitely! Epoxy wood filler can be stained just like real wood. This feature allows you to achieve a natural look that blends perfectly with the surrounding woodwork.
The curing time can vary depending on the specific product, but it typically takes several hours to a day for the epoxy wood filler to fully cure and harden.
Sanding epoxy wood filler after it cures can help achieve a smooth and seamless surface. Use fine-grit sandpaper to get the best results.
While epoxy wood filler can provide some reinforcement to rotted wood, it’s best to address severe rot issues by replacing the damaged parts before using the filler.
Final Thoughts
Alright, let’s talk shop – epoxy wood filler is like your trusty sidekick for woodworking.
This stuff is tough as nails, and you can use it to patch up all those gaps, holes, and boo-boos in your woodwork.
With a little prep work, some pilot holes, and picking the right screws, you’ll be building rock-solid wood projects like a pro.
Sure, it’s got a few quirks, but understanding and handling them is all part of the game. So, go ahead, give epoxy wood filler a shot, and let your woodworking creativity run wild!
All images in this article are taken from canva.com
How to Plane Plywood? Step-by-Step Guide
“Unlock Your DIY Potential: Master the Art of Planing Plywood with Our Step-by-Step Guide! Discover the essential techniques and tips to achieve flawless results in your woodworking projects. Whether you’re a novice or a seasoned pro, this article is your key to smoother, more professional plywood surfaces. Dive in and elevate your woodworking game!”
